
Finding the correct zipper puller head replacement requires matching three critical elements: the zipper size, the teeth style, and the slider’s locking mechanism. A mismatch in any of these areas will cause the zipper to jam, separate, or fail to close entirely. While many assume that any replacement puller of the same general size will work, the internal channels of zipper sliders are engineered specifically for the unique geometry of metal, molded plastic, or nylon coil teeth. By identifying your zipper’s exact specifications, you can select a compatible puller head that restores smooth, reliable operation to your garments, bags, or outdoor gear.
Understanding Zipper Anatomy and Sizing
To select a compatible zipper puller head, you must first understand the anatomy of a zipper and how its components interact. The assembly consists of the zipper tape, the interlocking teeth, the slider body that joins or separates the teeth, the bridge on top of the slider, and the pull tab. When replacing a zipper puller head, you are either replacing the entire slider body or just the pull tab itself.
The most critical factor in compatibility is the zipper size, represented by a number like #3, #5, #8, or #10. This number corresponds to the width of the interlocking teeth when closed, measured in millimeters. A #5 zipper has closed teeth measuring approximately 5 millimeters across. The slider body is engineered with internal channels matching this specific width and track clearance. Using the wrong size will result in a zipper that either refuses to slide or fails to lock the teeth together.
Products mentioned in this guide
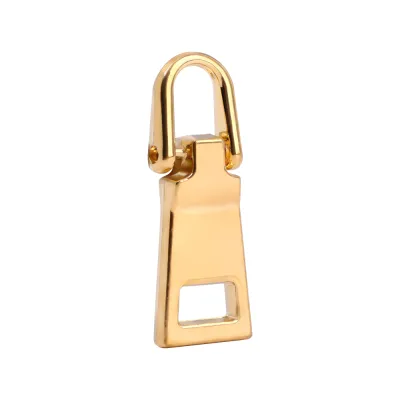
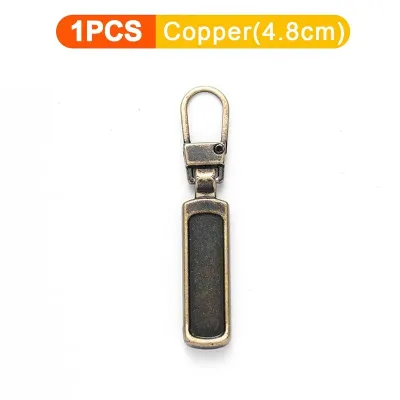
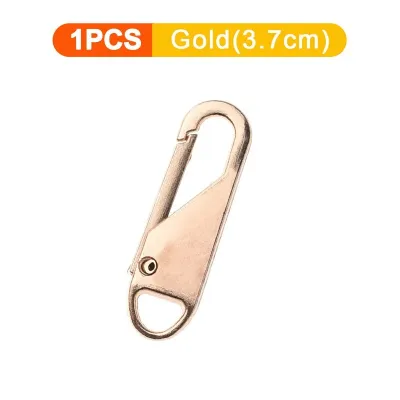
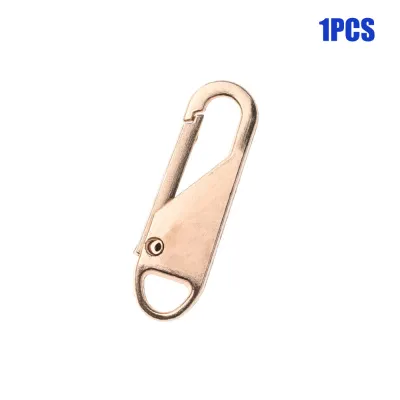
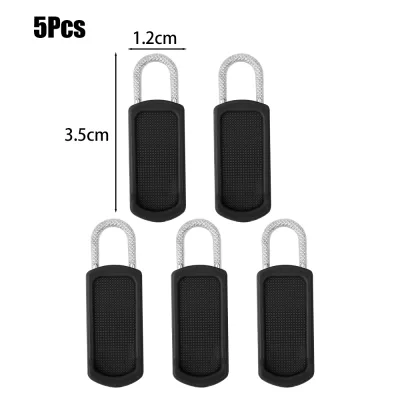
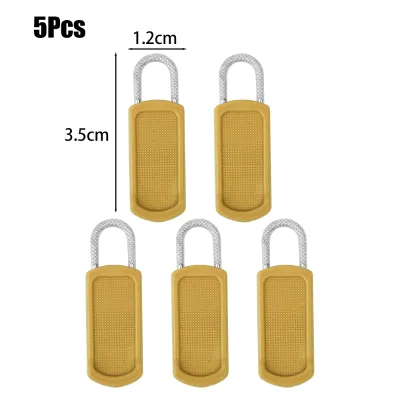
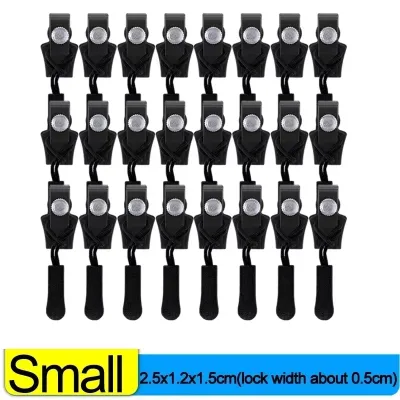
Prices are valid at publication and may change. Please refer to the product page for the latest price.
If the size stamp is missing from the back of the slider, you can determine the correct size by measuring the zipper yourself. Use a caliper or a ruler with millimeter markings to measure the width of the closed teeth, excluding the fabric tape. If the teeth measure 5 millimeters, you require a #5 slider. If the teeth are missing, you can measure the outer width of the existing slider body at its widest point, though measuring closed teeth remains the most reliable method.
Matching Puller Head Types to Zipper Teeth Styles
Zipper teeth are manufactured in several distinct styles, each requiring a matching slider body with a specific internal channel shape. The most common styles are nylon coil, molded plastic, metal, and invisible zippers. A slider designed for one style will not function on another, even if they share the same size number, because the internal track must match the profile of the teeth to guide them into alignment.

Coil zippers, made of nylon or polyester, feature a continuous spiral of synthetic monofilament sewn onto the tape. Because the teeth form a continuous loop, coil zippers require sliders with a smooth, rounded inner channel. This rounded profile allows the slider to glide over the spiral without snagging. Coil sliders typically have a flatter profile and a wider, more uniform opening to accommodate the flexible nature of the nylon coil.
Molded plastic zippers consist of individual plastic teeth molded directly onto the tape. These teeth are blocky and square-shaped, requiring a slider body with distinct, shaped cavities inside the channel. The internal track of a molded plastic slider is designed to guide these individual blocks into a precise interlocking position. If you attempt to use a coil slider on a molded plastic zipper, the square teeth will jam in the rounded channel.
Metal zippers feature individual metal teeth clamped onto the edge of the tape. These teeth have a highly structured, angular profile. Metal zipper sliders demand a specific Y-shaped or flat inner track that can withstand the friction of metal-on-metal contact and guide the rigid teeth into place. The metal alloy of the slider must also be durable enough to resist wearing down against the hard metal teeth over time.
Invisible zippers are a specialized variation of the coil zipper where the teeth are oriented toward the back of the tape, making the zipper virtually hidden from the front. Because of this construction, invisible zippers require specialized teardrop-shaped sliders with a very narrow, curved channel. This channel is designed to roll the tape and teeth outward as the slider passes, allowing the teeth to interlock behind the fabric. A standard coil slider cannot perform this rolling action and will simply jam.
Choosing the Right Slider Body and Attachment Method
Beyond matching the teeth style and size, you must select the appropriate locking mechanism and pull tab attachment style for your specific application. The locking mechanism inside the slider body determines how the zipper behaves when tension is applied to the tape. Choosing the wrong lock type can lead to garments opening unexpectedly or gear failing under load.
Auto-lock sliders feature a small, spring-loaded pin inside the bridge that engages with the teeth whenever the pull tab is released. This prevents the slider from moving on its own, making auto-lock sliders essential for garments like jackets, trousers, and skirts. Pin-lock sliders use a small pin on the underside of the pull tab itself that inserts between the teeth when the tab is pressed flat. Rail-lock sliders are commonly found on heavy-duty bags, utilizing a dual-rail system to hold the slider in place. Non-lock sliders have no internal locking mechanism, allowing them to slide freely when pulled; these are ideal for bedding, cushions, and bags where quick, effortless opening is preferred.
The method used to attach the pull tab to the slider body also varies based on convenience and durability. Standard ring pulls feature a closed loop permanently attached to the slider bridge during manufacturing, offering maximum strength but requiring complete slider replacement if the tab breaks. Tabs with a solid bridge require you to pry open the bridge slightly to insert a new tab, which can weaken the metal. Clip-on or snap-on pullers feature a built-in gate or clasp that allows you to attach them directly to an existing slider bridge without tools, making them excellent for quick, temporary repairs.
When selecting a replacement puller, consider the ergonomic requirements of the item. Heavy-duty outdoor gear, such as backpacks and winter coats, benefits from large, textured plastic or rubber pull tabs that can be easily gripped with gloves. Delicate everyday apparel, such as silk blouses or formal dresses, requires small, lightweight metal or fabric pull tabs that do not weigh down the fabric or create unsightly bulges.
Step-by-Step Guide to Identifying Your Zipper for Replacement
To ensure a successful repair, follow this systematic process to identify your zipper’s specifications before purchasing a replacement puller head.
First, inspect the back or underside of the existing slider body. Manufacturers often stamp critical identification marks directly onto the metal. Look for a number indicating the zipper size, letters indicating the teeth style, or brand logos that can help you source an exact OEM replacement. Use a magnifying glass or your smartphone camera to capture a clear image of these tiny markings if they are difficult to read.
Second, perform a visual and tactile check of the zipper teeth. Run your finger along the track to determine if the teeth are smooth and continuous (nylon coil), individual and blocky (molded plastic), or rigid and metallic (metal). Note whether the teeth are visible on the front of the item or hidden behind the fabric tape (invisible). This step confirms the teeth style, which must match the internal channel of your new slider.
Third, test the clearance and tape width of the zipper track. Ensure the fabric tape is not frayed, stretched, or torn near the teeth, as damaged tape can prevent even a perfectly matched slider from operating correctly. Measure the total width of the zipper tape when closed to ensure it matches standard specifications for your zipper size.
Finally, decide whether you need to replace just the pull tab or the entire slider body. If the slider body still moves smoothly and locks the teeth together, but the pull tab has broken off, you can simply attach a clip-on replacement pull tab to the existing bridge. However, if the zipper teeth are separating behind the slider, or if the slider is loose, cracked, or failing to close the track, you must replace the entire slider body.
Common Compatibility Mistakes to Avoid
Avoiding common pitfalls during the selection and installation process will save you time and prevent permanent damage to your garments or gear.
One of the most frequent mistakes is forcing a metal slider onto a delicate nylon coil zipper track. Metal sliders have rigid, sharp-edged channels designed for metal teeth; when forced onto a coil zipper, they will quickly shave down or cut the nylon spiral, ruining the entire zipper assembly and requiring a complete replacement of the zipper tape.
Another common error is mismatching zipper sizes, such as attempting to use a #5 slider on a #3 track. While a larger slider may slide onto a smaller track, it will not compress the teeth sufficiently to lock them together, causing the zipper to split open under pressure. Conversely, a slider that is too small will jam immediately and may bend or break the teeth.
Be cautious when considering universal or “one-size-fits-all” zipper replacement kits. While these kits often feature split-slider designs that clamp over the teeth, they are generally intended as temporary emergency repairs rather than permanent solutions. They frequently suffer from bulkiness, lack reliable locking mechanisms, and may not provide a sufficiently tight fit on specialized teeth styles like invisible or heavy-duty molded plastic zippers.
If you encounter a situation where the zipper tape is severely torn, several teeth are missing from the middle of the track, or the replacement slider repeatedly fails to align the teeth, halt the repair. Attempting to force a repair on a structurally compromised zipper can ruin the surrounding fabric. In these cases, consult a professional tailor or gear repair service to have the entire zipper assembly replaced.
Frequently Asked Questions (FAQ)
Can I use a universal zipper puller on any jacket or bag?
Universal clip-on pull tabs are designed to replace only the pull piece, not the internal slider body itself. They are highly effective if your existing slider body is in good working condition but the original handle has broken off. However, their compatibility depends on the size and thickness of the existing slider’s bridge. Before purchasing a universal tab, measure the opening of the bridge on your slider to ensure the clip mechanism can pass through and rotate freely without binding.
How do I attach a replacement pull tab without removing the zipper stops?
You can attach a replacement pull tab without removing the zipper stops by using a split-ring, a lobster-claw clasp, or a specialized snap-on pull tab. These designs allow you to loop or snap the new tab directly onto the existing slider bridge. This method is only possible if the slider bridge is intact and has sufficient clearance to accommodate the attachment ring. If you must replace the entire slider body, you will generally need to remove the top stops to slide the old body off and the new one on.
Why does my new zipper slider keep sliding down on its own?
A zipper slider that slips down on its own usually indicates that a non-lock slider was installed where an auto-lock or pin-lock slider is required. Non-lock sliders have no internal braking mechanism and will yield to gravity or physical tension. Alternatively, this issue can occur if the slider is slightly too large for the teeth, preventing the locking pin from engaging fully, or if the zipper teeth are worn down and cannot provide enough resistance to hold the lock.

Community discussion
Share your experience or ask a question. Comments are reviewed before publication.