
Replacing a broken zipper can restore a beloved garment or heavy-duty bag, saving it from being discarded. However, choosing the wrong replacement can ruin the item’s drape, compromise its functionality, or result in a zipper that fails under stress. To choose the right zipper type and size, you must evaluate the item’s structural demands, measure the exact length between the stops, identify the correct teeth thickness (gauge), and match the specific zipper mechanism to your fabric’s weight.
Assess Your Item and Prepare for Zipper Replacement
Before purchasing a replacement zipper, evaluate the specific requirements of your garment or bag. A heavy-duty backpack requires a rugged, rigid zipper that can withstand tension, while a delicate silk dress demands a lightweight, flexible option that will not distort the fabric’s natural drape. Matching the zipper’s strength and flexibility to the item’s primary use ensures the repaired item functions correctly and lasts for years.
To prepare the item, check the manufacturer’s care label and the original construction instructions. If the instructions are unavailable or if you are working with specialized technical fabrics, consult a professional tailor or the manufacturer directly. Use a high-quality seam ripper to carefully remove the old zipper. Work slowly to avoid cutting the surrounding fabric fibers, and preserve the original stitch lines on the fabric, as these will serve as an invaluable guide when you sew the new zipper in place.
Products mentioned in this guide
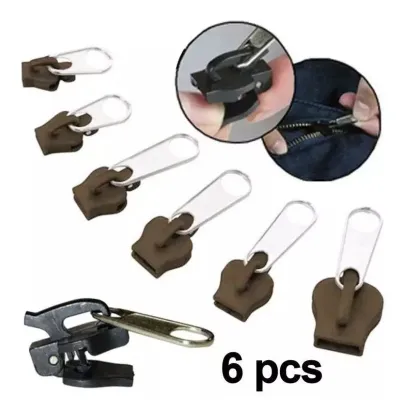
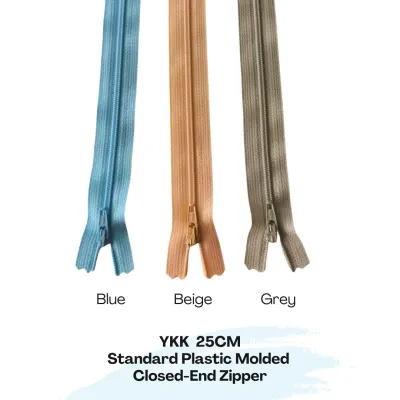
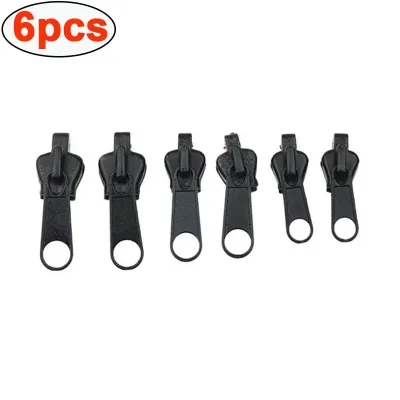
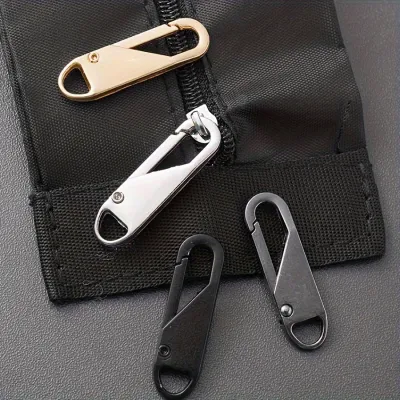
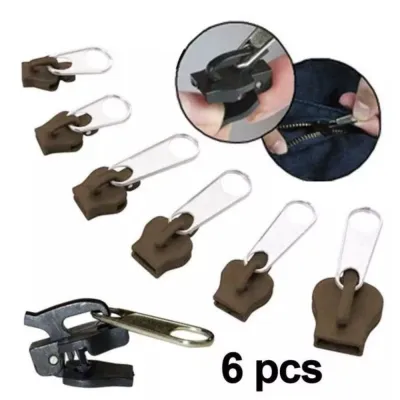
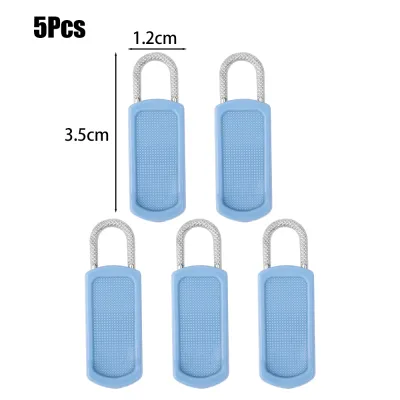
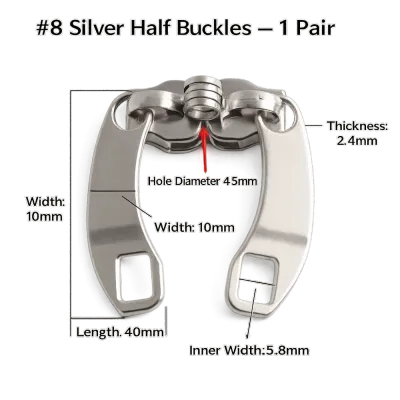
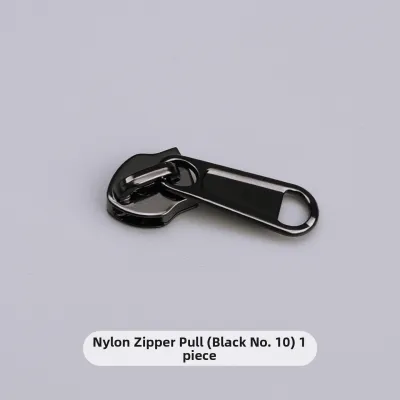
Prices are valid at publication and may change. Please refer to the product page for the latest price.
Once the old zipper is removed, inspect the width of the remaining zipper tape and the fabric’s seam allowance. The replacement zipper tape must be wide enough to fit comfortably under your sewing machine’s presser foot while aligning with the original seam lines. If the seam allowance is too narrow, you may struggle to secure the zipper without catching the teeth in the stitches.
Examine the fabric surrounding the zipper opening for signs of wear. If the fabric is severely frayed, stretched, or degraded during the removal process, you must stabilize the area before proceeding. Applying a strip of lightweight fusible interfacing to the wrong side of the fabric along the seam line will reinforce the weakened fibers, providing a stable foundation for the new stitches and preventing future tearing.
Measure for the Correct Zipper Length and Gauge
Getting the measurements right is the most critical step in any zipper replacement project. A zipper that is even slightly too short will leave an awkward gap, while one that is too long can cause the fabric to buckle and warp.

Measuring Zipper Length Accurately
To find the correct length, you must measure the functional zipper area rather than the entire length of the fabric tape. The industry standard for zipper length is the distance measured strictly from the top stop to the bottom stop. For separating zippers, measure from the top stop down to the very bottom of the slider and retainer box. The extra fabric tape extending beyond the stops at either end should not be included in this measurement.
The tool you use to measure depends entirely on the shape of the seam. For straight seams, such as those on a jacket front or a rectangular tote bag, a rigid metal ruler or a flat acrylic ruler provides the most accurate reading. For curved seams, such as those found on fitted necklines, trousers, or contoured cushions, use a flexible sewing measuring tape. Lay the fabric flat on a hard surface and guide the tape along the curve of the seam without stretching the fabric.
In cases where the original zipper is missing its stops or is severely damaged, you must measure the functional tooth area that actually closes. If the original zipper is completely gone, lay the garment flat, pin the seam closed as it should sit when finished, and measure the opening from the top edge to the bottom seam intersection to determine the required zipper length.
Identifying Zipper Size and Gauge
Zipper size is designated by a number system, such as #3, #5, or #8, which represents the width of the interlocked teeth in millimeters when the zipper is closed. This gauge refers strictly to the teeth themselves, not the width of the fabric tape. Choosing the correct gauge is vital for maintaining the structural integrity and appearance of the item.
As a general rule, different gauges correspond to specific fabric weights and uses. A #3 zipper is lightweight and highly flexible, making it ideal for delicate garments like skirts, dresses, and lightweight blouses. A #5 zipper is the standard choice for everyday jackets, hoodies, backpacks, and medium-weight bags. A #8 or higher zipper features thick, heavy-duty teeth designed to withstand significant stress, making it suitable for canvas tents, leather jackets, motorcycle gear, and heavy luggage.
To identify the gauge of your old zipper, start by inspecting the back of the original slider. Manufacturers often stamp the gauge number directly onto the metal casing of the slider. If the number is worn off or missing, close the zipper and use a pair of calipers or a highly precise ruler to measure the width of the interlocked teeth at their widest point. A measurement of approximately 5 mm indicates a #5 zipper, while a measurement of 8 mm indicates a #8 zipper.
Matching the gauge precisely is critical for a successful repair. If you attempt to use a mismatched slider on existing teeth, the slider will either fail to engage the teeth or get permanently jammed. Furthermore, installing a zipper with a gauge that is too heavy for the fabric will cause the seam to droop and pucker, while a gauge that is too light will quickly fail under the normal tension of using the item.
Match the Zipper Type to Your Garment or Bag
Zippers are constructed from various materials and designs, each suited to specific functions and aesthetic styles. Selecting the correct type ensures your replacement matches the original design and performance.
Nylon Coil and Plastic Molded Zippers
Nylon coil zippers are the most versatile and widely used type in the sewing industry. They are constructed from a continuous spiral of nylon monofilament sewn onto the zipper tape. This continuous structure makes them exceptionally flexible, lightweight, and soft against the skin, which is why they are the preferred choice for curved seams, dresses, skirts, and lightweight bags. Because the coil is continuous, these zippers are highly forgiving of minor sewing misalignments; if a tooth gets slightly out of line, the flexible coil can often self-correct during operation.
Plastic molded zippers, on the other hand, feature individual, chunky teeth molded directly onto the zipper tape. Usually made from polyacetal resin, these zippers offer greater rigidity, a distinct sporty appearance, and excellent resistance to chemical exposure. They are commonly found in casual outerwear, fleece jackets, activewear, and children’s clothing. The individual teeth are highly durable and slide smoothly, making them easy for children to operate, though they lack the flexibility needed for tight curves.
Metal Tooth Zippers
Metal tooth zippers are renowned for their classic aesthetic, exceptional durability, and rigid structure. They feature individual metal teeth—commonly made of brass, aluminum, nickel, or antique bronze—clamped onto a heavy-duty fabric tape. This robust construction makes them the industry standard for high-wear items such as denim jeans, heavy canvas bags, leather jackets, and rugged workwear.
However, the rigidity of metal zippers means they require precise alignment during installation. They do not bend easily around tight curves, and forcing them into curved seams can cause the zipper to bind or warp the fabric. When selecting a metal replacement, always inspect the other hardware on your garment or bag, such as snaps, buckles, or rivets. Choose a metal finish (like antique brass or polished nickel) that matches the existing hardware to ensure a cohesive, professional look.
Invisible Zippers
Invisible zippers are engineered to disappear completely into the seam line of a garment, leaving only a tiny, unobtrusive teardrop pull visible. This is achieved because the fine nylon coils are mounted on the back of the tape and curl inward, away from the front of the fabric. They are the standard choice for formalwear, bridal gowns, tailored skirts, and fitted dresses where a visible zipper line would disrupt the clean silhouette of the design.
Installing an invisible zipper requires a different approach than standard zippers. You must use a specialized invisible zipper presser foot on your sewing machine. This foot features grooves on the underside that unroll and hold the coil out of the way, allowing the needle to stitch extremely close to the teeth. Attempting to install an invisible zipper with a standard presser foot usually results in stitching that is too far from the coil, leaving the zipper tape visible on the finished garment.
It is important to note that invisible zippers are delicate. They are not designed to withstand high-stress areas or heavy, bulky fabrics. If installed in a tight-fitting garment made of heavy material, the lateral tension will strain the fine coils, causing the zipper to split or fail prematurely.
Separating and Specialty Zippers
Separating zippers, also known as open-end zippers, are designed to pull completely apart at the bottom. They feature a pin-and-box mechanism instead of a bottom stop, allowing the two sides of the zipper tape to detach entirely. This functionality is essential for garments and gear that must open completely, such as front-zippered jackets, cardigans, vests, and sleeping bags. When replacing a separating zipper, ensure you purchase a dedicated separating model, as a closed-end zipper cannot be modified to separate.
Waterproof or water-resistant zippers are specialty items designed to block moisture from penetrating the zipper teeth. They typically feature a polyurethane or PVC coating applied over a reversed nylon coil zipper tape. The shiny or matte coating faces the exterior, sealing the gap between the coils when closed. These are commonly used in technical outdoor gear, rain jackets, and waterproof bags.
When selecting a water-resistant zipper, always read the manufacturer’s care label and product specifications. True waterproof performance depends on the specific coating, the quality of the seam sealing tape, and how the zipper is integrated into the garment’s design. Verify these details via the product tags rather than assuming a zipper is fully waterproof based on its appearance or material name alone.
Purchase and Verify Your Replacement Zipper
Once you have determined the exact measurements and type of zipper required, you are ready to source your replacement. In Singapore, you can find a wide selection of zippers at local haberdashery and craft shops, particularly in historic textile hubs like Chinatown (such as People’s Park Centre) or Arab Street, as well as via specialized online craft retailers. When purchasing online, pay close attention to the return policies, especially if you are buying zippers that are cut to a custom length, as these are often non-refundable.
Before making your purchase, run through this comprehensive pre-purchase checklist:
- Length: Does the measurement from top stop to bottom stop match your garment opening?
- Gauge: Is the teeth width (#3, #5, #8) appropriate for the fabric weight?
- Type: Is it a closed-end, separating, or invisible zipper?
- Tape Color: Does the fabric tape match or complement your garment fabric?
- Slider Pull: Is the pull style suitable for the item's use (e.g., a locking slider for pants, or a large pull for winter jackets)?
Once your replacement zipper arrives, conduct a physical verification step before sewing it into your project. Lay the zipper flat on a clean surface and test the slider movement by hand. Pull the slider up and down several times; it should glide smoothly along the teeth or coil without catching, sticking, or resisting. Once zipped, gently pull the two sides of the zipper tape laterally. The teeth or coils must lock together completely without gaping, separating, or showing signs of weakness.
Finally, prepare the zipper tape for installation. If your garment is made of a natural fiber that is prone to shrinking, such as cotton, linen, or wool, you should pre-wash or thoroughly steam-press the zipper tape before sewing. This step ensures that any minor shrinkage in the polyester zipper tape occurs before it is attached to the garment, preventing the fabric from puckering along the seam line after the first wash.
Frequently Asked Questions (FAQ)
Can I cut a zipper to make it shorter?
Yes, nylon coil and plastic molded zippers can easily be shortened to fit your project. To do this, measure the desired length from the top stops downward, mark the new bottom stop location, and sew a secure thread bartack across the coils or teeth at that mark using a needle and heavy-duty thread. Once the thread stop is secure, you can cut the excess zipper tape about 2 cm below the new stop. Metal tooth zippers, however, should generally not be cut by beginners. Removing individual metal teeth requires specialized pliers, and cutting the tape without properly removing the teeth and crimping on new metal stops will ruin the slider and fray the tape. For metal zippers, it is highly recommended to purchase the exact length needed.
What should I do if I cannot find the exact length?
If the exact length you need is unavailable, it is always safer to purchase a zipper that is slightly longer than required rather than one that is too short. A longer nylon or plastic zipper can easily be shortened from the bottom or top depending on the style. If you must use a longer metal zipper that cannot easily be shortened, you can adjust your sewing pattern or the garment’s seam allowance slightly to accommodate the extra length. Alternatively, you can leave the extra zipper tape unsewn at the top or bottom and fold it flat inside the garment’s lining or facing, securing it with hand stitches so it remains hidden.
Do I need to replace the entire zipper or just the slider?
To determine whether you need a full replacement, closely diagnose the condition of the zipper. If the zipper teeth are broken, missing, or if the fabric tape is torn or frayed, the entire zipper must be replaced. However, if the teeth and tape are completely intact but the zipper splits open after zipping or the slider feels loose and fails to engage the teeth, the slider itself is likely worn out. In this case, you can often save time by performing a slider-only replacement. You can remove the old slider by gently prying off the top stops with pliers, sliding on a matching replacement slider of the correct gauge, and crimping new top stops back onto the tape.
Community discussion
Share your experience or ask a question. Comments are reviewed before publication.