
Replacing a broken zipper is a highly effective way to extend the lifespan of your favorite garments, bags, and home textiles. However, a successful zip replacement depends entirely on selecting the correct style, length, and gauge before you begin sewing. Choosing the wrong zipper can lead to puckered seams, misaligned waistbands, or a slider that fails to close properly under tension.
To find the perfect replacement zipper, you must identify its functional type (separating, closed-end, or invisible), measure the exact length of the teeth from stop to stop (excluding the fabric tape), and determine the tooth material and gauge (width in millimeters). Taking these precise steps ensures your repaired item functions just as smoothly as the original.
Identify the Correct Zipper Type for Your Item
Before taking any measurements, you must determine the specific functional category of the zipper your project requires. Installing the wrong type of zipper will render the item unusable, as different designs are engineered for distinct opening and closing behaviors.
Products mentioned in this guide
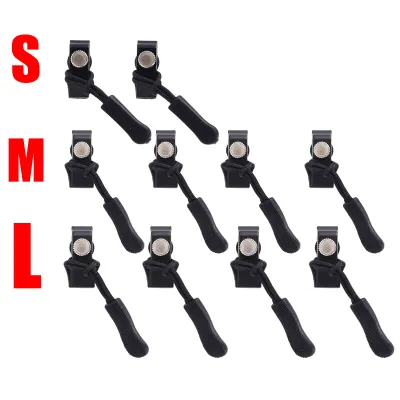
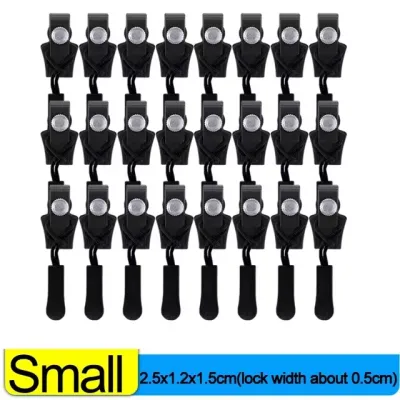
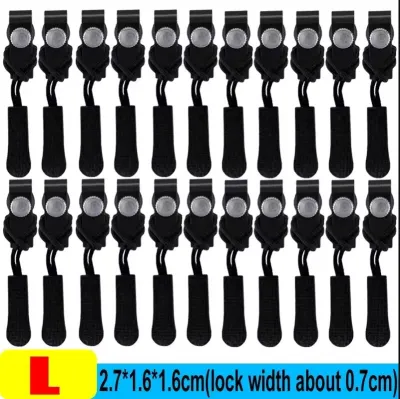
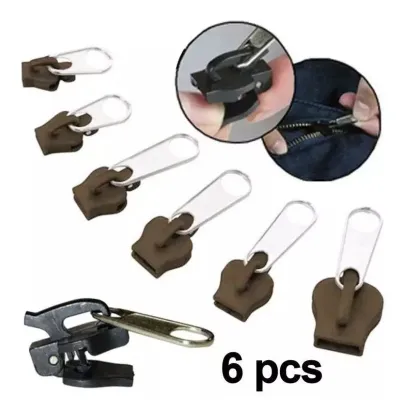
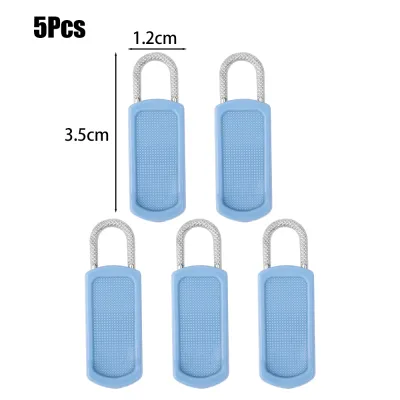
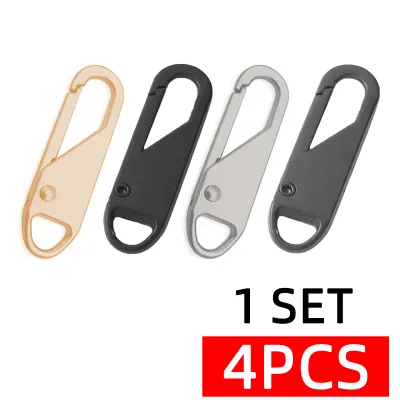
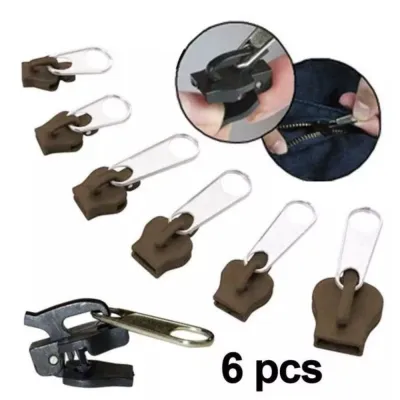
Prices are valid at publication and may change. Please refer to the product page for the latest price.
Closed-end zippers are designed for items that do not need to open completely at the bottom. These are commonly found in trousers, skirts, pockets, sleeves, cushions, and bags. A closed-end zipper features a metal or plastic bottom stop that holds both sides of the zipper tape permanently together, preventing the slider from running off the track and keeping the bottom of the opening secure.
Separating zippers, on the other hand, are essential for garments that must open completely, such as jackets, hoodies, coats, and detachable linings. Instead of a fixed bottom stop, a separating zipper features an insertion pin on one side of the tape and a retainer box on the other. When unzipped, the pin slides out of the box, allowing the two halves of the garment to separate entirely.
Invisible zippers are a specialized sub-type of closed-end zippers, widely used in formal dresses, skirts, and delicate home decor. Unlike standard zippers, the teeth of an invisible zipper are coiled on the underside of the fabric tape. When installed correctly using a specialized invisible zipper presser foot, the zipper remains completely hidden within the seam, leaving only a small, teardrop-shaped slider visible.
To confirm the exact functional type of your original zipper, inspect the bottom mechanism closely. Look for either a solid metal bar joining the tracks (closed-end) or a pin-and-box mechanism (separating). If the teeth are completely hidden from the front of the garment and curl backward, you are dealing with an invisible zipper.
How to Measure Zipper Length Accurately
Once you have identified the correct zipper type, the next step is to determine the exact length needed for the replacement. A common mistake is measuring the entire length of the zipper tape, which leads to purchasing a zipper that is too long for the garment opening.

To measure a zipper accurately, you must measure strictly along the zipper teeth, from the top stop to the bottom stop. For closed-end zippers, place your measuring tape at the very top of the metal or plastic teeth (just below the top stops) and measure down to the bottom stop. For separating zippers, measure from the top stops down to the very bottom of the retainer box.
Always exclude the fabric tape extensions at both the top and bottom of the zipper from your final length calculation. These fabric extensions are designed to be folded over and sewn into the seams of the garment to secure the ends; they do not contribute to the functional opening length of the zipper itself.
If your original zipper is missing or damaged beyond measurement, you can measure the opening of the garment instead. Lay the garment flat on a hard surface, align the seam edges where the zipper will be installed, and measure the opening from the top seam line to the bottom seam line. This measurement represents the functional zipper length you need to purchase.
Standard commercial zippers are typically manufactured in fixed, whole-inch or whole-centimeter increments. If your measured length falls between standard commercial sizes, it is generally best to purchase the next size up. Many zipper types can be shortened safely to fit your exact opening, whereas a zipper that is too short will leave an unsightly gap or compromise the garment’s structure.
Determine the Zipper Tooth Size and Material
Matching the tooth size and material of the original zipper is crucial for maintaining the garment’s drape, weight, and overall functionality. The size of the zipper teeth is referred to as the gauge, which is measured in millimeters across the closed teeth.
To estimate the gauge of your zipper, close the zipper and use a precise ruler or caliper to measure the width of the teeth in millimeters. For example, if the closed teeth measure approximately 5 millimeters across, you require a #5 gauge zipper. Smaller gauges, such as #3 or #4, are lightweight and highly flexible, making them ideal for delicate fabrics, skirts, and cushions. Larger gauges, such as #5, #8, or #10, are designed for heavy-duty applications like outerwear, denim, canvas bags, and upholstery.
In addition to the gauge, you must identify the tooth material, which generally falls into one of three categories:
- Nylon Coil: These zippers feature teeth made of a continuous coiled nylon monofilament. They are highly flexible, lightweight, and split-resistant, making them the standard choice for bags, cushions, and lightweight apparel.
- Molded Plastic: Often referred to as vislon zippers, these feature individually molded plastic teeth fused onto the tape. They are highly durable, rust-proof, and lightweight, making them excellent for sportswear, casual jackets, and children's clothing.
- Metal: These zippers feature individual metal teeth clamped onto the fabric tape. They offer a classic, rugged aesthetic and exceptional strength, making them the preferred choice for jeans, leather jackets, and heavy canvas gear.
To ensure a perfect match, cross-reference your measured tooth width and material with the packaging specifications or manufacturer guidelines of the replacement zipper. If the original slider is still intact, check the back of the slider body; manufacturers often stamp the gauge number (such as “5” or “YKK 5CN”) directly onto the metal, which simplifies the identification process.
Essential Tools and Preparation for Zip Replacement
Before you begin the physical replacement process, gathering the correct haberdashery tools and preparing the garment will ensure a clean, professional finish. Working with clean, flat seams prevents puckering and alignment issues during sewing.
To complete a zip replacement, you will need several essential tools:
- A sharp seam ripper to remove the old stitches.
- A flexible measuring tape or sewing gauge.
- Fabric chalk or a water-soluble marking pen.
- Fine sewing pins or basting thread.
- High-quality sewing thread that matches the color of your garment fabric.
- A sewing machine equipped with a standard zipper foot or an invisible zipper foot, depending on your zipper type.
Begin by carefully removing the old zipper. Slide your seam ripper under the original stitches, cutting them one by one. Work slowly and patiently, taking care not to cut, stretch, or fray the surrounding garment fabric, especially if you are working with delicate or loosely woven materials.
Once the old zipper is completely detached, clear away all loose threads and lint from the seam area. Use an iron set to the appropriate temperature for your fabric to press the seam allowances flat. Pressing removes any creases or distortions left by the old zipper, providing a clean, stable foundation for pinning and sewing the new replacement.
Verify Your Replacement Zipper Before Sewing
Before making any permanent machine stitches, it is vital to verify that your replacement zipper matches the project requirements and functions correctly. Taking a few minutes to test and align the zipper at this stage prevents the frustration of having to rip out permanent stitches later.
First, test the slider movement of the new zipper. Zip and unzip it several times to ensure the slider glides smoothly along the entire length of the track without catching, sticking, or snagging on the fabric tape. If the slider feels stiff, check for any stray threads or manufacturing debris in the teeth.
Next, lay the new zipper along the garment opening to double-check the functional length. Ensure that the top stops align perfectly with the top edge of the opening and that the bottom stop or retainer box sits exactly where the original did. Verify that the width of the zipper tape is appropriate for the garment’s seam allowance; if the tape is too narrow, it may not catch securely in the seam.
Finally, pin or hand-baste the zipper into the garment opening. Basting involves sewing long, temporary running stitches by hand to hold the zipper in place. This step is highly recommended as it allows you to try on the garment or close the opening to verify that the seams, waistbands, pockets, and any intersecting pattern lines align perfectly. Once you are satisfied with the alignment, you can proceed to machine-sew the zipper with confidence.
Frequently Asked Questions (FAQ)
Can I shorten a zipper that is too long for my project?
Yes, you can shorten a zipper that is too long, provided you use the correct method for the specific zipper material. For nylon coil and molded plastic zippers, measure the desired length from the top stops downward and mark the new bottom stop location with fabric chalk. Using a needle and heavy-duty thread, sew several secure stitches directly over the zipper teeth at your mark to create a new, thread-based bottom stop. Once the stop is secure, cut away the excess zipper tape approximately 2 centimeters below your new stop.
For metal zippers, the process requires more care. You must mark the desired length, then use a pair of needle-nose pliers to carefully pry off the individual metal teeth above your mark. Removing the teeth prevents your sewing machine needle from striking the metal and breaking during installation. Once the teeth are removed, crimp a new metal top stop onto the tape using pliers, or sew a secure thread stop, and trim the excess fabric tape. Always check your garment’s seam allowance and hem depth before deciding to shorten the fabric tape.
What should I do if the original zipper has no size markings?
If your original zipper lacks any size markings on the slider or tape, you can easily identify the correct replacement by relying on precise physical measurements. Use a ruler or caliper to measure the exact width of the closed teeth in millimeters to determine the gauge, and measure the functional length from stop to stop.
If you prefer a visual comparison, carefully remove the old zipper and bring it to a local haberdashery store in Singapore. This allows you to compare the tooth profile, material, and tape width directly against the retail stock on display.
Additionally, check the garment’s care label, original packaging, or the manufacturer’s website. Many brands list the specific hardware components or zipper types used in their garments, which can provide valuable clues for sourcing an identical replacement.

Community discussion
Share your experience or ask a question. Comments are reviewed before publication.