
When a favorite backpack, cushion cover, or rain jacket suffers a broken zipper, you do not always need to discard the item or pay for an expensive professional replacement. A high-quality zip repair kit can restore functionality in minutes, provided you choose the right components. The secret to a successful fix lies in matching the replacement slider precisely to your zipper’s style (coil, metal, or invisible) and its exact size gauge.
Selecting the wrong kit can result in a slider that either refuses to budge, slips off the track, or permanently damages the delicate teeth of your zipper. By understanding the mechanical differences between zipper types and learning how to measure your hardware, you can confidently choose a kit that saves your gear and extends its lifespan. This guide details everything you must look for to ensure your repair is seamless, durable, and fully compatible.
Identifying Your Zipper Type and Damage
Before browsing online marketplaces or visiting a local haberdashery, you must diagnose the exact nature of the damage and identify the zipper category. Zipper tracks are not universal; they are engineered with distinct materials and geometries that require matching replacement parts.
Products mentioned in this guide
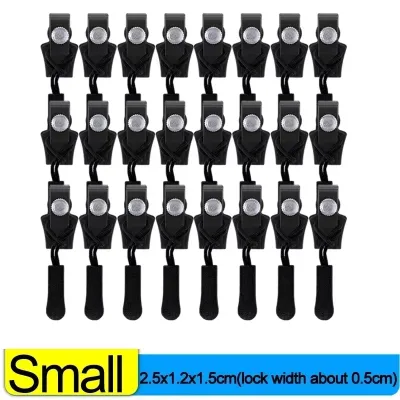
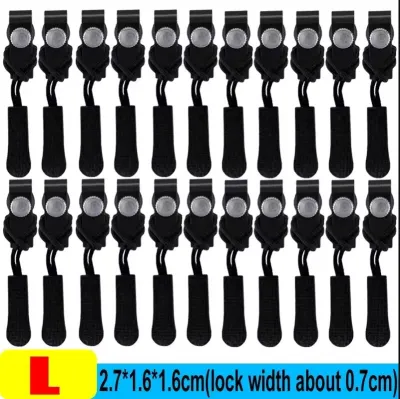
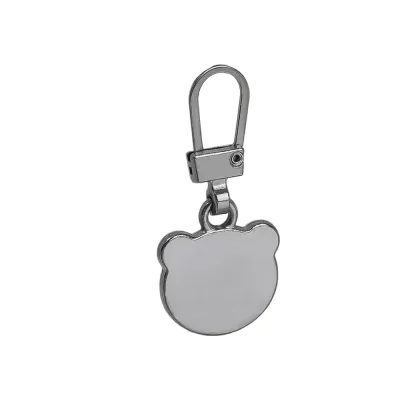
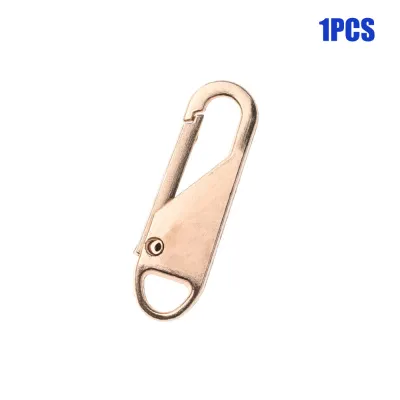
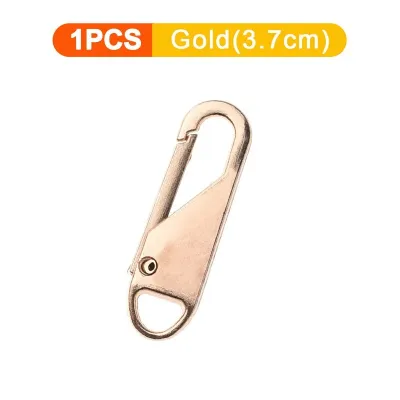
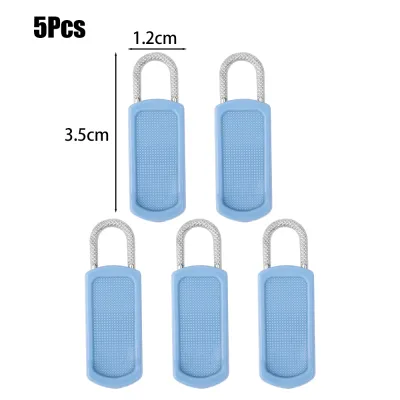
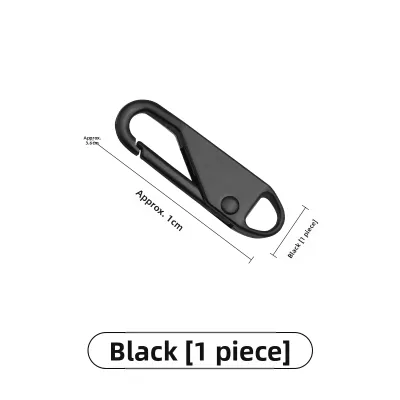
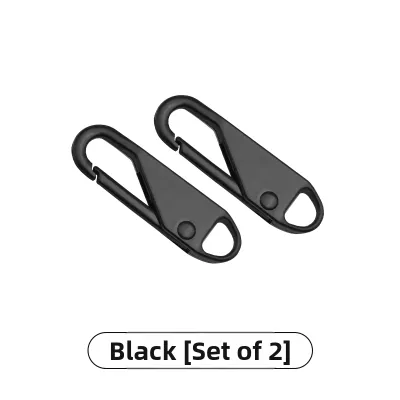
Prices are valid at publication and may change. Please refer to the product page for the latest price.
There are three primary zipper types you will encounter on everyday items:
- Coil Zippers: These feature a continuous spiral of nylon or plastic monofilament looped into teeth-like shapes. They are highly flexible, lightweight, and commonly found on backpacks, tents, luggage, and casual outerwear. Because the track is a continuous loop, it is highly susceptible to stretching but offers excellent lateral strength.
- Metal Zippers: These consist of individual metal teeth—usually made of brass, aluminum, nickel, or manganese—clamped onto a sturdy fabric tape. You will find these on heavy-duty items like denim jeans, leather jackets, and rugged travel bags. They are incredibly durable but can suffer from corrosion in humid environments.
- Invisible Zippers: These are specialized coil zippers where the teeth are mounted on the reverse side of the tape. When zipped, the teeth face inward toward the lining, making the zipper virtually invisible from the outside of the garment. They are standard on formal dresses, skirts, and delicate upholstery.
Once you have identified the zipper type, assess whether the damage is actually repairable. A zip repair kit is designed to address specific mechanical failures, such as a broken or missing slider, separated tracks that fail to lock, or missing top and bottom stops. If the slider has simply lost its pull tab or has stretched open over years of use, a kit is the perfect solution.
However, some types of damage are unrepairable with a standard kit. If the zipper tape is torn, or if several teeth are missing from a metal or molded plastic zipper track, the structural integrity of the zipper is permanently compromised. In these scenarios, attempting to slide a new runner onto the track will not work; the entire zipper assembly must be unpicked and replaced with a new one.
Always match your repair approach to the garment’s value and fabric delicacy. If you are dealing with a high-end designer silk dress or a vintage leather jacket, a DIY repair with basic tools carries a risk of permanent fabric damage. For everyday items, casual wear, and outdoor gear, a self-repair kit is highly effective and economical.
Critical Specs for Your Zip Repair: Slider Size, Material, and Compatibility
To ensure your replacement parts fit and function correctly, you must verify the technical specifications of both your existing zipper and the replacement kit. The most common mistake is assuming all zippers of a similar style are the same size.

Zippers are categorized by a standard sizing system, denoted by a number (such as #3, #5, #8, or #10). This number corresponds directly to the horizontal width of the zipper teeth when they are fully closed, measured in millimeters. For example, a #5 zipper has closed teeth that measure approximately 5mm to 5.9mm across. Knowing this number is critical because a #5 slider will not function on a #3 or #8 track.
If the original slider is still attached to the item, look closely at the back or bottom of the metal slider body. Manufacturers often stamp the size number directly onto the metal (for example, “5”, “5CN”, or “3Y”). If the stamp has worn off or is absent, you can measure the width of the closed teeth yourself:
- Lay the zipper flat on a hard surface with the teeth fully interlocked.
- Use a digital caliper or a precise ruler to measure the distance across the closed teeth in millimeters, excluding the fabric tape.
- Match your measurement to the standard sizes: 3mm to 4mm corresponds to #3, 5mm to 6mm corresponds to #5, 7mm to 8mm corresponds to #8, and 9mm to 10mm corresponds to #10.
Material compatibility is another crucial factor. Replacement sliders are generally made of cast zinc alloy, brass, or plastic. As a rule of thumb, you should match the slider material to the zipper track material. Metal sliders should always be used on metal zippers to withstand the high tension and physical wear of metal-on-metal contact.
For coil zippers, plastic or nylon sliders are often preferred, though zinc alloy sliders designed specifically for coil tracks are also common. Using a heavy, sharp-edged metal slider on a delicate nylon coil zipper can cause rapid tape abrasion, eventually cutting through the nylon loops and ruining the zipper.
Forcing a mismatched slider onto a track is highly risky. If the slider is too narrow, it will jam and potentially strip the teeth or tear the fabric tape. If it is too wide, it will fail to bring the teeth close enough together to lock, causing the zipper to split open repeatedly. Always double-check the manufacturer’s compatibility charts before purchasing.
Recommended Zip Repair Kit Categories by Use Case
Not all repair kits are created equal. Some are designed as broad, multi-purpose assortments for household emergencies, while others target specific heavy-duty or delicate applications. Choosing the right category ensures you have the exact parts and tools required for your specific project.
Universal / All-in-One Repair Kits
These kits are designed for general household maintenance and are ideal for casual users who want to keep a variety of spare parts on hand. They typically contain a broad assortment of #3 and #5 sliders in both silver and black finishes, along with a selection of top and bottom stops. They are highly versatile and perfect for fixing everyday items like school bags, standard sleeping bags, luggage, and cushion covers.
- Advantages: Excellent cost-per-part ratio; covers the most common zipper sizes found in a typical household; highly convenient for unexpected breaks.
- Limitations: Rarely include specialized heavy-duty sliders (#8 or #10) or delicate invisible zipper components; the included tools may be basic or absent.
Specialized Heavy-Duty Metal Zipper Kits
If you need to repair heavy winter jackets, denim jeans, workwear, canvas tents, or heavy leather boots, a specialized heavy-duty kit is essential. These kits focus on larger-gauge metal sliders (#5, #8, and #10) and often include rugged brass or antique bronze finishes to match original hardware. They also prioritize physical durability, featuring solid metal replacement stops that can withstand high tension.
- Advantages: Built to withstand extreme stress; includes heavy-duty pliers specifically designed for crimping metal stops; ideal for outdoor and industrial gear.
- Limitations: Completely unsuitable for delicate garments, thin fabrics, or invisible zippers; higher cost due to specialized tools and materials.
Invisible Zipper Repair Solutions
Invisible zippers require highly specialized components because their sliders feature a unique, narrow internal channel and a distinct teardrop-shaped pull tab designed to sit flat against the fabric. Standard coil sliders will not work on an invisible zipper track. These kits or replacement packs are essential for formal wear, dresses, skirts, and fine upholstery.
- Advantages: Preserves the hidden, seamless aesthetic of formal garments; prevents the unsightly bulging associated with standard sliders.
- Limitations: Extremely high difficulty level for DIY beginners; often requires unpicking the bottom seam of the garment to install; professional alteration is highly recommended for high-value silk or satin fabrics.
Zipper Repair Kit Comparison
| Kit Category | Versatility | Durability | Ease of Use | Ideal Applications |
|---|---|---|---|---|
| Universal / All-in-One | High | Medium | Medium | Backpacks, standard luggage, cushion covers, casual jackets |
| Heavy-Duty Metal | Low | High | Medium-Low | Jeans, workwear, leather boots, canvas tents, heavy bags |
| Invisible Zipper | Low | Medium-Low | Low | Formal dresses, skirts, delicate garments, fine upholstery |
Evaluating Kit Quality and Included Accessories
When comparing different kits, do not look only at the quantity of pieces included. A kit with 100 low-quality sliders is far less valuable than a kit with 10 precisely engineered, durable components.
Examine the physical build quality of the replacement sliders. High-quality sliders should feature smooth internal channels with no visible casting lines, burrs, or sharp metal edges. If the internal channel has rough spots, it will snag on the zipper tape and cause premature wear. The pull tabs should be securely attached to the slider body; cheap alloy tabs are prone to snapping off under moderate pulling force.
Next, evaluate the included tools. A successful repair requires precise manipulation of tiny metal parts, which is incredibly difficult to do with bare hands or standard household tools. Look for kits that include:
- Specialized Zipper Pliers: End-cutting or flat-nose pliers are essential for cleanly removing old stops and firmly crimping new top and bottom stops into place without crushing the zipper teeth.
- Awls or Pin Tools: These help you pry open tight slider channels or guide the fabric tape through the narrow openings of the new slider.
- Heavy-Duty Thread and Needles: Useful for sewing manual thread stops if metal stops cannot be easily applied to the fabric tape.
Clear, step-by-step instructions or visual guides are another hallmark of a high-quality kit. For beginners, understanding exactly where to cut, where to thread the tape, and how to crimp the stops is crucial to avoiding mistakes that could ruin the garment. Look for kits that provide clear diagrams or links to video tutorials.
Finally, pay attention to the quantity of top and bottom stops included. These tiny metal clips are easily lost during disassembly, and you must install them to prevent the new slider from running off the ends of the track. Ensure the kit provides a generous supply of stops matching the size of the sliders provided.
Frequently Asked Questions (FAQ)
Can a zip repair kit fix a zipper with missing teeth?
No, a repair kit cannot fix a zipper track that has missing teeth. Zipper sliders rely on the continuous, alternating alignment of the teeth to interlock and create a secure seal. If even a single tooth is missing, the slider will jam, misalign, or split open at that specific point. In this situation, the structural integrity of the zipper is permanently compromised, and the entire zipper assembly must be unpicked and replaced.
Why does my newly replaced slider keep sliding down?
If a newly replaced slider fails to stay in place and slides down on its own, it usually indicates that the slider is slightly too large for the zipper track, or the internal tension of the slider is too loose. You can sometimes resolve this by gently squeezing the sides of the slider body with a pair of flat-nose pliers to increase the friction on the track. Be careful not to squeeze too hard, as cast alloy sliders can easily crack under excessive pressure.

Community discussion
Share your experience or ask a question. Comments are reviewed before publication.