
Assembling your first embroidery sewing kit is an exciting step into the world of needlework, but the sheer variety of tools available can easily lead to overwhelming choices and unnecessary purchases. A complete beginner embroidery kit does not require highly specialized or expensive machinery. Instead, it relies on a few fundamental, high-quality hand tools: a selection of sharp embroidery needles, a sturdy tension hoop, stranded cotton embroidery floss, a non-stretchy fabric like cotton calico, sharp embroidery scissors, and a reliable pattern transfer tool. By focusing on these core essentials, you can avoid cluttered craft drawers and ensure a smooth, frustrating-free start to your stitching journey.
While general sewing kits contain basic utility items like standard sewing thread and thin utility needles, embroidery requires specialized tools designed to handle multi-stranded threads and maintain high fabric tension. Selecting the right components individually allows you to customize your kit to your specific project needs while ensuring that every tool performs reliably. Understanding the specifications, materials, and verification methods for each tool will help you build a practical, long-lasting kit that grows with your skill level.
Choosing the Right Needles and Hoops for Beginners
Selecting the correct needle is the most critical factor in preventing thread damage and fabric puckering. For surface embroidery, you should look specifically for crewel needles, which are commonly sold as embroidery needles. These needles feature sharp tips designed to pierce woven fabrics cleanly, paired with elongated eyes that accommodate multiple strands of embroidery floss without friction. Tapestry needles, by contrast, have blunt tips meant for open-weave canvas work and are unsuitable for standard embroidery fabrics.
Products mentioned in this guide
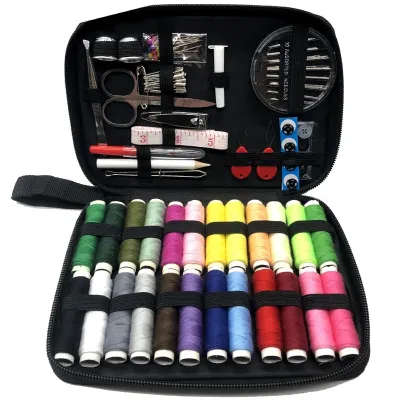
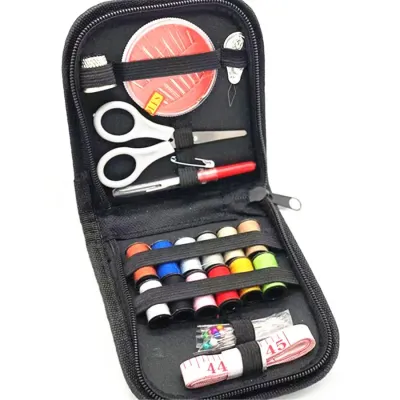
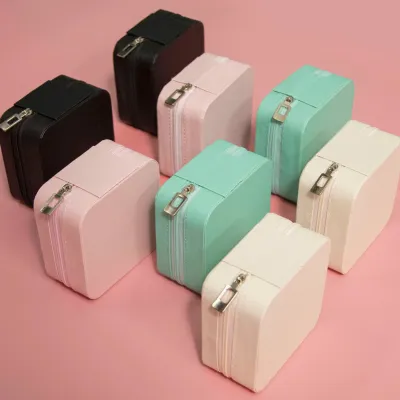
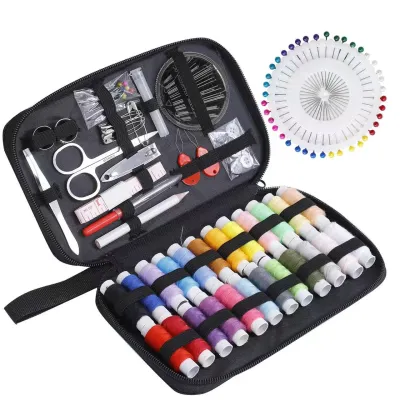
Prices are valid at publication and may change. Please refer to the product page for the latest price.
Needle sizes are designated by numbers, where higher numbers indicate finer, thinner needles. For a beginner kit, a multi-pack containing sizes 5 through 10 offers the greatest versatility. A size 7 or 8 needle is generally the most practical starting point, as it comfortably holds two to three strands of standard cotton floss. Before threading, inspect the needle eye for any rough metal edges or burrs; high-quality needles have polished eyes that allow the thread to slide smoothly, preventing premature fraying.
An embroidery hoop is essential for keeping your fabric taut while you stitch, which ensures uniform stitch tension and prevents the fabric from puckering. Hoops are available in wood, plastic, and metal, each offering different benefits. Wooden hoops made of beechwood are highly popular for their classic aesthetic and lightweight feel, though budget-friendly bamboo hoops can sometimes have minor splinters or uneven gaps. Plastic hoops featuring a molded lip or groove system often provide superior grip, holding the fabric securely without requiring frequent readjustment.
To verify if your fabric is tensioned correctly in the hoop, gently tap the center of the stretched fabric with your finger. It should produce a clear, drum-like sound and feel firm to the touch. If the fabric sags or slips when you push the needle through, the hoop is not maintaining adequate tension. For wooden hoops, wrapping the inner ring with cotton bias tape is an excellent way to increase friction and prevent slippery fabrics from shifting during long stitching sessions.
When choosing your first hoop, size matters more than material for hand comfort. A 6-inch (approximately 15 cm) or 8-inch (approximately 20 cm) hoop is the ideal size for beginners. This dimension fits comfortably within the average hand span, minimizing wrist fatigue during extended stitching sessions. It also accommodates most beginner-friendly patterns, allowing you to complete an entire design without needing to reposition the hoop and risk crushing your completed stitches.
Selecting Threads, Fabrics, and Pattern Transfer Tools
Stranded cotton embroidery floss is the standard thread used for surface embroidery. Each skein consists of six individual strands lightly twisted together, which are designed to be separated depending on the desired thickness of your stitches. For fine detail work, you might use a single strand, while bold outlines or textured stitches may require three to six strands. When purchasing floss, look for reputable brands that explicitly label their threads as colorfast to ensure the dyes will not bleed when the finished piece is washed.

To verify colorfastness at home before starting a project, wet a small sample of the thread in warm water and press it firmly between two layers of white scrap fabric or paper towels. If any dye transfers to the white material, the thread is not colorfast. Working with non-colorfast threads carries a high risk of ruining your embroidery during the final blocking or washing phase, so it is best to reserve those threads for projects that will never come into contact with moisture.
Your choice of fabric determines how easily your needle glides and how well your stitches sit. Beginners should avoid stretchy fabrics like jersey knits or loosely woven fabrics like burlap. Instead, opt for medium-weight, tightly woven natural fabrics such as cotton calico, linen, or cotton-linen blends. To test a fabric’s suitability, hold it up to a light source; if you can see large, irregular gaps between the threads, the fabric is too loosely woven to support detailed embroidery stitches without slipping.
If you plan to stitch on thinner fabrics or want to add extra stability to your project, incorporating a stabilizer into your kit is highly beneficial. Stabilizers are temporary backing materials placed behind the fabric to support the stitches. For beginners, a lightweight, non-woven tear-away or water-soluble stabilizer is ideal. These materials prevent the fabric from stretching out of shape under the tension of the embroidery stitches and can be easily removed once your project is complete.
Transferring your design onto fabric requires a tool that produces clear lines but can be removed completely without leaving permanent stains. Water-soluble fabric pens are the most reliable option for light-colored fabrics, as the blue ink dissolves completely when rinsed with cold water. In highly humid environments, avoid air-erasable pens, as the ambient moisture can cause your traced design to fade away prematurely before you have finished stitching. For dark fabrics, dressmaker’s carbon paper allows you to trace designs using a stylus, leaving a light, easily brushable line.
Scissors, Threaders, and Accessories Worth Buying
While standard household scissors can cut thread, they are too bulky for the precise snips required in embroidery. A dedicated pair of embroidery scissors is an indispensable addition to your kit. These scissors are typically small, measuring between 3.5 to 4 inches in length, and feature extremely sharp, fine-pointed blades. The narrow tips allow you to cut threads close to the fabric surface and cleanly trim mistakes without accidentally slicing adjacent stitches or damaging the background fabric.
To maintain the performance of your embroidery scissors, establish a strict rule to use them exclusively for cutting embroidery floss and sewing threads. Cutting paper, cardboard, plastic packaging, or heavy fabric will quickly dull the delicate blades, leading to frayed thread ends that are difficult to thread through a needle eye. Store your scissors in a protective sheath or case when not in use to protect the sharp tips from damage and prevent accidental cuts.
Several small accessories can significantly improve your stitching efficiency and comfort. A needle threader is a simple tool featuring a fine wire loop that easily passes through the eye of a needle, allowing you to pull multi-stranded floss through without frustration or eye strain. A thimble, made of leather or metal, protects your fingertips when pushing needles through thick fabric layers or multiple seams. For beginners, a flexible leather thimble often provides better tactile feedback and comfort than a rigid metal one.
Another highly practical accessory is a needle minder, which consists of two small, strong magnets that sandwich your embroidery fabric. This tool provides a secure, magnetic resting place for your needle when you need to pause your work, preventing needles from getting lost in your furniture or carpet. These accessories are inexpensive but save considerable time and prevent the common frustration of misplaced tools.
When building your starter kit, it is equally important to know which advanced tools to skip. Avoid purchasing expensive floor stands, specialized magnifying lamps, or massive thread assortments containing hundreds of unlabelled colors. These items add unnecessary cost and clutter to your workspace. A simple desk lamp and a window for tracing designs are perfectly adequate for beginner projects, allowing you to focus your budget on high-quality basic needles, hoops, and threads.
Building and Organizing Your First Embroidery Kit
To build a practical, clutter-free embroidery kit, it helps to organize your purchases into a prioritized checklist. This ensures you have all the absolute essentials to start stitching immediately, while leaving room to add specialized upgrades as your skills develop.
| Kit Category | Absolute Essentials (Must-Have) | Nice-to-Have Upgrades (Add Later) |
|---|---|---|
| Hardware | 6-inch wooden or plastic hoop, pack of embroidery needles (sizes 5-10) | Needle minder, leather thimble, hoop stand |
| Consumables | Stranded cotton floss (3-5 basic colors), cotton calico fabric | Water-soluble stabilizer, specialized metallic threads |
| Tools & Prep | Small embroidery scissors, water-soluble transfer pen | Needle threader, dressmaker's carbon paper, light box |
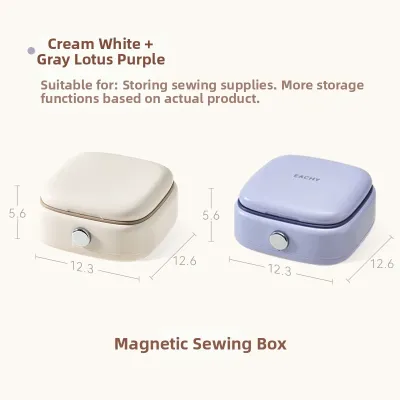
| Storage | Small pouch or box for basic tools | Plastic bobbin organizer box, custom needle case |
Proper organization protects your tools from damage and keeps your materials clean. Embroidery floss is highly prone to tangling if left in its original skein packaging. Winding your floss onto plastic or cardboard bobbins immediately after purchase is the best way to prevent knots. Use a permanent marker to write the color identification number on the corner of each bobbin, then store them upright in a clear, compartmentalized plastic organizer box to keep them free from dust and lint.
In humid climates, metal needles and scissors are susceptible to rusting over time. To protect your hardware, store your needles in a dedicated fabric needle book or a small airtight container. Tucking a small packet of silica gel into your storage box will absorb excess moisture, keeping your metal tools dry and rust-free. Keep your fabrics folded neatly in a dry drawer or plastic bin to prevent creasing and protect them from dust or accidental spills.
When starting out, you will face the choice between buying a pre-assembled commercial embroidery kit or sourcing your tools individually. Pre-assembled kits are highly convenient, as they typically include pre-printed fabric, matching threads, a hoop, and needles. However, many commercial kits compromise on quality to keep costs low, often including rough bamboo hoops that snag fabric or cheap needles that bend easily. Sourcing your tools individually allows you to select high-quality components that will last for multiple projects, providing a much more satisfying and consistent stitching experience.
Frequently Asked Questions (FAQ)
Can I use a standard sewing kit for embroidery?
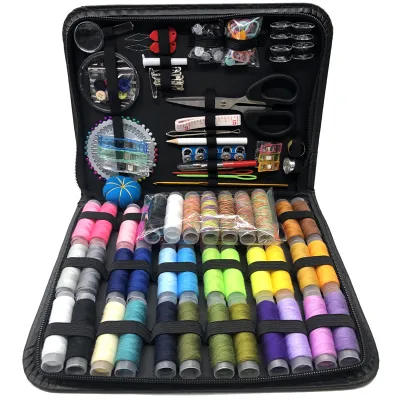
You can share a few basic utility items between a standard sewing kit and an embroidery kit, such as measuring tapes, fabric marking pencils, and straight pins. Standard sewing shears are also excellent for cutting your background fabric down to size before mounting it in your hoop. However, substituting core embroidery tools with standard sewing supplies often leads to frustration and poor results.
Standard sewing needles have very small, round eyes designed for thin polyester thread; attempting to force multi-stranded embroidery floss through them will shred the thread and strain your eyes. Standard sewing thread is also too thin and lacks the volume and lustrous finish of cotton embroidery floss. Finally, standard sewing kits do not include embroidery hoops, which are absolutely essential for maintaining the fabric tension required to keep your stitches flat, even, and puckering-free.
How do I keep embroidery floss from tangling in my kit?
The most effective way to prevent embroidery floss from tangling is to wind each skein onto a plastic or cardboard bobbin as soon as you open it. Avoid pulling thread directly from a loose skein, as this quickly creates tight knots that are nearly impossible to untangle. When you are ready to stitch, cut a length of floss no longer than 18 inches (approximately 45 cm). Lengths longer than this are highly prone to twisting, knotting, and fraying as you repeatedly pull the thread through the fabric.
When separating individual strands from your cut length, do not pull multiple strands apart at once. Instead, hold the thread bundle loosely between your fingers, pinch a single strand, and pull it straight up and out of the bundle. The remaining strands will clump together but can be easily smoothed out. Store your wound bobbins upright in a compartmentalized plastic storage box, which keeps the threads organized by color and prevents them from rubbing against other tools and creating lint.

Community discussion
Share your experience or ask a question. Comments are reviewed before publication.