
Using needle threaders correctly for embroidery involves matching the tool to your needle eye, preparing your floss to minimize bulk, and executing a smooth, linear pull. Embroidery projects often require handling multiple strands of cotton floss or delicate specialty threads, making a reliable threader an essential tool rather than a luxury. By understanding the mechanical limits of your tools and following a systematic threading process, you can prevent thread damage and eliminate the frustration of splayed fibers.
Why Embroidery Needles Require a Dedicated Approach
Embroidery needles present a unique physical challenge that sets them apart from standard sewing needles. While typical sewing needles feature small, rounded eyes designed for thin, single-ply threads, embroidery needles—often called crewel needles—have elongated eyes. This elongated design is specifically engineered to accommodate multiple strands of cotton floss, tapestry wool, or silk. However, because the space inside the eye remains highly constrained, it creates significant friction when you attempt to pull loose fibers through.
Forcing thick or multi-strand embroidery floss through a small needle eye without a tool leads to immediate thread damage. The loose twist of embroidery floss means that individual plies will catch on the metal edges, splaying out and fraying. This friction strips away the thread’s protective sheen and compromises its structural integrity before you even begin stitching. Using the correct threading tool preserves both the delicate fibers of your floss and the structural alignment of your needle.
Products mentioned in this guide
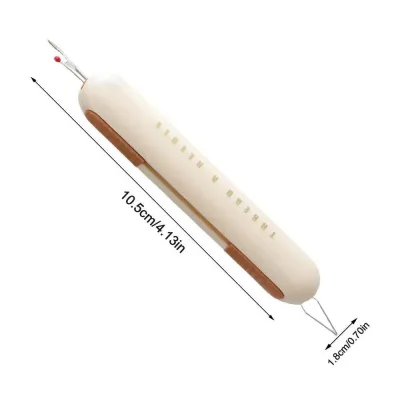
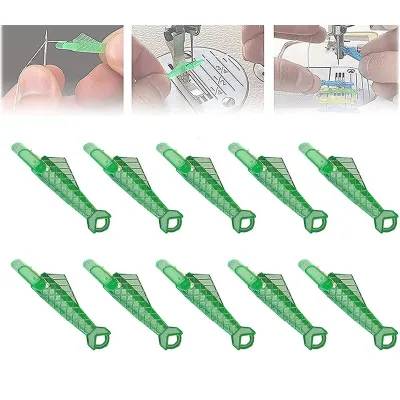
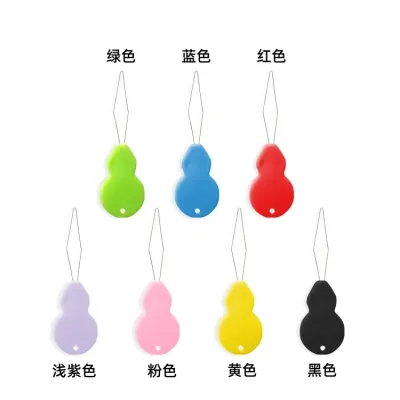
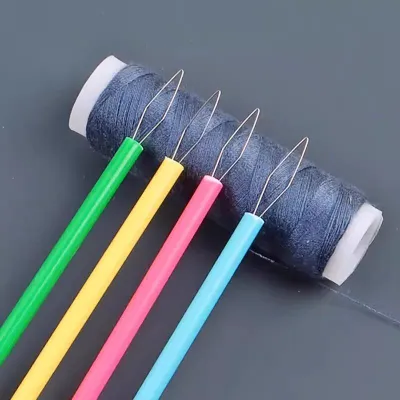
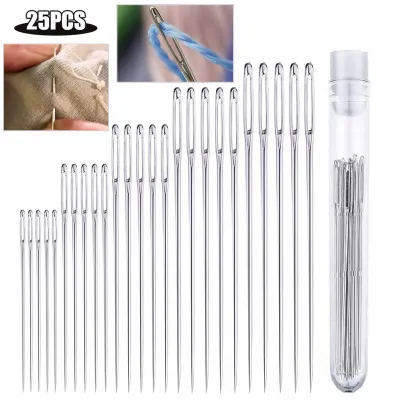
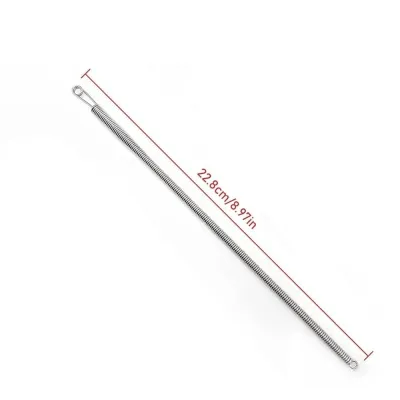
Prices are valid at publication and may change. Please refer to the product page for the latest price.
Choosing the Right Needle Threaders for Your Embroidery Project
Selecting the appropriate tool depends entirely on your needle size, thread thickness, and personal comfort. Not all needle threaders are designed to handle the heavy tension of multi-strand embroidery projects, and using the wrong category of tool can lead to broken wires or shredded floss.

Wire Needle Threaders
The wire needle threader is the most common variety, featuring a flexible, diamond-shaped wire loop attached to a flat metal or plastic handle. The thin wire is highly compressible, allowing it to slip easily into the narrowest needle eyes. This type is ideal for fine embroidery needles and projects utilizing only one or two strands of floss. However, the wire is fragile and can easily snap or pull out of its handle if forced to carry too much bulk through a small opening.
Rigid Slot or Hook Threaders
Rigid slot or hook threaders are constructed from flat, solid plates of metal or plastic with a tiny hook cut into one end. Because they lack flexible wires, these tools do not bend, warp, or snap under heavy tension. They are highly superior for pulling thick threads, such as tapestry wool, pearl cotton, or four to six strands of standard embroidery floss, through larger needle eyes. The main limitation is that the rigid hook must physically fit through the needle eye, making them unsuitable for ultra-fine needles.
Automatic or Desktop Threaders
Automatic or desktop threaders are mechanical devices that automate the threading process through a lever-and-plunger system. You place the needle eye-down into a designated slot, lay the thread across a guide, and press a button to push a tiny internal hook through the eye. These devices are excellent for crafters experiencing joint pain, limited hand dexterity, or low vision. However, they are highly sensitive to needle dimensions and generally only work with specific, standard needle sizes and single-ply threads.
Essential Preparation: Prepping Your Floss and Needle
Proper preparation of your materials before threading prevents mechanical jams and thread damage. Taking a few seconds to prep your floss and inspect your needle ensures a smooth pull every time.
- Thread Cutting: Always cut your embroidery floss with sharp embroidery scissors at a clean 45-degree angle. Cutting straight across leaves a blunt, splayed end where all the individual plies are exposed at the same length, making them highly prone to catching. An angled cut creates a natural taper that guides the thread smoothly into the threader.
- Strand Separation: Standard embroidery floss is composed of six individual strands wound together. To prevent tangling and bulkiness, separate your strands by pulling one single strand at a time from your cut length, pulling it straight up while holding the rest of the bundle gently. Once you have isolated the required number of strands, recombine them by laying them parallel to keep the fibers smooth and aligned.
- Needle Inspection: Before threading, inspect the eye of your needle for manufacturing burrs, rough plating, or sharp edges. Run your fingernail over the eye; if you feel any roughness, discard the needle. Microscopic burrs act like tiny blades, shredding your floss or snapping the delicate wire of your threader.
- Thread Conditioning: In warm, humid environments like Singapore, embroidery floss can absorb moisture, causing the fibers to splay and become limp. Lightly running your floss over a block of natural beeswax or synthetic thread conditioner helps the individual strands stick together in a compact, low-friction bundle. This simple step reduces static and allows the floss to glide effortlessly through the needle eye.
Step-by-Step: Using a Wire Needle Threader
Using a wire threader requires a delicate touch to avoid snapping the fragile wire loop. Follow these steps to ensure a safe and successful thread.
Step 1: Insertion Hold the needle firmly between the thumb and forefinger of your non-dominant hand, keeping the eye clearly visible. Hold the flat handle of the wire threader in your dominant hand. Gently push the tip of the diamond-shaped wire loop completely through the needle eye from front to back until the handle rests flush against the needle.
Step 2: Threading the Loop Pass the tapered end of your prepared embroidery floss through the large wire loop. Pull the floss through so that you have a tail of at least two to three inches (5 to 7.5 cm). This generous tail prevents the floss from slipping out of the loop during the pull-through process.
Step 3: The Pull-Through Slide your non-dominant thumb and index finger up to gently pinch the needle eye and the thread tail together to stabilize them. With your dominant hand, slowly and smoothly pull the threader handle straight back away from the needle. The wire loop will collapse as it enters the eye, carrying the folded thread with it. Always pull straight back; pulling at an angle bends the wire against the sharp metal edge of the eye, causing it to kink or snap.
Step 4: Clearing the Eye Once the wire loop has completely cleared the needle eye, release your pinch. Gently slide the loose end of the floss off the wire loop, taking care not to let the fibers snag on the crimped base where the wire meets the handle. Pull the short tail through the eye until your needle is successfully threaded.
Resistance Warning If you feel any resistance or friction during the pull-through, stop immediately. Forcing the threader will permanently damage the wire loop or shred your floss. Back the threader out, reduce the number of strands, or switch to a larger needle size.
Step-by-Step: Using a Rigid Slot or Hook Threader
Rigid threaders operate on a mechanical hook system, making them ideal for heavy-duty projects and thicker thread bundles.
Step 1: Alignment Hold your needle securely in your non-dominant hand. Hold the flat metal threader in your dominant hand and align the tiny hook with the needle eye. Insert the hook completely through the eye from the back of the needle to the front so that the hook protrudes clearly.
Step 2: Engaging the Thread Take your prepared embroidery floss and drape it over the protruding hook. Ensure that all strands of your floss are resting securely in the notch of the hook, keeping slight tension on both ends of the floss to prevent them from slipping off.
Step 3: Pushing Through Slowly pull the flat threader back out of the needle eye. The rigid hook will draw the folded floss through the eye. Because the metal hook does not bend, it easily overcomes the resistance of thicker thread bundles.
Step 4: Managing Bulk When pulling multiple strands through, the floss doubles in thickness where it loops over the hook. To prevent bunching, gently twist the floss bundle slightly as it enters the eye to compress the fibers. Use your fingernail to guide the fibers flat against the needle eye as you pull, ensuring they slide through smoothly.
Troubleshooting Common Embroidery Threading Frustrations
Understanding why threading errors occur allows you to adjust your technique and protect your tools.
Thread Fraying or Shredding
Fraying is usually caused by using blunt scissors, which splay the thread ends before they even enter the needle. It can also occur if the needle eye has microscopic burrs or if you pull the threader at a sharp angle. To resolve this, always use ultra-sharp embroidery scissors for an angled cut, inspect your needles regularly, and ensure your pull-through motion is perfectly linear.
Wire Bending or Snapping
Wire threaders fail when they are forced to pull too much thread bulk through an eye that is too small. Pulling the threader at an angle also places uneven stress on the wire joint. Always match your threader to your needle size, using rigid hooks for heavy floss and reserving wire loops for fine work. If a wire bends slightly, you can gently straighten it with flat pliers, but replace it immediately if the wire pulls loose from the handle.
Thread Jamming in the Needle Eye
Jamming occurs when the physical volume of the folded thread exceeds the capacity of the needle eye. This is common when attempting to thread all six strands of floss into a fine needle. To clear a jam, reduce the number of strands, switch to a larger needle size, or use a rigid slot threader designed to handle high-tension pulls.
Care and Storage to Prolong Threader Lifespan
Proper maintenance ensures your threading tools remain in peak condition for years.
- Wire Threaders: Because wire threaders are highly delicate, never store them loose in a sewing basket where heavy tools can crush them. Keep them in a rigid plastic case, a magnetic needle minder, or a dedicated slot in your embroidery organizer.
- Rigid Threaders: Wipe your flat metal threaders periodically with a dry microfiber cloth to remove lint, wax residue, and natural oils from your fingers. Accumulated oils can attract dust and transfer unwanted grime to your embroidery floss.
- General Maintenance: Periodically inspect the crimped base of wire threaders and the hooks of rigid threaders under a magnifying glass. Check for sharp metal edges or loose wires that could snag your floss.
- Replacement Criteria: Discard any tool that shows signs of structural wear, as a damaged threader will repeatedly shred your expensive embroidery threads. Wire loops that are severely kinked or loose at the base cannot be safely repaired.
Frequently Asked Questions (FAQ)
Can I use a standard sewing threader for thick embroidery floss?
While it is possible to use a standard thin wire sewing threader for one or two strands of floss, doing so with four to six strands will likely bend or snap the wire. The physical bulk of multi-strand floss requires a larger needle eye and a sturdier tool. For thick floss, it is highly recommended to use a rigid slot or hook threader designed to handle the extra mechanical tension.
How do I thread a needle with six strands of floss without it bunching up?
To thread all six strands smoothly, cut the end of the floss at a sharp 45-degree angle. Dampen the tip slightly or run it over a thread conditioner, then twist the very tip tightly between your fingers to compress the fibers into a single, unified point. Use a rigid hook threader to pull this compressed point through a larger embroidery needle.
Are there needle threaders designed for crafters with limited dexterity or vision?
Yes, automatic desktop needle threaders allow you to insert the needle and thread into designated slots and press a simple lever, eliminating the need for precise hand-eye coordination. Additionally, handheld threaders with built-in LED lights and magnifying lenses are excellent for illuminating the needle eye and reducing eye strain during preparation.
Community discussion
Share your experience or ask a question. Comments are reviewed before publication.