
Selecting the right waterproof name sticker is a practical way to ensure your child’s school gear returns home at the end of the day. In Singapore’s warm and humid climate, school items face demanding conditions, from condensation on cold water bottles to daily washing cycles and playground friction. Replacing lost school gear can quickly add up, with high-quality water bottles often costing upwards of S$30. A sticker that works perfectly on a flat plastic ruler may quickly peel off a curved, condensation-heavy flask or a textured lunch box. Matching the sticker’s material and adhesive properties to the specific surface of each item is the key to long-lasting labeling.
By understanding how different materials interact with plastics, metals, and fabrics, you can make an informed decision that prevents labels from peeling, fading, or washing away. This guide outlines how to evaluate label materials, match them to specific school items, and apply them correctly to ensure they survive the entire school year.
Understanding Label Materials and Adhesives for School Gear
When selecting waterproof name stickers, the base material determines how well the label resists tearing, moisture, and temperature changes. The two most common materials used for high-quality school labels are vinyl and polyester. Vinyl is highly flexible and conforms easily to curved surfaces, making it the standard choice for water bottles and rounded containers. Polyester, on the other hand, is more rigid and offers exceptional resistance to high temperatures and tearing, making it ideal for items that may undergo heat sterilization or heavy handling.
Products mentioned in this guide
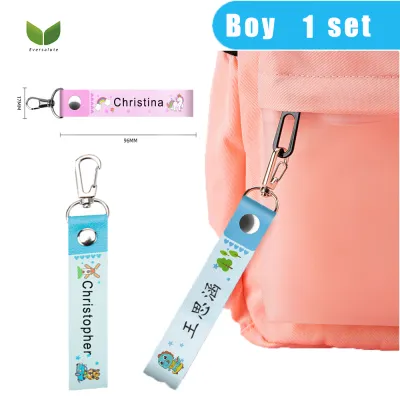
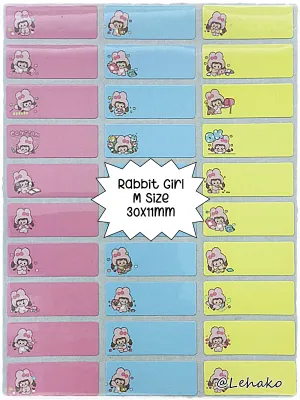
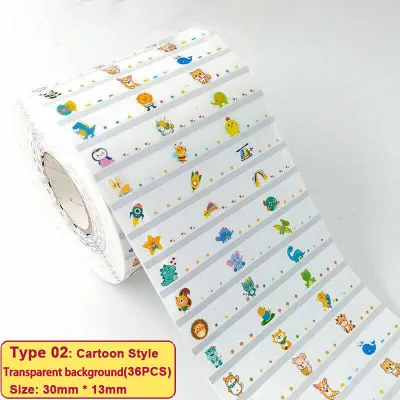
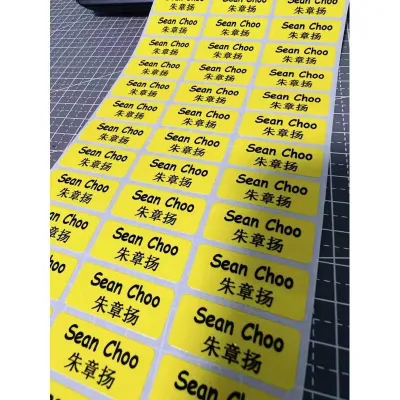
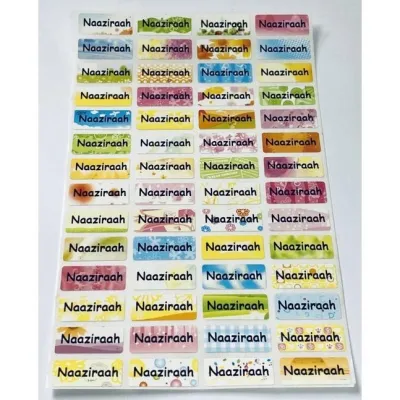
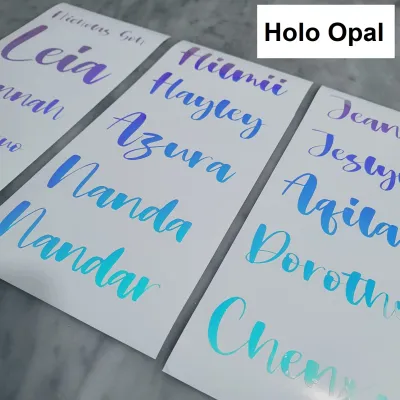
Prices are valid at publication and may change. Please refer to the product page for the latest price.
The adhesive backing is just as critical as the face material. Most waterproof labels use acrylic-based, pressure-sensitive adhesives. Unlike standard paper stickers that use water-soluble glues, acrylic adhesives cure over time to form a strong, water-resistant bond with the underlying surface. For textured surfaces, such as matte-finished plastics or powder-coated stainless steel, a thicker adhesive layer is necessary to fill the microscopic gaps in the material. Smooth, non-porous surfaces like glass or polished metal allow for maximum surface contact, resulting in a much stronger immediate bond.
To verify waterproof and durability claims before purchasing, look beyond generic marketing terms and check the manufacturer’s technical specifications. A reliable waterproof label should explicitly list a synthetic base material like polyvinyl chloride (PVC) or polyethylene terephthalate (PET) rather than paper. Additionally, check if the labels feature a built-in protective laminate layer—a clear topcoat that shields the printed ink from water, oils, and friction. Finally, verify the manufacturer’s temperature tolerance range to ensure the adhesive can withstand the heat of your washing routine.
Matching Stickers to High-Wash Items: Water Bottles and Lunch Boxes
Water bottles and lunch boxes undergo daily washing, exposure to dish soaps, and temperature fluctuations, requiring labels with maximum water resistance. Before applying any sticker, you must consider the container’s material. Stainless steel and hard plastics, such as Tritan and polypropylene, are excellent surfaces for waterproof vinyl labels because they are non-porous and rigid. However, silicone containers present a major challenge; standard adhesives cannot bond to silicone surfaces, meaning standard waterproof stickers will peel off almost immediately. For silicone items, look for specialized silicone-compatible labels or alternative marking methods.

The size, shape, and placement of the sticker play a vital role in preventing edge lifting on curved items. Wrapping a large, stiff rectangular sticker around a tight curve creates constant tension, forcing the corners to lift over time. To avoid this, choose labels with rounded corners, which distribute tension more evenly and are less likely to catch on dish sponges or lunch bag sleeves. When labeling water bottles, place the sticker on the flattest, straightest section of the bottle body, avoiding molded seams, ridges, or embossed logos that prevent complete adhesive contact.
If you plan to clean these items in a dishwasher, you must cross-reference the label’s specifications with your washing settings. Dishwasher-safe labels are designed to withstand both high water temperatures and the chemical action of dishwasher detergents. Ensure the manufacturer explicitly states the labels are “top-rack dishwasher safe,” as the heating element at the bottom of most dishwashers can exceed the thermal limits of standard vinyl adhesives, causing them to melt or slide. For hand-washed items, avoid soaking labeled containers in hot, soapy water for extended periods, as prolonged immersion can eventually seep under the edges and compromise the bond.
Matching Stickers to High-Friction Items: Pencil Cases and Stationery
Stationery items like rulers, calculators, scissors, and pencil cases do not face constant water exposure, but they are subjected to intense physical friction. Inside a crowded school bag, these items rub against each other continuously, which can quickly wear away printed names. To prevent this, choose labels that feature a clear, scratch-resistant laminate topcoat. This protective layer acts as a physical barrier, ensuring the printed text remains legible even if the outer surface of the sticker gets scratched or scuffed during daily classroom activities.
For small or irregular stationery items like pens, pencils, and markers, standard flat labels are often too large and rigid to stay attached. Instead, look for ultra-thin, highly flexible wrap-around labels. These specialized stickers are designed to wrap completely around the barrel of a pen and overlap themselves. This overlapping design creates a vinyl-to-vinyl bond, which is significantly stronger than a vinyl-to-plastic bond and prevents the edges from flagging or peeling back. For fabric pencil cases or highly textured zipper pouches, standard adhesive stickers are not suitable; instead, reserve adhesive labels for rigid plastic pencil boxes and metal tins.
To maintain your labeled stationery, perform regular visual checks for early signs of wear. Inspect the edges of the stickers weekly for “haloing,” which is a white or dusty ring where the adhesive has lifted and gathered pocket lint or dust. If you notice a corner beginning to peel, trim the loose portion carefully with a pair of fine scissors to prevent the rest of the label from catching and pulling off entirely. Also, check for any ink fading, which indicates that the protective laminate layer has worn down and the label may soon need replacement.
Application and Care Checklist for Long-Lasting Adhesion
Proper application is the single most important factor in determining how long a waterproof name sticker will stay attached. Even the highest-quality adhesive will fail if it is applied to a dirty or damp surface. Follow this step-by-step process to ensure a permanent bond:
- Clean the Surface: Wash the application area thoroughly with warm, soapy water to remove dirt and grease. For optimal results on non-porous surfaces like metal or hard plastic, wipe the area with isopropyl alcohol to remove invisible finger oils and manufacturing residues. Avoid using household glass cleaners, as they often leave behind a thin, water-repellent film that prevents the adhesive from bonding.
- Dry Completely: Dry the surface thoroughly with a clean, lint-free microfiber cloth. Allow the item to air-dry for a few additional minutes to ensure all microscopic moisture has evaporated from the surface.
- Apply with Pressure: Peel the sticker from its backing sheet, taking care not to touch the adhesive side with your fingers. Place one edge of the sticker down first, then smooth it down gradually using your thumb or a plastic card to push out any trapped air bubbles. Press down firmly along all edges to activate the pressure-sensitive adhesive.
- Allow to Cure: Do not expose the labeled item to water, heat, or heavy friction immediately. Allow the adhesive to cure undisturbed at room temperature for at least 24 to 48 hours to reach its maximum bond strength.
When a label eventually needs to be replaced or updated, safe removal prevents damage to your school gear. To remove an old vinyl sticker, warm it slightly with a hair dryer on a low setting to soften the acrylic adhesive, then gently peel it back at a flat, 180-degree angle rather than pulling straight up. If any sticky residue remains on plastic or metal, apply a small amount of cooking oil or eucalyptus oil, let it sit for a few minutes to break down the adhesive, and wipe it clean with a soft cloth. Always wash the area with dish soap afterward to remove any oily residue before applying a new sticker.
Frequently Asked Questions (FAQ)
Can waterproof name stickers be removed without damaging the item?
Yes, most high-quality waterproof name stickers can be removed cleanly from hard, non-porous surfaces like stainless steel, glass, and rigid plastics. Applying gentle heat from a hair dryer on a low setting softens the acrylic adhesive, allowing you to peel the sticker off slowly without tearing. Avoid using sharp metal blades or harsh chemical solvents on plastic items to prevent scratching or melting the surface. Instead, use mild household oils, such as cooking oil or eucalyptus oil, to safely dissolve and wipe away any remaining sticky residue.
Are iron-on labels a better alternative for fabric school items?
Yes, iron-on or sew-in labels are far superior to adhesive stickers for fabric items like school uniforms, hats, and canvas school bags. Standard adhesive waterproof stickers cannot bond effectively to porous, flexible textiles because the fabric fibers shift and prevent the adhesive from making continuous contact. Iron-on labels use a heat-activated adhesive that melts directly into the fabric fibers, creating a permanent bond that survives regular laundry cycles and high-temperature drying.

Community discussion
Share your experience or ask a question. Comments are reviewed before publication.