
A broken zipper slider does not mean you have to discard a favorite jacket, backpack, or cushion cover. Replacing only the zipper head is a highly effective, budget-friendly repair that preserves the original zipper tape and surrounding fabric. By understanding the anatomy of your zipper and using the correct tools, you can restore full functionality to your item in just a few minutes. The key to a successful repair lies in patience, precise measurement, and avoiding excessive force that could tear the delicate woven tape.
To achieve a seamless repair, you must first evaluate the condition of the zipper track and identify the exact replacement parts required. Forcing an incompatible slider onto a zipper track will only cause further damage, potentially ruining the entire item. This guide walks you through the entire process, from diagnosing the issue and gathering the right tools to removing the old slider and securing the new one safely.
Assess the Damage and Identify Your Zipper Type
Before purchasing any replacement parts or reaching for your tools, inspect the entire length of the zipper tape. The tape is the fabric band on either side of the zipper teeth that is sewn directly into the garment. Look closely for any signs of fraying, tears, or missing teeth along the track. If the fabric tape is severely torn or if several teeth are missing from the middle of the track, a simple slider replacement will not suffice. In such cases, the structural integrity of the zipper is compromised, and you will need to replace the entire zipper assembly.
Products mentioned in this guide
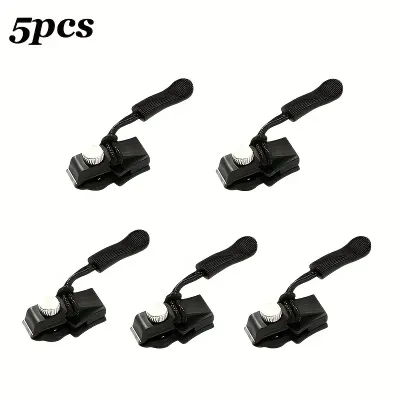
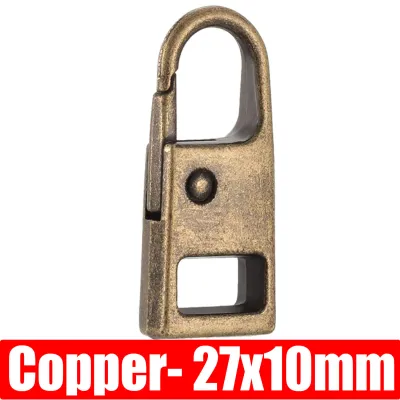
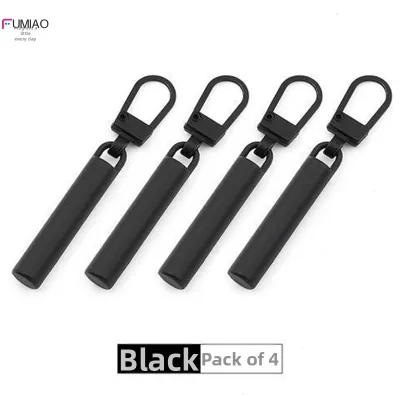
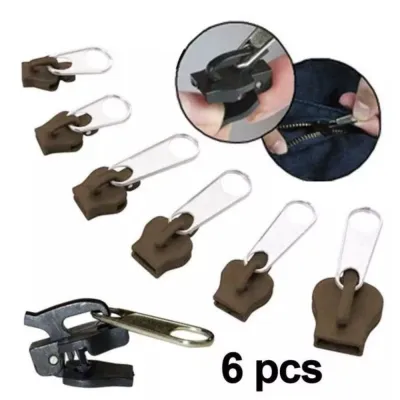
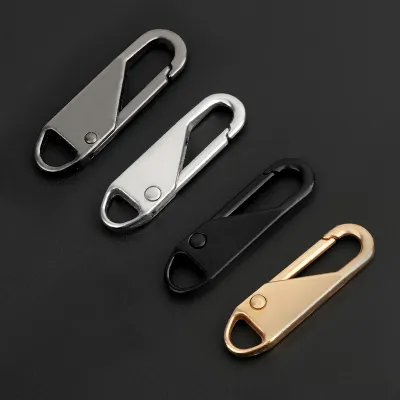
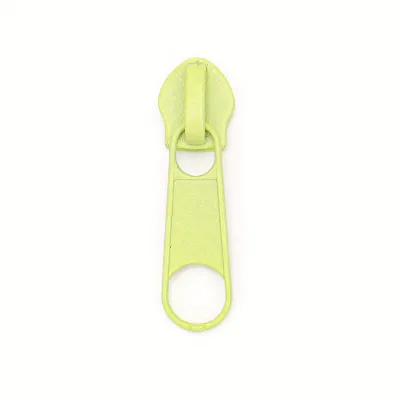
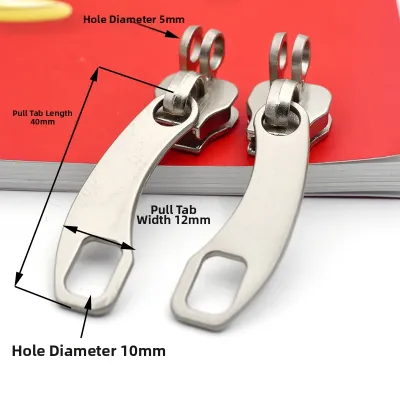
Prices are valid at publication and may change. Please refer to the product page for the latest price.
If the tape is intact, the next step is to identify the specific material of your zipper teeth. Zippers generally fall into three categories: nylon coil, plastic molded, and metal. Nylon coil zippers feature a continuous spiral of nylon thread and are highly flexible, making them common in bags and lightweight clothing. Plastic molded zippers have distinct, individual teeth shaped like blocks, often used in heavy jackets. Metal zippers feature individual metal teeth clamped onto the tape and are highly durable but less forgiving during repairs.
To find a replacement slider that fits perfectly, you must determine its size. Close a small portion of the zipper and measure the width of the teeth across the closed track in millimeters using a ruler or caliper. Zipper sizes are standardized; for example, a track measuring approximately 5 millimeters wide requires a #5 slider, while a 3-millimeter track requires a #3 slider.
Additionally, inspect the back or flat side of the old slider. Manufacturers often stamp a number or letter code (such as “5” or “YKK”) directly onto the metal casing. This stamp indicates the exact size and style of the slider. Matching this code ensures that the replacement head will align perfectly with the teeth profile, preventing issues like splitting or jamming.
Tools and Materials Needed for Zip Head Replacement
Having the correct tools on hand prevents unnecessary strain on the zipper tape and ensures a clean, professional finish. You do not need heavy machinery for this task; a few basic hand tools from a standard sewing kit or household toolbox are sufficient. Gather a small flathead screwdriver, needle-nose pliers, a sharp seam ripper, and a pair of fine tweezers. The seam ripper is essential for gently releasing stitches, while the pliers and screwdriver provide the necessary leverage for manipulating metal stops and sliders.

The most critical material is the replacement slider itself. Ensure this slider matches the exact material (metal, plastic, or nylon coil) and size number you identified during your assessment. Using a metal slider on a nylon coil zipper, or vice versa, can lead to premature wear and failure because the internal channels of the sliders are shaped differently to accommodate specific tooth geometries. A basic zipper repair kit, often costing under S$10 at local haberdashery shops, typically contains a variety of common slider sizes and replacement stops.
For additional assistance, keep a thimble nearby to protect your fingers when pushing stubborn fabric or needles. A small block of specialized zipper wax, a beeswax candle, or even a standard graphite pencil can also be incredibly helpful. These materials act as dry lubricants, making it much easier to slide the new head onto the track and ensuring smooth operation once the installation is complete.
Step-by-Step Instructions to Remove the Old Zipper Slider
To begin the removal process, slide the damaged or stuck zipper head to the very top or bottom of the track, depending on where you plan to access the tape. Creating maximum slack in the fabric allows you to work with greater precision. Most zippers have metal or plastic stops at the ends to prevent the slider from running off the track. You must temporarily remove or bypass these stops to slide the old head off.
Locate the top stops, which are small metal or plastic crimps at the upper end of each tape half. If the zipper is sewn into a seam, use your seam ripper to carefully cut the securing threads around the top stop or fabric barrier. Work slowly and keep the sharp tip of the seam ripper pointed away from the woven zipper tape. Cutting the tape fibers will cause the fabric to unravel, making it nearly impossible to install a new slider securely. Always handle sharp tools with care, keeping your fingers clear of the cutting path.
Once the stop is exposed, use your needle-nose pliers to gently pry it open. If you are working with a metal stop, insert the tip of a small flathead screwdriver under the crimped metal tab and apply light upward pressure to loosen its grip. Avoid pulling or twisting forcefully, as this can tear the tape fibers underneath. Once the stop is sufficiently loose, slide it off the tape and set it aside.
With the stop removed, gently guide the old slider upward and off the end of the zipper tape. If the slider is stuck or deformed, use your pliers to slightly widen the mouth of the slider. Apply minimal, controlled pressure to avoid breaking the slider casing while it is still attached to the teeth. Once the old slider is free, inspect the exposed tape end for any loose threads and trim them neatly with scissors to prevent them from catching during the next step.
How to Install the New Zipper Head Safely
To install the new zipper head, hold the two halves of the zipper tape parallel to each other. Position the new slider so that the wider end (the side with two separate channels) faces the top of the zipper track. Carefully feed the raw edge of one tape side into one channel of the slider, then feed the other side into the opposite channel. Ensure that both sides enter the slider at the exact same level so the teeth align perfectly.
Gently push the slider downward onto the teeth. You should feel a slight resistance as the internal mechanism begins to engage the teeth. Use your fingers to hold the tape taut below the slider while you pull the slider tab upward. If the teeth engage smoothly and lie flat without buckling, the slider is correctly aligned. If one side of the zipper is higher than the other, remove the slider and re-align the entry points to prevent the zipper from splitting later.
Once you verify that the slider moves smoothly along the track, you must secure the ends to prevent the slider from running off. If you saved the original metal stops and they are still in good condition, place them back over the edge of the tape at the very top of the track. Use your needle-nose pliers to crimp them firmly into place, ensuring the metal teeth of the stop bite into the tape without cutting through it.
If the original stops are damaged or if you are working with a plastic zipper, you can easily create a secure thread stop. Thread a hand-sewing needle with heavy-duty thread or buttonhole twist. Sew several closely spaced stitches directly over the top edge of the zipper tape, wrapping the thread around the outer edge of the track. This creates a thick, durable thread barrier that effectively blocks the slider from moving past the designated stopping point.
Testing and Troubleshooting Common Issues
After securing the stops, test the zipper by sliding the new head up and down the track several times. Do this slowly at first to observe how the teeth mesh. The smoothness of the slider movement depends entirely on the exact material combination of the slider and the teeth. If you notice any resistance, listen closely for clicking sounds or look for gaps in the closed track, which indicate that the teeth are not engaging correctly.
If the slider feels stiff or catches on certain sections, do not force it. Forcing a stuck slider can bend the teeth or tear the tape. Instead, apply a small amount of dry lubricant, such as a graphite pencil or specialized zipper wax, directly to the troublesome area of the track. Slide the head back and forth over the lubricated section to distribute the wax evenly, which should significantly reduce friction.
Keep a close eye out for fabric or loose threads caught inside the slider mechanism. If fabric becomes trapped, use your tweezers to gently pull the material out while slowly backing the slider away from the obstruction. Avoid pulling the fabric forcefully, as this can rip the garment or damage the internal tension of the slider.
Recognize when a simple adjustment is not enough. If the zipper continues to split open behind the slider even after you have verified the alignment, the slider size is likely incorrect, or the teeth themselves are too worn to hold their grip. In these situations, continuing to force the mechanism will damage the tape beyond repair. Stop the process and seek a professional assessment from a tailor or cobbler, who can determine if a full zipper replacement is necessary.
Frequently Asked Questions (FAQ)
Can I use a universal zipper slider for any garment?
Universal zipper sliders are designed to fit a variety of zipper tracks, but they are not a one-size-fits-all solution. These sliders often fail to accommodate the precise teeth profiles of specific metal, nylon, or plastic zippers, leading to poor alignment. To avoid jamming, splitting, or permanently stretching the zipper tape, always check the exact size and material compatibility of your zipper before choosing a replacement head.
What should I do if the zipper tape is slightly frayed?
If the edge of the zipper tape is slightly frayed near the top where you need to thread the new slider, you can stabilize it temporarily. Apply a very small amount of clear fabric glue or fray check to the damaged edge and allow it to dry completely before attempting to slide the new head on. This hardens the fibers and prevents further unraveling. However, if the structural integrity of the tape is compromised along the main track, avoid using the zipper and consider a professional alteration or a complete zipper replacement.

Community discussion
Share your experience or ask a question. Comments are reviewed before publication.