
Selecting the ideal notebook for a diy journal set is a highly personal decision that directly shapes your creative experience. The “best” paper quality is not a universal standard; rather, it is a precise match between the paper’s physical properties and the specific tools, inks, and decorative elements you plan to use. Whether you prefer fine-liner pens, heavy watercolor washes, or layers of adhesive tapes and stickers, understanding how paper behaves under different conditions is the key to preventing frustration and preserving your work.
By focusing on objective specifications such as weight, texture, and manufacturing processes, you can confidently select a notebook that serves as a durable canvas. This guide breaks down the essential characteristics of journaling paper, provides practical methods for testing pages without specialized equipment, and outlines how to match your notebook to your favorite creative accessories.
Defining Paper Quality for Your DIY Journal Set
To build a reliable diy journal set, you must first understand the technical specifications that dictate how paper responds to various mediums. The most common metric you will encounter is GSM, or grams per square meter, which measures the density and weight of the paper. Standard notebooks typically range from 80 GSM to 160 GSM, and each weight class serves a distinct purpose. Thinner paper, around 80 to 100 GSM, is highly portable and excellent for dry mediums like ballpoint pens, pencils, and light gel pens, but it is prone to ghosting—where writing is visible on the reverse side—and bleed-through when used with wet inks. Medium-weight paper, between 100 and 120 GSM, offers a balanced compromise, handling fountain pen inks and light water-based markers with minimal ghosting. For heavy creative journaling involving watercolors, thick brush pens, or heavy layering, paper weights of 140 to 160 GSM or higher are recommended to prevent warping and ink saturation.
Products mentioned in this guide
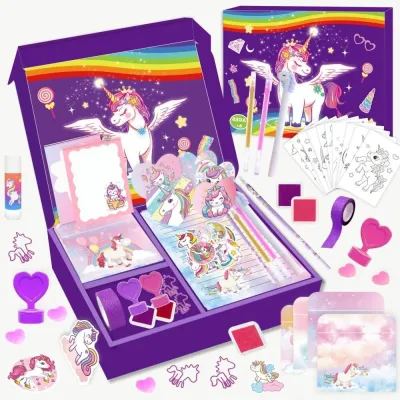
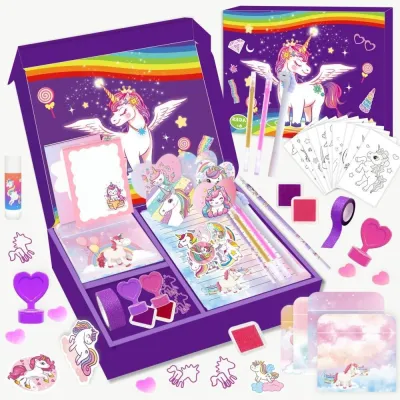
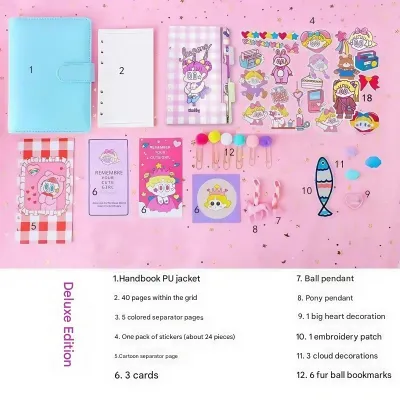
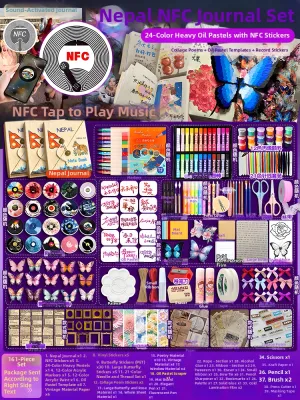
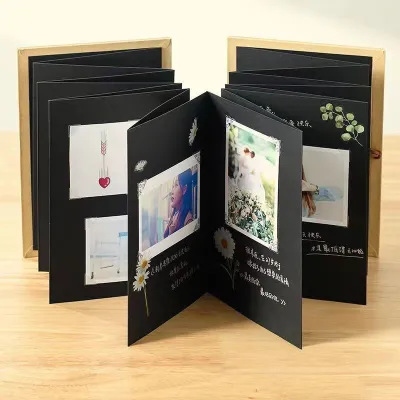
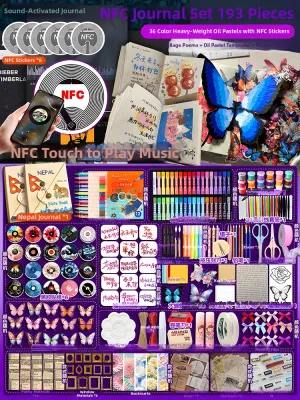
Prices are valid at publication and may change. Please refer to the product page for the latest price.
Beyond weight, the surface texture, or “tooth,” of the paper significantly influences your writing and drawing experience. Smooth paper, often achieved through calendering or specialized coatings, allows pens to glide effortlessly across the surface, reducing wear on delicate brush pen tips and ensuring crisp, clean lines. Conversely, toothy paper possesses a subtle roughness that grabs dry mediums like graphite, colored pencils, and charcoal, allowing for rich shading and texture. Texture also affects how adhesives bond; highly textured paper may require stronger adhesives, while ultra-smooth, coated papers might cause certain water-based inks to pool or dry slowly.
Finally, long-term preservation is a critical factor for any DIY journal. Standard wood-pulp paper naturally contains lignin, an organic compound that breaks down over time, producing acid that causes pages to yellow and become brittle. When selecting a notebook, look for specifications indicating “acid-free” or “archival-grade” paper. These papers are chemically treated to maintain a neutral pH, ensuring that your writing, sketches, and photos remain vibrant and intact for decades without deteriorating or discoloring.
How to Evaluate Notebook Paper Without Lab Testing
While manufacturer specifications provide a helpful baseline, physically evaluating a notebook is the most reliable way to verify its suitability for your diy journal set. Start by carefully reading the product label or online specifications for details on GSM, coating, and fiber content. High-quality notebooks often specify the source of their paper, such as bamboo, cotton, or certified sustainable wood pulp, which can give you an immediate indication of the paper’s strength and absorbency.

Next, perform a visual and tactile inspection of the notebook. Open the book and feel the pages between your fingers; high-quality paper should feel consistent in thickness and texture from the center to the edges. Examine the binding closely. A true lay-flat binding, typically achieved through section-sewn binding, is essential for journaling. It allows the notebook to open completely flat on your desk, ensuring you can write and draw across the center seam without holding the pages down. Avoid tightly glued bindings that resist staying open, as they put constant tension on the pages and make double-page spreads difficult to execute.
If you have already purchased a notebook or have access to a sample page, conducting a localized pen test is the ultimate way to verify performance. Turn to the very last page of the notebook—often used by stationery enthusiasts as a dedicated test sheet. Apply a variety of your preferred writing instruments, including fountain pens, brush markers, gel pens, and stamps. Observe how quickly the ink dries on the surface; slow drying times can lead to accidental smudging during active journaling. Check the edges of the ink lines for “feathering,” which occurs when fibers pull the ink outward, creating fuzzy lines. Finally, flip the page to inspect the reverse side for ghosting and bleed-through.
Comparing Common Notebook Categories for Journaling
Understanding the structural differences between notebook categories helps narrow down your choices when assembling a diy journal set. The most fundamental division lies between standard wood-pulp paper and specialized coated or mixed-media papers. Standard wood-pulp paper is highly accessible and works well for everyday writing, but it can be highly absorbent, causing fountain pen inks to feather. Specialized coated papers, such as those designed specifically for fountain pens, feature a thin surface treatment that resists rapid ink absorption, keeping the ink on top of the paper to showcase shading, sheen, and vibrant colors. Mixed-media and watercolor notebooks utilize thicker, often cotton-blend papers designed to handle significant moisture without warping or pilling.
The choice between hardbound and softcover formats also impacts your journaling workflow. Hardbound notebooks provide a sturdy, built-in writing surface, making them ideal for journaling on the go, during travel, or on your lap. They offer superior protection for the edges of your pages and withstand the wear and tear of being tossed into a bag. Softcover notebooks, on the other hand, are lighter, more flexible, and often easier to pack. They conform to the shape of your bag and can feel less intimidating to fill, though they offer less structural support when writing without a desk.
Additionally, the page layout plays a crucial role in structural planning. Dot grid layouts are exceptionally popular for DIY journaling because they offer a subtle guide for drawing layouts, tables, and columns without the visual clutter of solid lines. Blank pages provide complete creative freedom for sketching and free-form collages but require more effort to keep handwriting straight. Lined pages are excellent for long-form reflective writing but can restrict creative layouts and drawings.
Matching Paper to Your DIY Journal Accessories
A successful diy journal set relies on the compatibility between your notebook’s paper and your creative accessories. When using water-based inks, brush pens, or watercolor markers, the paper’s coating and weight are paramount. Highly absorbent, uncoated paper will quickly draw ink out of your pens, leading to rapid depletion of your writing tools and significant bleed-through. For these mediums, opt for smooth, lightly coated paper that allows the ink to sit briefly on the surface, giving you time to blend colors smoothly without damaging the paper fibers.
Adhesives, such as those on washi tapes, stickers, and PET tapes, interact differently depending on the paper’s surface treatment. Ultra-smooth, coated papers allow for easy repositioning of washi tape, making it simple to correct alignment mistakes without tearing the page. However, if the paper is too glossy, heavy stickers or die-cuts may struggle to adhere permanently over time. If you plan to use liquid glues or heavy adhesive rollers for scrapbooking elements, ensure your paper is at least 120 GSM; thinner papers will warp and buckle as liquid adhesives dry, ruining the flat profile of your journal.
When incorporating heavy embellishments, such as cardstock inserts, photos, or thick ephemera, page stability becomes a major factor. Thinner pages will sag under the weight of these additions, potentially tearing at the binding over time. A notebook with sturdy, high-GSM pages provides the structural integrity needed to support dimensional collages, ensuring your journal remains a cohesive, durable keepsake.
Sourcing and Verifying Notebooks in Singapore
For stationery enthusiasts in Singapore, sourcing the perfect notebook involves utilizing both physical and digital retail channels. Visiting physical stationery stores, specialty boutiques, or lifestyle shops in areas like Bras Basah Complex or central retail districts offers an invaluable advantage. Physically handling the notebooks allows you to test the paper texture, assess the weight, and verify if the binding truly lays flat before making a purchase. Many specialty stores display open sample books specifically for customers to touch and write on, removing the guesswork from your selection.
When physical visits are not possible, online marketplaces and e-commerce platforms provide a vast selection of international notebook brands. To ensure quality when shopping online, pay close attention to the detailed product descriptions, looking specifically for verified GSM ratings, binding types, and paper origins. Read customer reviews carefully, filtering for feedback that mentions “fountain pen friendly,” “no bleed-through,” or “thick pages.” Be cautious of listings that use vague terms like “high-quality paper” without providing concrete technical specifications.
Additionally, familiarize yourself with the return policies of local and online retailers. Most stationery stores do not accept returns on notebooks once the plastic wrapping has been removed or if the pages have been written on. If you are uncertain about a specific brand, consider purchasing a smaller pocket-sized version or a single notebook from the product line to conduct your own compatibility tests before investing in a complete, premium diy journal set.
Frequently Asked Questions (FAQ)
Can I use standard office notebooks for a DIY journal set?
Yes, you can use standard office notebooks, but you must adapt your techniques to accommodate their limitations. Standard office paper typically ranges from 70 to 80 GSM and lacks specialized coatings, making it highly susceptible to ghosting, feathering, and bleed-through when used with wet inks. To make these notebooks work for a DIY journal, stick to dry mediums such as ballpoint pens, colored pencils, and high-quality gel pens that dry quickly. Avoid heavy water-based markers, fountain pens, and liquid glues. If you want to use stickers or washi tape, apply them gently, as the delicate fibers of standard office paper can easily tear if you attempt to reposition them.
How do I prevent ink from bleeding through thin notebook paper?
Preventing ink bleed-through on thinner paper requires adjusting your tools and writing habits. First, select quick-drying, low-flow pens with fine nibs, as they deposit less ink onto the page, reducing the chance of saturation. Avoid broad-nib fountain pens or heavy alcohol-based markers, which are notorious for bleeding through even medium-weight paper. Second, place a protective sheet of thick cardstock or a dedicated plastic pencil board directly behind the page you are working on; this prevents ink from transferring to the subsequent pages if bleed-through does occur. Finally, write with a light hand to avoid pressing the pen tip deeply into the paper fibers, and allow each line ample time to dry before turning the page.

Community discussion
Share your experience or ask a question. Comments are reviewed before publication.