
Selecting the perfect mail bag size is a balancing act between protecting your goods and keeping shipping costs manageable. If the bag is too small, the seams will burst during transit; if it is too large, the excess material can get caught in sorting machines or inflate your shipping fees. To find the ideal dimensions, you must measure your item’s length, width, and thickness, then add a standard clearance margin.
The Quick Rule for Choosing the Right Mail Bag Size
When you need to pack an item quickly, a simple mathematical rule of thumb will save you from trial-and-error mistakes. For flat, flexible items like t-shirts or softbound documents, always choose a mail bag that is at least 2 inches (5 cm) larger than the item’s dimensions on all sides. This extra space prevents the seams from stretching to their breaking point when the item shifts during handling.
However, this formula only applies to soft, pliable goods. If you are shipping rigid, fragile, or highly irregular items, you should place them inside a sturdy cardboard box first. Once boxed, you can then select a mail bag sized to fit the outer dimensions of that box. Using the correct size ensures a snug, professional presentation, prevents seam tearing, and keeps your package within the lowest possible dimensional weight bracket to save on shipping costs.
Products mentioned in this guide
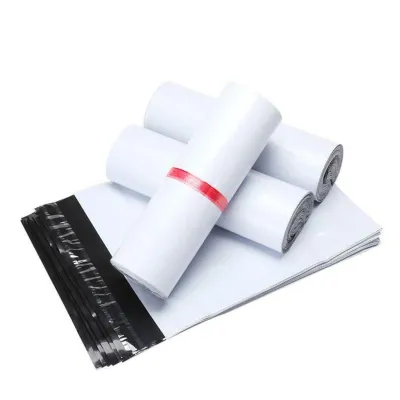
![[SG Stock] White Poly Mailer Bags | Mailing Bag | Shipping Bag | Courier Bag | Packing Bag | Polymailer | Plastic | 25pc](https://img.lazcdn.com/g/p/3d2584adc7075efc94d1c62236b14182.png_400x400q80.png_.webp)
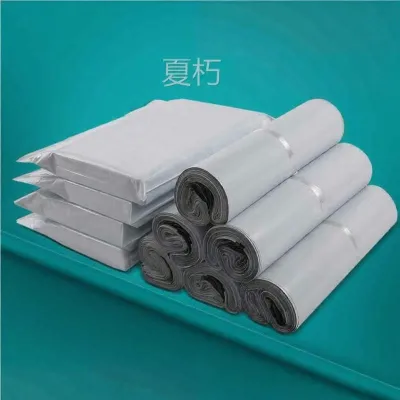
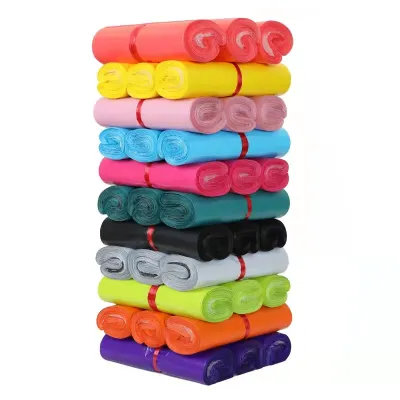
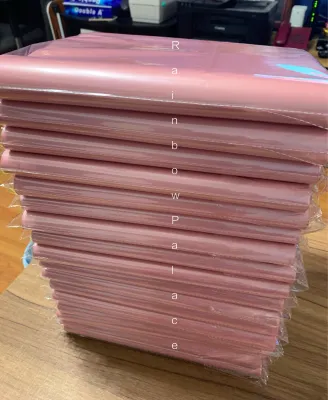
Prices are valid at publication and may change. Please refer to the product page for the latest price.
Decoding Mail Bag Dimensions: What the Numbers Mean
Understanding how manufacturers list mail bag dimensions is crucial to selecting the correct product. When you browse packaging supplies, the dimensions provided—such as 10 x 13 inches or 250 x 350 mm—refer to the flat, empty bag laid out on a table. These numbers do not represent the three-dimensional volume the bag can hold once filled.

The Seal Flap Allowance
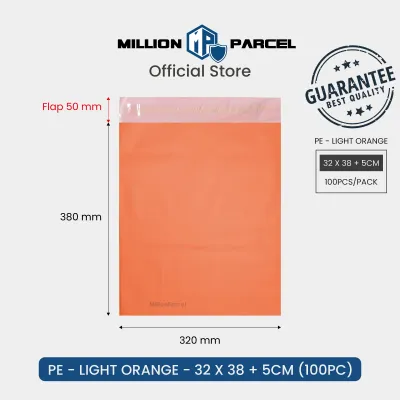
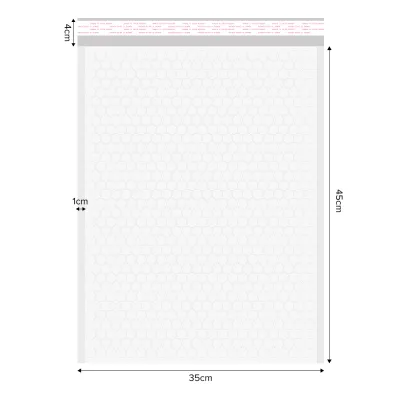
One of the most common mistakes is forgetting to account for the adhesive seal flap. The listed length of a mail bag almost always includes this flap, which typically measures between 1.5 to 2 inches (3.8 to 5 cm). Because this flap must fold over to seal the bag, you must subtract this allowance from the total listed length to find the true usable interior depth. For example, a 10 x 12-inch mail bag actually offers a usable interior space of only 10 x 10 or 10 x 10.5 inches.
Gussets and Expandable Sides
For items that are thick or bulky, standard flat mail bags can struggle to close. This is where gusseted mail bags become highly useful. A gusset is an extra fold of material built into the sides or bottom of the bag. When you insert an item, these pleats expand outward, adding three-dimensional depth. This design allows you to pack bulkier items, like winter coats or shoe boxes, without needing to purchase an excessively wide flat bag that leaves too much empty space at the corners.
How to Match Bag Size to Your Item Type
Different items exert different types of physical stress on packaging materials. Matching the bag style and size to the specific characteristics of your product ensures safe delivery.
Flat and Flexible Items (Apparel, Documents)
Soft goods like apparel, textiles, and documents are the easiest to pack. To measure these items, fold them exactly as they will be placed inside the bag. Measure the flat length, width, and height of the folded stack. Add 1 inch (2.5 cm) to the width and 2 inches (5 cm) to the length to accommodate the thickness of the fabric. This ensures the bag seals flat without stretching the poly material, keeping the package neat and easy for postal workers to handle.
Semi-Rigid and Bulky Items (Shoes, Thick Books)
Semi-rigid items like shoeboxes, books, or electronics have fixed corners that do not bend. Standard flat poly mailers often fail here because the sharp corners put immense pressure on the seams. To calculate the required bag width for these items, you must measure the item’s circumference (girth) rather than its flat width. Use a flexible tape measure to wrap around the thickest part of the item. Divide this number by two, then add 2 inches (5 cm) for seam allowance to find the minimum flat width of the bag you need.
When to Switch Formats
While standard poly mail bags are excellent for non-fragile items, they offer zero impact protection. If you are shipping delicate items, glassware, or cosmetics, a standard poly mailer is insufficient. You must switch to a bubble-lined mailer for light cushioning, or pack the item in a corrugated cardboard box with protective void fill before placing it into a larger mail bag. This ensures structural integrity and prevents damage from drops and impacts.
Thickness and Material Specs: What Actually Protects Your Items
Selecting the right dimensions is only half the battle; you must also choose the correct material thickness to ensure your package survives the transit journey.
Thickness (Mils/Microns)
The thickness of plastic mail bags is measured in mils (thousandths of an inch) or microns. A higher number indicates superior puncture and tear resistance. For standard e-commerce apparel like t-shirts or socks, a baseline thickness of 2.0 to 2.5 mils (50 to 63 microns) is usually sufficient. However, if you are shipping heavier items, goods with sharp plastic packaging, or metal stationery supplies, you should opt for heavy-duty bags with a thickness of 3.0 mils (76 microns) or higher to prevent tearing.
Poly vs. Bubble Mailers
Standard poly mailers are lightweight, waterproof, and highly cost-effective, making them perfect for clothing and soft items. In Singapore, where sudden tropical downpours are common, choosing a water-resistant poly mailer is essential to protect paper goods and apparel from moisture during transit. Bubble mailers, on the other hand, feature an integrated layer of bubble wrap. While they add slight bulk and cost more, the extra cushioning and shock absorption are essential for protecting books, jewelry, and small electronic components.
Opacity and Security
For security and privacy, choose mail bags with high opacity. Co-extruded poly mailers use multiple layers of plastic—often a white outer layer and a black inner layer—to ensure the contents are completely invisible from the outside. This prevents theft and protects sensitive documents or high-value items from light damage and prying eyes.
Common Sizing Mistakes That Risk Damage or Extra Fees
Avoiding common packing errors can save you from costly product returns, negative reviews, and unexpected shipping surcharges.
Overpacking and Stretching
Forcing an item into a mail bag that is too small thins the plastic material, weakens the adhesive seal, and puts extreme pressure on the seams. If the bag stretches taut, it is highly susceptible to puncturing when it bumps against other parcels. Furthermore, most couriers will void damage claims if they determine the packaging was overstuffed and compromised before shipping.
Excessive Empty Space
Conversely, using a bag that is far too large is equally problematic. Excessively loose plastic can fold over, creating flaps that easily snag on automated sorting machinery, leading to torn packages. The item inside will also shift violently, increasing the risk of internal damage. If you must use a larger bag, fold the excess material flat against the package and secure it firmly with shipping tape.
Ignoring Courier Limits
In Singapore, local postal and courier services enforce strict dimension and weight thresholds. For instance, standard trackable letterbox deliveries must fit within specific slot dimensions, typically up to 324 x 229 x 65 mm. If your mail bag is overstuffed and exceeds these thickness limits, your parcel may be rejected, returned, or subjected to unexpected surcharges. Always check your local courier’s specific size tiers and weight limits before choosing your mail bag size.
Frequently Asked Questions (FAQ)
How do I measure an irregularly shaped item for a mail bag?
To measure an irregularly shaped item, place it on a flat surface and use a flexible measuring tape. Measure the maximum length, width, and height at the widest points of the item. Next, wrap the tape measure around the thickest part of the item to determine its girth (circumference).
To find the minimum flat bag width required, take the girth measurement, divide it by two, and add a 2-inch (5 cm) seam allowance. For the length, add the item’s height plus 2 inches to the flat length. This formula ensures a secure, unstressed fit that accommodates the item’s unique shape without tearing the seams during transit.

Community discussion
Share your experience or ask a question. Comments are reviewed before publication.