
Quick Answer: Which Stitch Marker Should You Choose?
Choosing the right stitch marker depends on whether your project requires a marker to slide along a needle or attach directly to the fabric. For standard knitting projects where you need to track pattern repeats or the beginning of a round, ring stitch markers are the ideal choice because they slide effortlessly from one needle to the other. For crochet projects, or for tracking specific rows and securing dropped stitches in knitting, locking stitch markers are essential because they can open and clip directly onto individual yarn loops.
While knitters often use both types to manage complex patterns, crocheters rely almost exclusively on locking markers. This is because crochet fabric consists of self-contained interlocking loops rather than active stitches held on a needle shaft, making closed rings unusable. Keeping both types in your tool kit ensures you can handle any technique, from seamless sweaters to intricate lace shawls.
Core Structural Differences Between Locking and Ring Markers
To understand why these two tools serve different purposes, examine their physical designs and how they interact with yarn. Ring stitch markers are closed, continuous loops with no opening mechanism. They sit on the shaft of your knitting needle, positioned between two active stitches. As you work across a row, you simply slip the ring from the left needle to the right, allowing it to travel upward with your work without becoming embedded in the fabric. These rings come in various shapes, including circles, hexagons, and teardrops, made from materials like smooth silicone, lightweight plastic, polished wood, or seamless metal.
Products mentioned in this guide
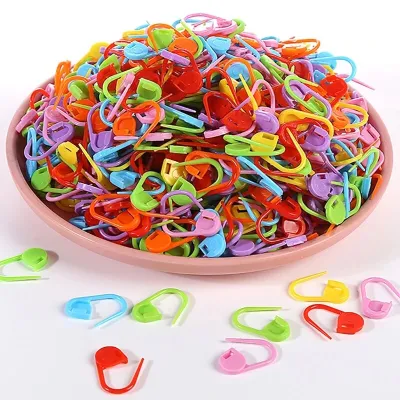
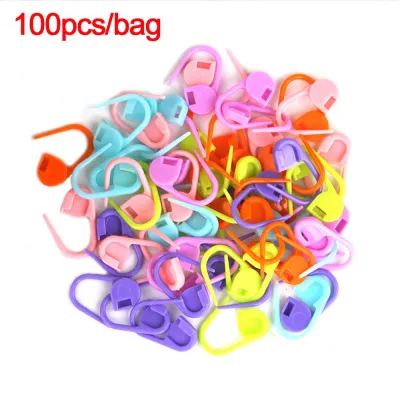
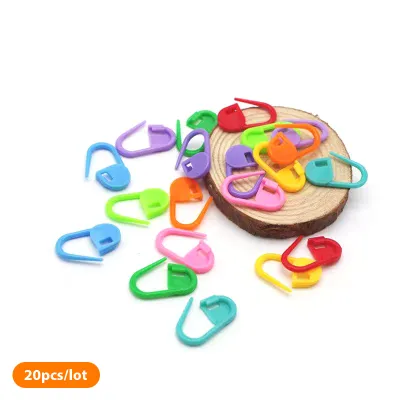
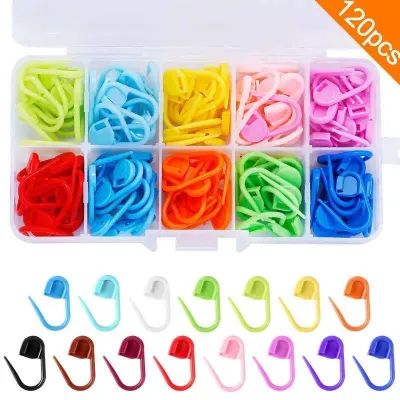
Prices are valid at publication and may change. Please refer to the product page for the latest price.

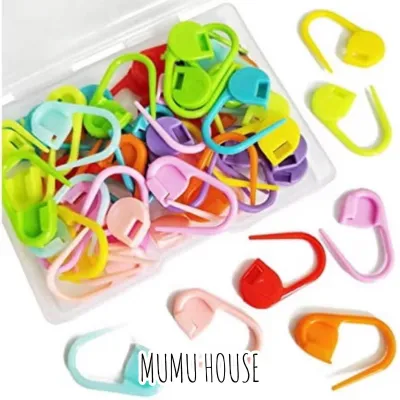
Locking stitch markers feature an openable clasp mechanism similar to a safety pin or bulb pin. This design allows you to open the marker, hook it around a specific strand of yarn within a stitch, and snap it shut. Because they can be attached and removed at any time, they do not need to remain on your needles. They are typically manufactured from flexible, molded plastic or coated metal, ensuring they remain lightweight enough not to pull or distort the stitches.
The choice of material significantly impacts your crafting experience. Metal markers offer durability and a satisfying weight, but they can drag down delicate, lace-weight yarns if they are too heavy. Plastic markers are lightweight and highly visible, but cheaper varieties may have rough molding seams that snag fine fibers. Smooth, seamless construction is the most critical factor to look for, as any tiny burr on the surface can catch on delicate wool, silk, or alpaca fibers, causing unsightly fuzzing or structural damage.
Best Use Cases for Locking Stitch Markers
Locking stitch markers are the undisputed champions of the crochet world. Because crochet stitches are worked one at a time and do not sit on a needle, there is no shaft for a closed ring to slide along. A crocheter uses a locking marker to clip directly into the top loops of the first stitch of a round, which is vital when working in continuous spirals, such as when making amigurumi toys. Without a secure, locking marker to identify the start of each round, it is incredibly easy to lose your place, leading to incorrect stitch counts and misshapen projects.
In knitting, locking markers serve as indispensable troubleshooting and tracking tools rather than simple row markers. If you spot a dropped stitch several rows below your current working needle, you can immediately clip a locking marker through the loose loop to secure it, preventing it from unraveling any further until you are ready to repair it. They are also excellent for marking vertical progress, such as clipping a marker into the fabric every ten rows to make counting long stretches of garter stitch effortless.
Furthermore, locking markers are highly useful when working complex cable patterns or decorative borders. You can use them to hold cable crosses temporarily or to mark the right side of a reversible fabric so you always know whether you are on an increase or decrease row. However, using locking markers on your knitting needles as standard slide-on markers has distinct limitations. The bulky clasp mechanism and the hinge of a locking marker do not slide as smoothly as a continuous ring, which can slow down your rhythm and occasionally catch on the active working yarn, disrupting your tension.
Best Use Cases for Ring Stitch Markers
For standard knitting, ring stitch markers provide the smoothest, most efficient workflow possible. Their primary purpose is to sit on the needle shaft and mark specific transitions within a row, such as the boundary between a border pattern and the main body, or the repeat intervals of a complex lace or cable chart. Because they are completely closed and smooth, they slide effortlessly from the left needle to the right needle as you reach them, requiring no pause in your knitting rhythm.
This seamless transition is especially beneficial when knitting garments with raglan shaping or circular yokes. By placing ring markers at each of the four raglan increase lines, you receive a clear visual cue to perform your increases exactly where they are needed without having to constantly count your stitches. Similarly, a distinctively colored or shaped ring marker is universally used to mark the beginning of a round when knitting in the round on circular or double-pointed needles, ensuring you always know when a new pattern repeat begins.
The main advantage of the closed-loop design is its complete lack of snag hazards. Without hinges, clasps, or sharp points, a high-quality ring marker will not split your active yarn or catch on the delicate halo of brushed fibers like mohair or cashmere. However, this closed design also represents their primary limitation. You cannot use ring markers in crochet because there is no needle shaft to hold them, and you cannot attach them to a finished piece of knitted fabric to track row counts or secure a dropped stitch. If you accidentally drop a ring marker off your needle, it will slide down the fabric and fall away, requiring you to carefully place it back on the needle during your next pass.
Feature Comparison and Decision Matrix
To help you quickly determine which marker type is best suited for your immediate project needs, consider the following comparison of their core characteristics:
| Feature | Locking Stitch Markers | Ring Stitch Markers |
|---|---|---|
| Primary Mechanism | Openable clasp or safety-pin latch | Closed, continuous solid loop |
| Best Technique | Crochet, vertical knitting tracking, repairs | Standard knitting on the needle shaft |
| Sliding Ability | Poor; hinges and clasps can catch on needles | Excellent; slides smoothly between needles |
| Snag Risk | Moderate; hinges or rough seams may catch yarn | Low; seamless designs glide over fibers |
| Adjustability | High; can be added or removed at any time | Low; must be placed or removed during active stitching |
When deciding which marker to reach for, use this simple decision framework. Choose a locking marker if you are crocheting, need to mark a specific stitch in the fabric, need to secure a mistake, or want to track your vertical row count. Choose a ring marker if you are knitting a project that requires frequent, repetitive transitions along the needle shaft, such as lace repeats, raglan lines, or circular rounds. If you are working with highly textured, delicate, or single-ply yarns, always prioritize seamless metal or smooth silicone rings to minimize any risk of fiber damage.
Verifying Compatibility with Your Yarn and Tools
Before starting a new project, it is highly recommended to perform a few quick compatibility checks to ensure your stitch markers will not damage your materials or disrupt your tension. For locking markers, always inspect the clasp and hinge areas before clipping them into your yarn. Run your fingertip over the plastic or metal edges to check for any sharp burrs, rough molding seams, or loose hinges. If a marker feels rough or fails to snap shut securely, discard it; a faulty clasp can easily pop open mid-project, causing you to lose your place or split delicate yarn plies.
For ring markers, the most critical step is measuring the inner diameter of the ring against the size of your knitting needles. The ring must be large enough to slide freely over the needle shaft without sticking, but not so large that it slips over the stitches themselves or gets tangled in your working yarn. Be sure to test the marker’s fit over the thickest part of your needle, including the transition join where the needle tip meets the flexible cable on circular needles. A marker that fits perfectly on the tapered tip may jam at the cable join, disrupting your knitting flow and potentially stretching out the adjacent stitches.
Finally, take a close look at the texture and ply of your yarn. Highly textured yarns, such as bouclé, slub, or loosely spun single-ply wool, are incredibly susceptible to snagging. For these delicate fibers, avoid using plastic locking markers with exposed hinges or metal bulb pins with sharp wire ends. Instead, opt for seamless, solid metal rings or soft, flexible silicone rings that glide over the fibers without catching. By matching the physical properties of your markers to the specific demands of your yarn and needles, you can ensure a frustrating-free crafting experience.
Frequently Asked Questions (FAQ)
Can I use locking stitch markers for knitting in the round?
Yes, you can physically place a locking stitch marker on your knitting needle to mark the beginning of a round, but it is generally not the most efficient choice. The clasp, hinge, and locking mechanism of these markers create a bulkier profile than a simple, solid ring. This extra bulk can catch on your working yarn as you pass the marker, potentially creating a small gap or tension irregularity in your stitches. For the smoothest experience, it is best to use a seamless ring marker to indicate the beginning of your round, reserving locking markers for tracking vertical progress or marking specific pattern repeats directly in the fabric.
What should I do if my ring marker gets stuck on a needle?
If a ring marker becomes wedged on your needle shaft or stuck at the cable join, avoid the temptation to force it over the barrier, as this can scratch your needle or permanently stretch out the surrounding stitches. Instead, gently slide the adjacent stitches away from the marker to relieve any tension. Inspect the inside of the ring to see if a stray fiber or yarn ply has become pinched between the marker and the needle. If the marker is caught on a cable join, try gently rotating the marker while backing it off the join. To prevent this issue in the future, always verify that your ring markers have an inner diameter at least one millimeter larger than your needle size.

Community discussion
Share your experience or ask a question. Comments are reviewed before publication.