
When a favorite pair of trousers develops a hole or a thin spot along the leg, deciding how to patch it determines how many more wears you will get out of the garment. The two primary methods—iron-on adhesive patches and traditional sew-on patches—each offer distinct advantages depending on where the damage is located and how you care for your clothes. While one offers speed and convenience, the other provides a mechanical bond that resists the physical stresses of daily movement.
Sew-on patches generally offer superior long-term durability and wash resistance, making them the most reliable choice for high-friction areas like inner thighs or knees. Iron-on patches provide a much quicker, tool-free application but may peel over time, especially after repeated washing or when applied to heat-sensitive fabrics. Ultimately, the method that lasts longer for your specific situation depends on your trouser material, washing routine, and the exact location of the repair.
Durability and Wash Resistance: What to Expect
To understand why one patch outlasts another, it helps to look at how they attach to the trouser fabric. A sew-on patch relies on mechanical bonding. The thread physically weaves through both the patch and the trouser fabric, distributing the tension of movement across dozens of individual stitches. If one stitch weakens or breaks, the surrounding stitches continue to hold the patch in place, preventing immediate failure.
Products mentioned in this guide
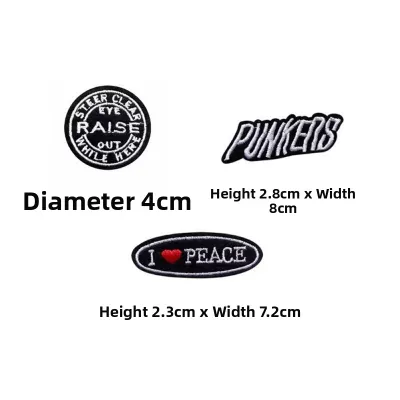
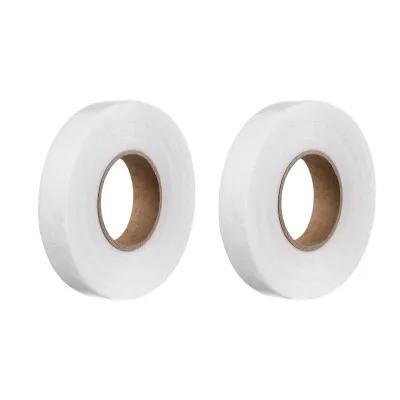
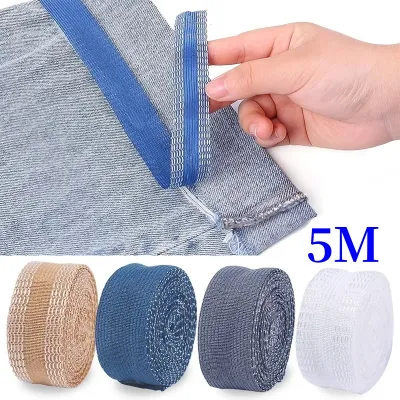
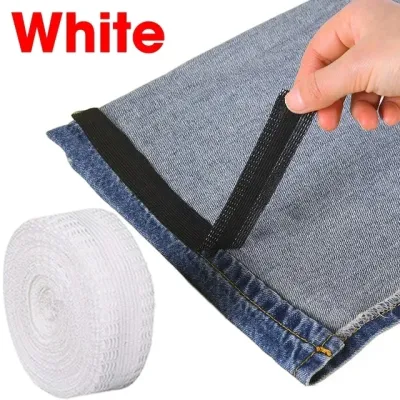
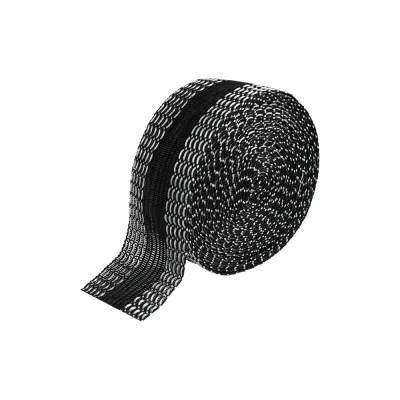
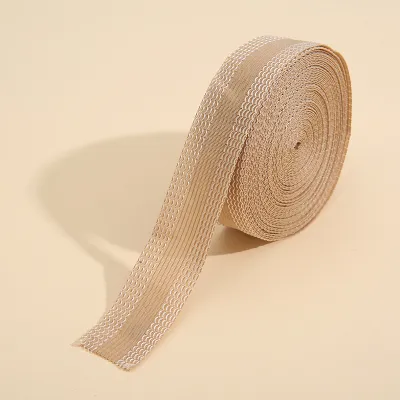
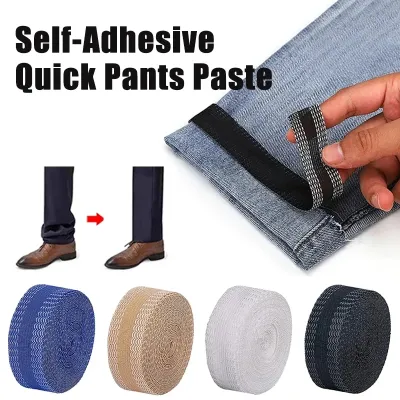
Prices are valid at publication and may change. Please refer to the product page for the latest price.
An iron-on patch relies on a thermal chemical bond. The adhesive backing melts under the heat of an iron, flowing into the fibers of the trouser fabric. As it cools, the adhesive solidifies, locking the two layers together. While this creates a highly uniform bond across the entire surface of the patch, it is susceptible to gradual degradation from friction, moisture, and heat.
High-friction zones, such as the inner thighs, knees, or cuffs of trouser legs, experience constant rubbing and stretching during walking, sitting, and bending. This mechanical stress can micro-fracture the stiff adhesive layer of an iron-on patch. Once a corner or edge begins to lift, the peeling action accelerates rapidly during subsequent wear. Sew-on patches handle this friction much better because the thread remains flexible, allowing the patch to shift slightly with the movement of the garment.
Washing conditions play a massive role in patch longevity. The hot water and vigorous agitation of a washing machine can soften the adhesive on an iron-on patch, causing it to lift. High heat in a clothes dryer is particularly damaging, as it can reactivate the thermal glue, leading to peeling or sticky residue transferring to other garments. Sew-on patches are largely unaffected by standard washing temperatures, though you must ensure the thread used matches the wash tolerance of the trousers.
To maximize the life of any patch, always check the garment care label before choosing your method. If the trousers require hot washes or heavy-duty laundering, a sew-on patch is almost always necessary to prevent premature peeling. For garments that are washed infrequently or in cold water on a delicate cycle, a high-quality iron-on patch can remain secure for a reasonable period.
Application Process and Skill Requirements
Applying these patches requires different tools, time investments, and skill levels. Understanding the steps involved helps you determine which method fits your current setup and comfort level.

For an iron-on patch, the process is fast but requires precise temperature control. You will need a household iron, a flat, heat-resistant ironing surface, and a piece of parchment paper or a thin pressing cloth to protect the fabric. First, preheat the iron to the setting recommended on the patch packaging, usually without steam, as moisture can interfere with the adhesive bond. Position the patch over the damaged area, cover it with the pressing cloth, and apply firm, downward pressure with the iron for the specified duration, typically fifteen to thirty seconds.
The most critical step in the iron-on process is the cooling phase. Moving the garment while the adhesive is still warm can disrupt the bond before it fully cures. Allow the trousers to lie completely flat and cool to room temperature before checking the edges. If any part of the patch lifts, you may need to reapply heat for a few additional seconds, taking care not to scorch the fabric.
Sewing a patch requires a basic sewing needle, matching thread, scissors, and pins to hold the patch in place. For beginners, a simple running stitch or a whipstitch around the perimeter of the patch is highly effective. You must select a needle that can easily pierce both the patch and the trouser fabric without leaving large, permanent holes. A standard hand-sewing needle works well for lightweight trousers, while a heavier denim needle is necessary for thick work pants.
Thread selection is equally important for durability. A standard polyester or heavy-duty cotton thread provides the necessary strength to withstand daily wear. When stitching, maintain consistent thread tension; pulling the thread too tight will cause the trouser fabric to pucker, while leaving it too loose will allow the patch to snag on external objects.
For the best of both worlds, you can use a hybrid approach. This involves using a lightweight iron-on patch or a temporary fabric adhesive web to hold the patch perfectly in place over the hole. Once the adhesive cools and stabilizes the fabric, you sew around the edges. This prevents the patch from shifting during the sewing process and ensures the edges will never peel, even after dozens of wash cycles.
Fabric Compatibility and Material Limits
Not all trouser fabrics react the same way to heat or needles. Matching the application method to your specific material is essential to prevent permanent damage to your clothing.
Heat tolerance is the primary limiting factor for iron-on patches. Synthetic fibers such as polyester, nylon, acrylic, and spandex have low melting points. Applying a hot iron to these materials can easily scorch, glaze, or melt the fabric, leaving shiny marks or permanent holes. If your trousers contain a high percentage of synthetic blends, a sew-on patch is the safer option. Always test your iron on an inconspicuous area, like an inside seam, before applying heat directly to the leg.
Fabric thickness and density also dictate which method will succeed. Heavyweight fabrics like thick denim, canvas, or heavy work duck cotton require significant heat to warm the adhesive through the material. Sometimes, the heat from a standard household iron cannot penetrate deeply enough to create a secure bond on these thick fabrics, making an iron-on patch prone to falling off. Conversely, sewing through these dense materials requires a strong needle and some physical effort, but it guarantees a permanent hold.
Lightweight fabrics, such as summer chinos, linen, or thin suit trousers, present the opposite challenge. A heavy sew-on patch can look bulky and cause the thin trouser fabric to sag or drape awkwardly. For these delicate materials, a lightweight iron-on patch or a fine, hand-sewn patch using a very thin needle and silk or polyester thread is preferred to maintain the natural drape of the garment.
Stretch fabrics containing elastane or spandex require special consideration. When these fabrics stretch, a rigid iron-on patch will restrict movement, causing the surrounding fabric to pucker or tear at the borders of the adhesive. If you must patch stretch trousers, use a flexible sew-on patch and apply it with a stretch stitch, such as a zigzag stitch, which allows the thread to expand and contract along with the fabric.
How to Choose the Right Method for Your Trousers
To make the final decision for your repair project, evaluate your trousers against this practical checklist.
Choose a sew-on patch if:
- The damage is located in a high-friction or high-flex zone, such as the inner thigh, knee, or seat.
- The trousers are made of heavy-duty, dense fabrics like thick denim or canvas that resist adhesive penetration.
- The garment will be subjected to frequent hot water washes, heavy-duty laundry cycles, or high-heat drying.
- The fabric is heat-sensitive, such as nylon, polyester, or delicate synthetic blends that melt easily.
- You want a permanent repair that will last for the remaining lifespan of the garment.
Choose an iron-on patch if:
- You need a quick, temporary, or low-effort fix and do not have access to sewing tools or skills.
- The damage is in a low-friction area, such as the shin, calf, or near the front pockets.
- The trouser fabric is 100% cotton, linen, or another heat-safe natural fiber.
- You plan to wash the garment in cold water and air-dry it to preserve the adhesive bond.
- You are using the patch as a temporary stabilizer before reinforcing it with stitches later.
Before proceeding with either method, verify these critical details:
- Check the garment care label to ensure ironing is permitted and note the maximum safe temperature setting.
- Inspect the fabric surface; water-resistant coatings, wax finishes, or heavy fabric softeners can prevent iron-on adhesives from bonding properly.
- Assess the elasticity of the material; highly elastic trousers require flexible patches and stretch-compatible stitching to prevent tearing.
Frequently Asked Questions (FAQ)
Can I sew over an iron-on patch to make it last longer?
Yes, combining both methods is an excellent way to achieve maximum durability. The iron-on adhesive keeps the patch perfectly flat and aligned, preventing it from shifting or puckering while you work. Once the adhesive has cooled completely, sewing around the perimeter secures the edges and ensures the patch will not peel, even if the adhesive eventually degrades in the wash.
When sewing through an iron-on patch, be aware that the cooled adhesive layer can be tough and sticky. You will need a slightly heavier, sharp needle to pierce the combined layers without bending or breaking. If you are using a sewing machine, sew slowly to prevent the adhesive from gumming up the needle, and clean the needle with rubbing alcohol if you notice any sticky buildup.
How do I remove an iron-on patch without damaging the trousers?
To remove an iron-on patch, you must reheat the adhesive to soften it. Place a piece of parchment paper or a thin cotton cloth over the patch and press it with a hot iron for ten to fifteen seconds. While the adhesive is still warm, carefully peel the patch away from the fabric using tweezers to protect your fingers from burns.
If any sticky adhesive residue remains on the trousers, do not scrape it while dry, as this can damage the fabric fibers. Instead, place a piece of clean parchment paper over the residue and press it with the iron; the excess glue will often transfer to the paper. For stubborn residue, check the fabric care label first, then apply a small amount of commercial adhesive remover or rubbing alcohol to a hidden area to ensure it does not discolor the fabric before treating the spot.

Community discussion
Share your experience or ask a question. Comments are reviewed before publication.