
Starting home sewing in Singapore requires a curated selection of essential tools that balance utility, budget, and space. Instead of purchasing pre-packaged kits filled with low-quality items or overinvesting in specialized machinery, a beginner should focus on a core set of high-quality cutting, measuring, marking, and stitching accessories. By selecting versatile tools that withstand the local humid climate and fit comfortably within compact living spaces, you can successfully complete your first projects—such as basic garment alterations, cushion covers, or simple tote bags—without cluttering your home or overspending.
Core Cutting Tools: Choosing Shears and Snips for Fabric
Fabric shears are the most critical investment in your sewing kit. Unlike household utility scissors, dedicated fabric shears are designed with long, precision-ground blades that slice cleanly through textiles without chewing or fraying the edges. To maintain this clean edge, you must establish a strict rule: never use your fabric shears to cut paper, cardboard, or plastic packaging. Paper contains abrasive wood fibers and clay fillers that quickly dull the delicate bevel of fabric blades, leading to jagged cuts and snagged threads on your next project.
When selecting shears, pay close attention to blade material and handle design. High-carbon steel blades offer exceptional sharpness and can be resharpened many times, but they require diligent care to prevent rust in humid environments. Stainless steel blades are highly resistant to corrosion and are generally more practical for home sewists in tropical climates. Look for bent-handle shears; the angled design allows the lower blade to slide flat along your cutting table, keeping the fabric stable and preventing shifting as you cut out pattern pieces.
Products mentioned in this guide
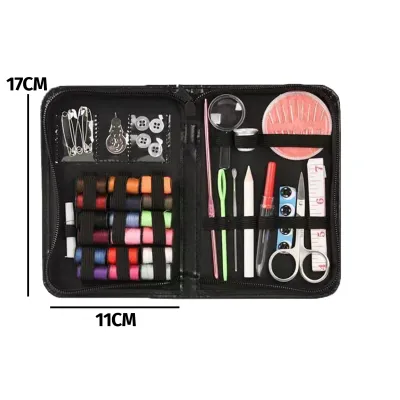
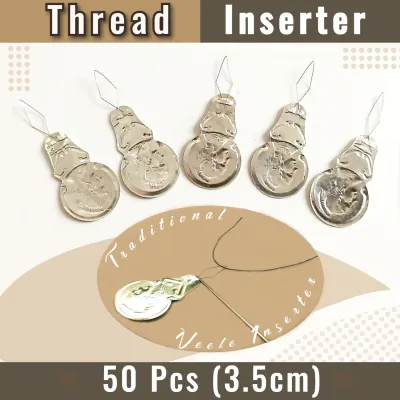
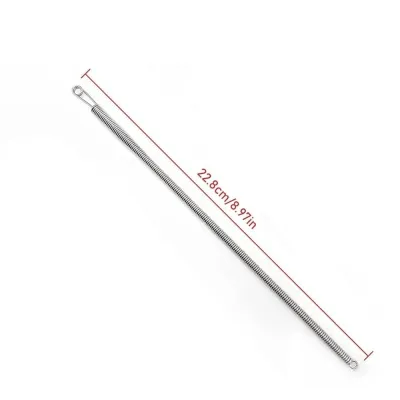
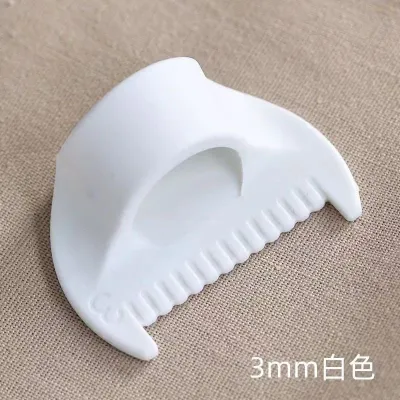
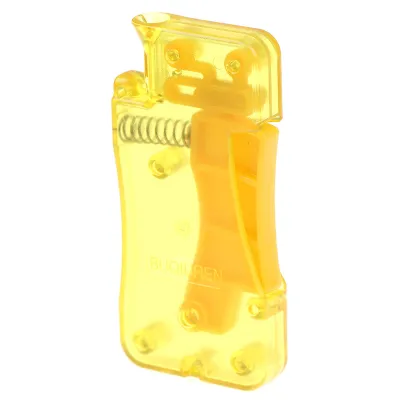
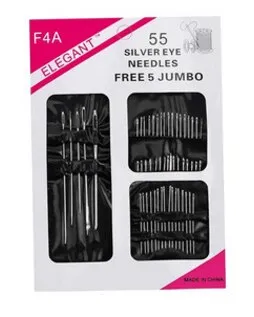
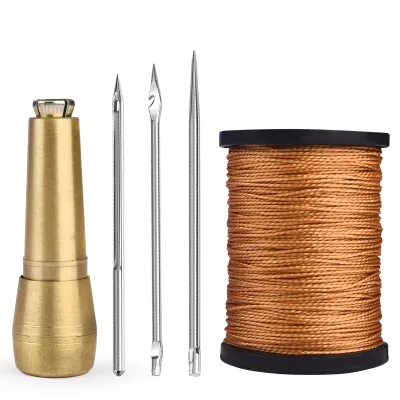
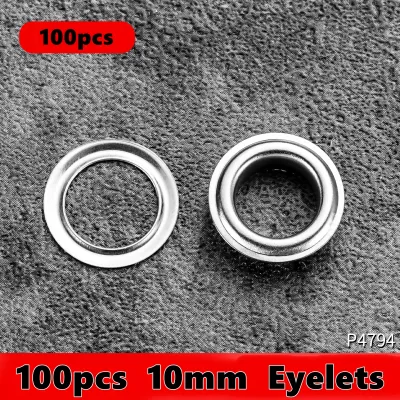
Prices are valid at publication and may change. Please refer to the product page for the latest price.
In addition to primary shears, a pair of small thread snips or embroidery scissors is indispensable. These compact, spring-loaded tools sit next to your sewing machine or in your hand sewing basket, allowing you to trim thread tails close to the fabric surface with a single quick pinch. Attempting to use heavy fabric shears for delicate thread trimming is fatiguing and increases the risk of accidentally snipping your garment’s actual seams.
Maintaining your cutting tools ensures their longevity and performance. Wipe the blades with a soft, dry microfiber cloth after every sewing session to remove lint and fabric dust, which can trap moisture and accelerate dulling. Periodically apply a single drop of sewing machine oil to the pivot screw, opening and closing the shears a few times to distribute the lubricant before wiping away any excess. If you notice the blades pushing the fabric forward rather than cutting it cleanly, or if they catch near the tips, it is time to have them professionally sharpened rather than forcing the cut.
Measuring and Marking: Ensuring Accuracy for Basic Projects
Accurate measurements are the foundation of any successful sewing project, turning flat fabric into well-fitting garments or precise home decor. A flexible tape measure is your primary tool for taking body measurements and checking curved pattern lines. Look for a fiberglass or reinforced vinyl tape measure rather than a cheap plastic one; plastic tapes can stretch over time when pulled taut, leading to subtle measurement discrepancies that ruin garment fit.

For flat drafting, measuring hems, and drawing straight lines, a clear acrylic ruler is highly recommended. A standard 18-inch by 2-inch grid ruler allows you to see the fabric underneath, making it easy to align grainlines and add precise seam allowances. To complement this, a small metal seam gauge with a sliding pointer is incredibly useful for checking quick, repetitive measurements like hem depths, buttonhole spacing, and pleat folds.
Marking your fabric is just as important as measuring it, as these lines guide your cutting and stitching paths. Tailor’s chalk remains a classic choice because it glides smoothly over woven fabrics, leaves a clear line, and brushes away easily without leaving permanent residue. For textured or knit fabrics where chalk might rub off too quickly, water-soluble or air-erasable fabric pens offer a precise alternative. Always test your marking tool on a scrap piece of your project fabric first to verify that the lines disappear completely after washing or ironing, as some synthetic fibers can permanently trap ink pigments.
To ensure your measuring tools remain reliable, perform a simple calibration check once or twice a year. Lay your flexible tape measure flat against a rigid metal or acrylic ruler to verify that the inch and centimeter markings align perfectly across the entire length. If you notice any stretching or warping, replace the tape measure immediately to prevent compounding errors in your future sewing projects.
Fasteners and Stitching: Needles, Pins, and Thread Selection
Matching your needle, pin, and thread to your fabric type is essential to prevent skipped stitches, broken threads, and permanent fabric damage. Sewing machine needles are categorized by both size and point style. For standard woven fabrics like cotton lawn, linen, or quilting cotton, use a universal needle (typically size 70/10 or 80/12). If you are working with knit fabrics like jersey or interlock, switch to a ballpoint or stretch needle; these have rounded tips that slip between the fabric yarns rather than piercing and tearing them, preventing unsightly runs and holes.
Pins are used to hold fabric layers together securely before stitching, and choosing the right type prevents frustration. Glass-head pins are highly recommended for beginners because the heads will not melt if you accidentally run over them with a hot iron during pressing. Avoid cheap plastic-head pins, which can melt onto your fabric or iron soleplate. For storing your pins, a magnetic pin dish is incredibly convenient for quick cleanup, while a traditional fabric pincushion filled with emery sand helps keep pin tips clean and sharp.
Thread selection directly impacts the strength and durability of your seams. For most beginner projects, a high-quality all-purpose polyester thread is the safest and most versatile choice. Polyester thread has a slight elasticity that prevents snapping under tension, and it is compatible with both natural and synthetic fabrics. Avoid bargain-bin thread sets, which often have uneven thickness, excessive lint, and weak spots that can clog your sewing machine’s tension discs and cause frequent thread breakage.
Before starting any project, perform a quick compatibility check on a fabric scrap. Sew a test seam using your chosen needle, thread, and tension settings, then pull the fabric gently to inspect the stitches. If you observe puckering, skipped stitches, or loops on the underside, adjust your needle size or machine tension before working on your actual project pieces.
Machine vs. Hand Sewing: Tailoring Your Kit to Your Method
Your essential tool kit will vary slightly depending on whether you plan to sew primarily by machine or by hand, though several core items overlap. If you are starting with a sewing machine, you will need a steady supply of extra bobbins that are specifically compatible with your machine model. Using the wrong bobbin size or style—even by a fraction of a millimeter—can cause severe tension issues, thread nesting, and potential damage to your machine’s bobbin case.
A standard sewing machine setup should also include a few basic presser feet: a universal zig-zag foot for general construction, a zipper foot for inserting closures, and a buttonhole foot. A seam ripper is another non-negotiable machine accessory; despite its association with mistakes, the seam ripper is a standard editing tool used by sewists of all skill levels to open temporary basting stitches, cut open buttonholes, and correct alignment errors cleanly.
For those focusing on hand sewing, embroidery, or hand-finishing garments, your kit should prioritize comfort and precision. A metal or leather thimble that fits securely on your middle finger protects your skin when pushing needles through heavy fabric layers. Hand sewing needles come in assorted packs; “sharps” are excellent for general hand sewing, while “betweens” are shorter and ideal for detailed quilting stitches. A simple wire needle threader saves significant eye strain, and a wooden embroidery hoop keeps your fabric taut and flat while you work on detailed hand stitches.
Regardless of your primary method, several versatile tools bridge the gap between hand and machine sewing. High-quality pins, a reliable fabric marking pen, a seam ripper, and a flexible tape measure are essential components of both setups. By focusing on these shared essentials first, you can easily transition between machine construction and hand-finished details without needing to purchase two entirely separate kits.
What to Skip: Avoiding Unnecessary Gadgets and Upgrades
The sewing market is filled with specialized gadgets and high-end tools that promise to simplify your workflow but often end up gathering dust in your storage drawers. As a beginner, it is crucial to resist the urge to buy everything at once. Single-use items like bias tape makers, specialized hem gauges, and automated needle threaders are rarely necessary for your first few projects. Most of these tasks can be accomplished just as accurately using a standard steam iron, a metal seam gauge, and a bit of patience.
Rotary cutters and self-healing cutting mats are popular tools, but they represent a significant financial investment and require careful handling. While they are excellent for quilting and cutting straight strips, they are not strictly necessary for general garment sewing or basic home crafts. A high-quality pair of fabric shears is far more versatile, safer for beginners, and does not require the ongoing expense of replacement rotary blades or a bulky cutting mat that takes up valuable table space in a compact home.
Specialized presser feet, such as walking feet, rufflers, or rolled hem feet, should also be avoided until you encounter a project that absolutely demands them. Your machine’s standard utility feet are capable of handling a wide variety of tasks with the right techniques. Before purchasing any new accessory, ask yourself if the tool solves a recurring problem in your sewing or if it is simply a shortcut for a skill you have not yet practiced. Building your foundational hand skills first will make you a more versatile and resourceful sewist.
Sourcing Your Starter Kit: Local Craft Stores and Online Options
When assembling your beginner sewing kit in Singapore, balancing your budget with the tactile quality of your tools is key. Physical haberdashery shops—such as those located in Chinatown’s People’s Park Food Centre or specialized craft boutiques—offer an invaluable opportunity to test tools before buying. Holding a pair of shears in your hand allows you to evaluate their weight, balance, and handle comfort, ensuring they will not cause hand fatigue during long cutting sessions.
For basic, non-ergonomic items like extra bobbins, glass-head pins, and simple rulers, online marketplaces and ecommerce platforms can offer cost-effective bulk options. However, be cautious when purchasing critical cutting tools or sewing threads online; low-cost, unbranded threads often shed excessive lint that can clog your machine, and cheap shears may arrive misaligned or dull. Investing a bit more of your S$ budget into reputable, branded threads and high-quality shears from established local retailers will save you from frustration and ruined fabric.
Pre-assembled beginner sewing kits can seem like an easy, budget-friendly solution, but they often contain low-quality tools and filler items you will rarely use, such as poor-quality plastic thimbles or weak threads that snap easily. You will generally get better value by purchasing a few high-quality individual items—specifically a good pair of shears, a reliable tape measure, and quality thread—and gradually expanding your kit as your skills develop. When buying mechanical tools or cutting equipment, always check the retailer’s return policy and material guarantees to ensure you can exchange any items with manufacturing defects.
Frequently Asked Questions (FAQ)
How should I store and maintain my cutting tools to prevent rust?
Singapore’s tropical climate and high relative humidity create a challenging environment for metal sewing tools, making them highly susceptible to rust and corrosion. To protect your investment, always wipe your shears, snips, and pins with a clean, dry microfiber cloth after each use to remove sweat, skin oils, and fabric moisture. Store your cutting tools in a dry drawer or a dedicated storage case with a few silica gel packets to absorb excess moisture from the air. Avoid storing your shears loose in a drawer where the blades can strike other metal tools, which can nick the sharp edges and cause misalignment. If you notice any stiffness in the pivot joint or tiny spots of discoloration, clean the area gently with a drop of sewing machine oil and a soft cloth to restore smooth operation and prevent further oxidation.
Community discussion
Share your experience or ask a question. Comments are reviewed before publication.