
Wrapping mooncakes beautifully transforms a traditional Mid-Autumn Festival treat into an elegant, deeply personal gift. While commercial boxes are convenient, hand-wrapping your mooncakes with high-quality paper and coordinated ribbons shows a level of care and thoughtfulness that off-the-shelf packaging cannot match. Achieving a professional, crisp finish requires a blend of structural preparation, precise measurement, and neat folding techniques. By selecting the right materials and following a systematic wrapping process, you can create stunning, gift-ready presentations that protect the delicate pastries while delighting your recipients.
Gathering the Right Materials and Tools
The foundation of an exquisite gift wrap lies in the quality and suitability of your materials. When choosing wrapping paper for mooncakes, look for a medium-weight paper, typically between 80 gsm and 120 gsm. Paper that is too thin, such as standard tissue, tears easily at the corners and may allow oils to seep through. Conversely, paper that is too thick, like heavy cardstock, is difficult to fold sharply and can create bulky, untidy seams. A smooth, coated paper or a high-quality textured matte paper offers the ideal balance of flexibility and structural integrity.
Your choice of ribbon should complement the scale and design of your package. For standard individual mooncake boxes or small multi-pack boxes, a ribbon width of 1.5 cm to 2.5 cm is highly effective. Satin ribbons provide a classic, luxurious sheen that catches the light beautifully, while grosgrain ribbons offer a textured, modern look with excellent grip for tight knots. Organza ribbons add a delicate, translucent touch that pairs well with minimalist paper designs. Ensure the ribbon color harmonizes with the paper pattern, opting for classic festive tones like deep red, gold, or jade green, or contemporary palettes like navy and copper.
Products mentioned in this guide
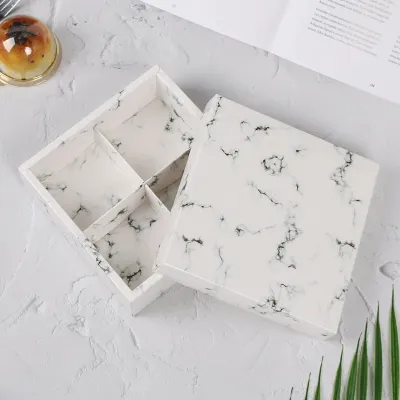
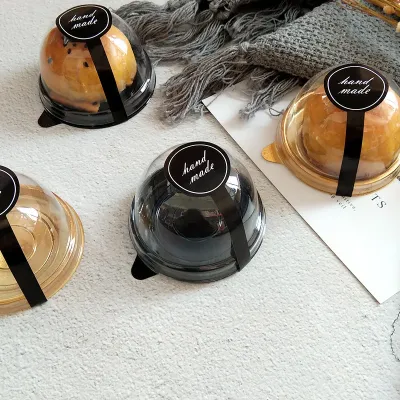
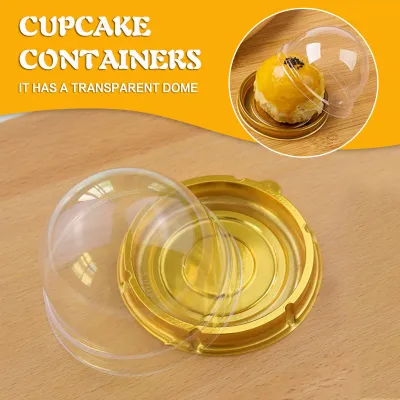
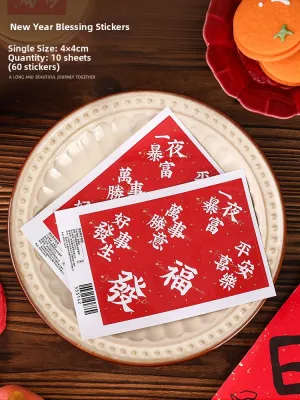
Prices are valid at publication and may change. Please refer to the product page for the latest price.
To achieve clean, professional results, gather a set of dedicated stationery tools before you begin. A pair of sharp, long-bladed scissors is essential for making straight, continuous cuts without jagged edges. Double-sided tape is the secret to an invisible finish, as it hides all adhesive points beneath the paper folds. A bone folder—a smooth, flat tool used in bookbinding—is highly recommended for scoring and pressing folds to create razor-sharp creases. Finally, keep a clear acrylic ruler handy to measure dimensions accurately and align your cuts precisely.
Preparing the Mooncake and Inner Protection
Before applying any decorative outer wrap, you must address the physical vulnerability and natural oil content of the mooncakes. Traditional baked mooncakes contain oils and moisture that can easily migrate through porous materials, leaving unsightly grease stains on your beautiful wrapping paper. Snowskin mooncakes require temperature control and can condensation-dampen paper if not properly insulated. Therefore, direct contact between the pastry and the decorative paper must be avoided.

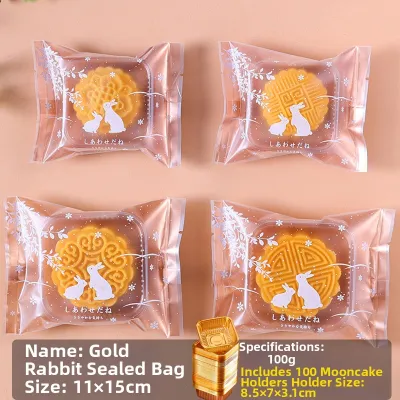
Begin by inspecting each mooncake to ensure it is in pristine condition. Look for any loose crumbs, surface cracks, or excess oil on the outer crust. If you find loose crumbs, gently brush them away with a clean, dry pastry brush to prevent them from getting trapped between the inner packaging and the outer wrap, which can create lumps. The mooncake should already be sealed in its primary food-grade plastic sleeve, which preserves freshness and acts as the first line of defense against moisture and oil transfer.
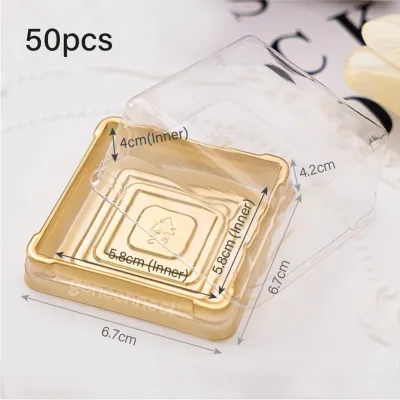
Once the mooncake is sealed, place it inside a sturdy base container, such as a rigid paperboard box, a clear plastic dome tray, or a wooden gift box. This base container provides the structural support necessary to withstand the tension of wrapping and ribbon tying. Ensure the exterior of this base container is completely clean, dry, and free of any dust or fingerprints. Any moisture or residue on the container can weaken the adhesive of your double-sided tape or warp the wrapping paper from the inside out.
Measuring and Cutting the Wrapping Paper
Accurate measurement is the key to avoiding wasted paper and preventing bulky, uneven seams. To determine the exact dimensions of the paper sheet you need, place your boxed mooncake on a flat surface and use your ruler to measure its length, width, and height. Write these measurements down so you do not have to rely on guesswork during the cutting process.
To calculate the required width of the wrapping paper, add the length of the box to twice its height, plus an extra 3 cm to 4 cm for overlap. For the length of the paper, it must be long enough to wrap completely around the box with a generous overlap. Calculate this by multiplying the width of the box by two, adding the height multiplied by two, and adding an extra 4 cm to 5 cm to create a clean, secure seam. Having this extra margin ensures that you can fold the edges under slightly for a clean, hemmed finish.
When you are ready to cut, unroll your wrapping paper on a clean, flat cutting mat or table. Use your ruler and a light pencil to mark the calculated dimensions on the reverse side of the paper. To ensure a precisely straight line, align your ruler with the grid lines of your cutting mat or the natural edge of the paper roll. Hold the paper taut and glide your sharp scissors through the marked line in long, smooth strokes rather than short, choppy snips. This technique minimizes paper fraying and guarantees a professional edge.
Folding and Securing the Paper Neatly
With your paper cut to size, place it face down on your work surface. Position your boxed mooncake in the exact center of the paper sheet, ensuring the top of the box is facing downward. This orientation guarantees that the main seam of the wrapping paper will be located on the bottom of the gift, leaving the top surface completely smooth and uninterrupted.
Begin by folding one of the long sides of the paper over the bottom of the box, pulling it taut. Fold the edge of the remaining long side under by about 1 cm to create a clean, hemmed edge, then pull it over the first fold. This hemmed edge hides the raw cut of the paper and creates a neat, professional seam. Apply a strip of double-sided tape along the underside of this hemmed edge, press it down firmly, and smooth it out. Use your bone folder to crease the paper along the long edges of the box to establish a tight, snug fit.
Next, turn your attention to the short ends of the box to create classic hospital corners. Push the top flap of paper downward against the side of the box, creasing the resulting side wings outward. Use your fingers or a bone folder to press these creases flat against the box sides, forming neat, triangular flaps. Fold these side flaps inward one at a time, keeping the paper pulled tight to eliminate any bulk or air pockets. Finally, fold the bottom triangular flap upward, apply double-sided tape to its inner edge, and secure it firmly against the side of the box. Repeat this process on the opposite end for a symmetrical, clean finish.
Tying Ribbons for a Polished Finish
A beautifully tied ribbon serves as the crowning glory of your mooncake package, adding texture, color, and a sense of occasion. To estimate the length of ribbon required for a classic cross-wrap, wrap the ribbon around the length and width of the box, add enough length for the height of all four sides, and include an additional 30 cm to 40 cm to tie the bow. Cutting too little ribbon makes tying a neat bow incredibly frustrating, so it is always wiser to err on the side of generosity.
To execute a classic cross-wrap, place the center of your ribbon across the top of the wrapped box. Bring both ends of the ribbon down the sides, cross them over each other at the bottom of the box, and turn them 90 degrees. Pull the ends back up the remaining two sides to the top of the box. Thread one end under the original center loop of ribbon and pull both ends taut. This locks the ribbon in place, preventing it from slipping or loosening while you tie the final bow.
Tie a standard double loop bow, adjusting the size of the loops and tails until they are highly symmetrical and proportional to the size of the mooncake box. Once you are satisfied with the shape, use sharp fabric scissors to trim the ribbon tails. Cut the ends at a clean 45-degree angle or fold the ribbon in half vertically and cut upward at an angle to create a classic swallowtail finish. To prevent synthetic ribbons like satin or polyester from fraying over time, briefly pass the trimmed edges near a small flame to melt and seal the fibers, taking care not to touch the flame directly to the fabric.
Elevating Your Moon Cake Packaging with Extra Details
To truly set your mooncake gifts apart, consider incorporating thoughtful embellishments that reflect the spirit of the occasion. Attaching a small sprig of dried osmanthus, a single stalk of lavender, or a delicate pressed leaf beneath the ribbon knot adds an organic, sensory element to the presentation. You can also slide a custom, handwritten gift tag onto the ribbon before tying the bow, offering a space to write warm wishes or note the mooncake flavor inside.
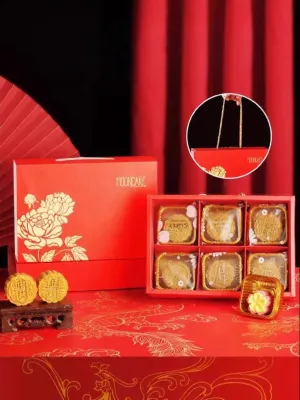
Color coordination plays a vital role in the overall aesthetic of your gift. For a traditional Mid-Autumn Festival theme, pair rich crimson or imperial red paper with gold foil accents and a thick gold satin ribbon. If you prefer a modern, minimalist aesthetic, opt for textured cream or sage green paper paired with a simple jute twine or a matte cotton ribbon. This understated approach highlights the natural beauty of the materials and appeals to contemporary design sensibilities.
If you are wrapping irregularly shaped, oversized, or multi-tiered mooncake boxes, adapt your wrapping techniques to accommodate the unique structure. For round or hexagonal boxes, use pleating techniques where the paper is gathered in neat, overlapping folds toward the center of the lid and secured with a decorative sticker or wax seal. For multi-tiered boxes, ensure the wrapping paper is applied to each drawer or tier individually, allowing the recipient to open and enjoy the interactive packaging without having to destroy the outer decorative wrap.
Frequently Asked Questions (FAQ)
Can I wrap mooncakes directly in paper without a box or tray? (FAQ)
Wrapping mooncakes directly in decorative paper without a rigid inner box or protective tray is highly discouraged. Mooncakes are delicate pastries with soft crusts and moist fillings that can easily be crushed, dented, or deformed under the slightest pressure during handling. Furthermore, the natural oils and moisture from the pastry will quickly seep through standard wrapping paper, resulting in unsightly grease stains and compromising the structural integrity of the paper. Always use a food-safe plastic sleeve and a sturdy inner tray or box to provide a clean, protective barrier before applying your outer decorative wrap.
How do I keep the wrapping paper from tearing at the corners? (FAQ)
Wrapping paper tears at the corners when the paper is pulled too tightly over sharp edges, or when the paper material lacks sufficient tensile strength. To prevent this, select a high-quality paper with a weight of at least 80 gsm, which offers better resistance to tearing. Before making your final folds, use a bone folder or the smooth edge of a ruler to gently score the fold lines on the reverse side of the paper, which relaxes the fibers and allows for clean, effortless creases. When folding the paper over the corners of the box, ease the tension slightly rather than pulling with excessive force, ensuring a snug but safe fit.

Community discussion
Share your experience or ask a question. Comments are reviewed before publication.