
Presenting a mooncake gift box during the Mid-Autumn Festival is a time-honoured tradition that expresses respect, gratitude, and warm wishes. Elevating this gesture with a beautifully wrapped box transforms a standard gift into a deeply personal offering. By mastering a few fundamental wrapping techniques—such as calculating precise paper dimensions, executing crisp envelope folds, and securing the package with double-sided tape—you can achieve a flawless, professional finish. Adding a structured ribbon bow completes the presentation, ensuring your gift stands out on any festive table.
Gather Your Wrapping Materials and Tools
Selecting the right materials is the foundation of a successful wrapping project. For mooncake boxes, which are often heavy and structurally rigid, the weight of your wrapping paper is critical. A paper weight between 80 gsm and 120 gsm strikes the ideal balance; it is sturdy enough to resist tearing at the sharp corners of the box, yet pliable enough to hold sharp, clean creases. Avoid overly thick cardstock, which resists folding, and ultra-thin tissue paper, which easily punctures and allows the underlying box design to show through. Textured papers, such as traditional washi, metallic foil accents, or matte kraft paper, add a tactile dimension that enhances the festive feel.
Your choice of ribbon should complement both the color palette and the weight of your wrapping paper. Satin ribbons offer a luxurious, glossy sheen that catches the light beautifully, making them excellent for formal gifts. Grosgrain ribbons provide a ribbed texture and excellent structural hold, which helps knots stay secure without slipping. If you want to create large, dramatic bows that retain their shape during transport, wired-edge ribbons are highly effective because they can be easily sculpted and fluffed.
Products mentioned in this guide
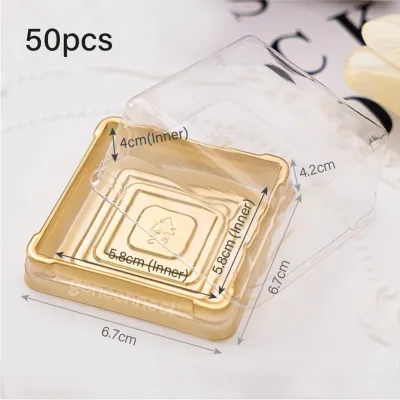
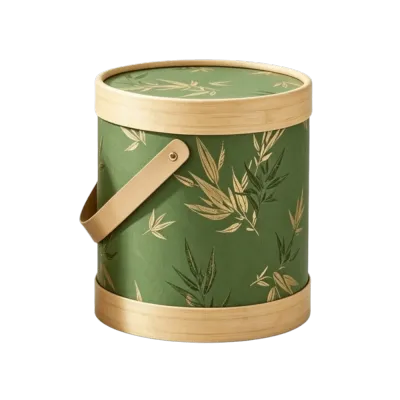
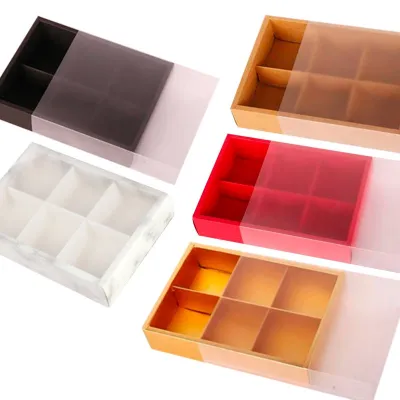
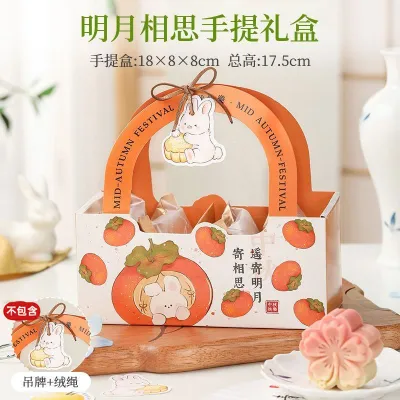
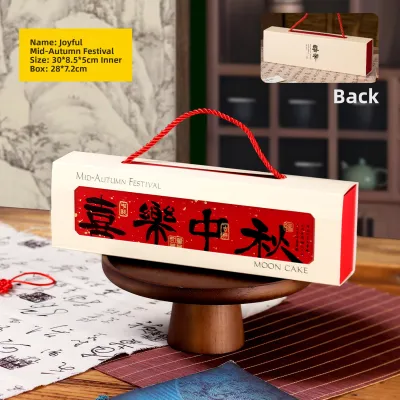
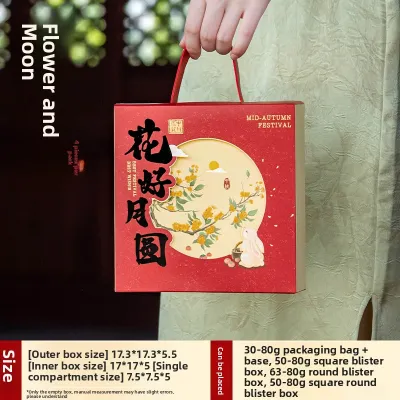
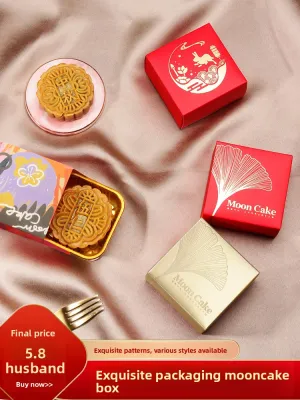
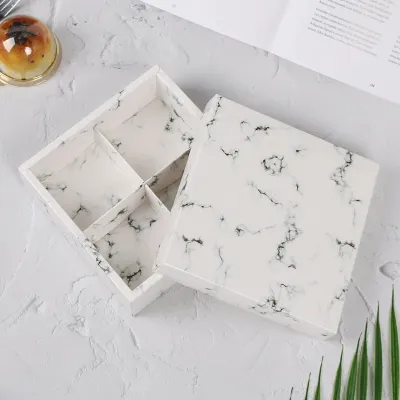
Prices are valid at publication and may change. Please refer to the product page for the latest price.
To achieve clean lines, gather a set of dedicated stationery tools before you begin. A pair of sharp scissors is essential to prevent frayed edges along your cuts. Double-sided tape is the secret to a professional finish, as it hides adhesive seams completely from view. Finally, keep a long metal ruler and a pencil on hand to measure and mark your cutting lines accurately, ensuring every fold aligns perfectly with the box’s geometry.
Prepare the Mooncake Gift Box for Wrapping
Before cutting your paper, take a few moments to prepare the mooncake box itself. Wipe down the exterior surfaces with a dry microfiber cloth to remove any dust, fingerprints, or oils that might prevent your tape from adhering properly. If the box features a carrying handle made of rope or plastic, determine if it can be tucked inside or detached. For non-detachable handles, fold them as flat as possible against the box surface and secure them with a small piece of standard tape to prevent them from creating unsightly bumps under your wrapping paper.

Accurate measurement is crucial to avoid wasting premium wrapping paper or ending up with short edges. To calculate the required width of your paper, wrap a flexible measuring tape around the perimeter of the box (covering the top, bottom, and two sides) and add an extra 4 to 5 cm to allow for a clean overlap. To find the required length, measure the length of the box and add twice the height of the box’s side panels. This ensures that when you fold the end flaps inward, they will fully cover the sides without leaving exposed gaps.
Once you have calculated these dimensions, lay your wrapping paper face down on a clean, flat work surface. Use your metal ruler and pencil to mark the cutting lines on the reverse side of the paper. When cutting, glide your scissors smoothly through the paper in long, steady strokes rather than short, choppy snips. This technique minimizes jagged edges and ensures a perfectly straight border that will make your final seams virtually invisible.
Step-by-Step Guide to Wrapping the Box
To begin wrapping, place your cut paper design-side down on your workspace. Position the mooncake box face down in the center of the paper sheet. This positioning ensures that the main seam will be located on the bottom of the box, leaving the top surface completely smooth and uninterrupted. Pull one side of the paper up and over the bottom of the box, securing it temporarily with a small piece of double-sided tape placed along the edge.
Next, pull the opposite side of the paper tightly over the box, overlapping the first edge by about 2 cm. Before securing it, fold the raw edge of this top layer inward by 1 cm to create a clean, folded hem. Apply a strip of double-sided tape along the inside of this hem, then press it firmly down onto the underlying paper. This folded-edge technique hides the raw cut of the paper and creates a seamless, professional seam along the bottom of your package.
With the main body wrapped, turn your attention to the open ends of the box. For standard rectangular or square mooncake boxes, the envelope fold is the most elegant choice. Start by pushing the top flap of paper downward against the side of the box, creasing it sharply along the top edge. This action will create two neat, triangular wings on the left and right sides of the panel.
Crease these side wings inward against the box side, ensuring they are pulled tight and flush against the surface. This leaves a single triangular flap at the bottom. Fold the tip of this bottom flap upward slightly to create a clean horizontal edge, apply a strip of double-sided tape to the inside, and pull it firmly upward to seal the side panel. Repeat this exact process on the opposite end of the box, maintaining consistent tension throughout to prevent the paper from shifting or buckling.
Add Elegance With Ribbon Tying Techniques
A beautifully tied ribbon serves as the focal point of your mooncake gift box. For a classic, balanced look, the traditional cross-wrap technique is highly effective. Cut a length of ribbon that is roughly five times the length of your box. Place the center of the ribbon across the top face of the box, pull both ends down the sides, and cross them over each other at a 90-degree angle on the bottom surface. Pull the ends tightly, bring them back up the remaining two sides to the top face, and thread them under the original central loop.
Once the ribbon is threaded and centered on the top of the box, tie a secure single knot to lock the tension in place. To form a symmetrical bow, create two equal-sized loops with the ribbon ends. Cross the left loop over the right loop, tuck it under, and pull it through the central opening, just as you would tie a standard shoelace. Carefully adjust the size of the loops and the length of the tails by pulling gently on opposite sides until the bow is perfectly proportioned to the size of your box.
To prevent the ribbon ends from fraying and to add a professional touch, finish the tails with a decorative cut. You can fold the ribbon tail in half vertically and cut upward at a 45-degree angle from the folded edge to the outer edge, creating a classic chevron or swallowtail finish. Alternatively, a simple, clean diagonal cut at a 45-degree angle using ultra-sharp fabric scissors provides a modern, minimalist look. Ensure both tails are trimmed to equal lengths that complement the overall scale of the bow.
Finishing Touches and Presentation Tips
Personalizing your wrapped mooncake box adds an extra layer of thoughtfulness that recipients will appreciate. Consider slipping a handwritten gift tag under the ribbon knot, featuring festive wishes for the Mid-Autumn Festival. For a rustic or natural aesthetic, tuck a small sprig of dried flowers, such as lavender or osmanthus, beneath the bow. If you prefer a more traditional and luxurious presentation, apply a custom wax seal directly onto the ribbon intersection or the paper seam using a festive stamp design.
Before presenting your gift, conduct a quick quality inspection. Check all corners to ensure the paper is pulled taut and that no double-sided tape is peeking out from the seams. Gently press down on all folded edges to confirm the adhesive is holding securely. If you notice any minor wrinkles in the paper, you can gently smooth them out using the flat side of your thumb, working from the center of the panel outward toward the edges.
Proper storage is essential to preserve your hard work, especially in humid climates like Singapore’s. High humidity can cause wrapping paper to lose its tension, warp, or develop unsightly ripples, while satin ribbons may lose their crispness. Store your wrapped mooncake box in a cool, dry room away from direct sunlight and air conditioning drafts until you are ready to deliver it. This keeps both the packaging pristine and the delicate mooncakes inside fresh.
Frequently Asked Questions (FAQ)
How much extra paper do I need for a standard mooncake box?
To ensure complete coverage without excess bulk, calculate your paper size using a simple formula. For the width, measure the perimeter of your box and add 4 to 5 cm of overlap. For the length, measure the box length and add twice the box’s height. Keep in mind that thicker papers (above 120 gsm) require an extra 2 to 3 mm of allowance on all sides, as they do not fold as tightly against the box corners as thinner papers do.
What type of ribbon works best for heavy gift boxes?
Heavy mooncake boxes require ribbons with excellent structural integrity to prevent the knot from slipping under weight. Grosgrain ribbon is highly recommended due to its ribbed texture, which creates friction and keeps knots locked securely in place. Wired-edge ribbons are also excellent for maintaining the shape of large bows during transport, while slippery materials like single-sided satin should be tied with a double knot at the base before forming the bow loops.
Can I reuse wrapping paper from previous festivals?
You can reuse wrapping paper if it passes basic structural and aesthetic checks. Inspect the paper for deep creases, tears, or sticky tape residue that cannot be trimmed away. If the paper is wrinkled but otherwise intact, you can smooth it by placing it under a heavy book overnight. Alternatively, repurpose damaged sections of high-quality paper by cutting them into custom gift tags, decorative paper bands, or small accents to minimize waste.
Community discussion
Share your experience or ask a question. Comments are reviewed before publication.