
Wrapping a gift beautifully is an art, but using printed wrapping paper with a distinct, directional design introduces a unique challenge. When you wrap a box without planning, you often end up with severed patterns, off-center motifs, or mismatched seams that disrupt the visual flow of the package. To wrap gifts with printed paper without cutting off the design, you must align the primary motif with the center of the gift’s top face, calculate your cuts based on the pattern’s repeat cycle, and secure the seams invisibly. This methodical approach ensures that the paper print remains continuous, balanced, and professional from every angle.
By shifting your focus from quick cutting to precise measurement, you can transform any standard box into a beautifully aligned presentation. This technique works for geometric grids, holiday scenes, and directional stripes alike. With the right tools and a systematic folding process, you can prevent awkward pattern breaks and make the wrapping paper itself a key part of the gift-giving experience.
Tools and Materials for Pattern-Matched Wrapping
Achieving a seamless finish starts with selecting the right type of paper print. Wrapping papers generally fall into two categories: predictable pattern repeats and random scatter prints. Predictable patterns, such as stripes, plaids, or repeating illustrations, require precise alignment but offer a highly structured, professional look when matched correctly. Random scatter prints are more forgiving because they lack a strict grid, making them ideal for beginners or oddly shaped gifts. When sourcing your materials from local stationery boutiques or online marketplaces, look for designs that match the scale of your gift box so the motifs are neither too large nor too small.
Products mentioned in this guide
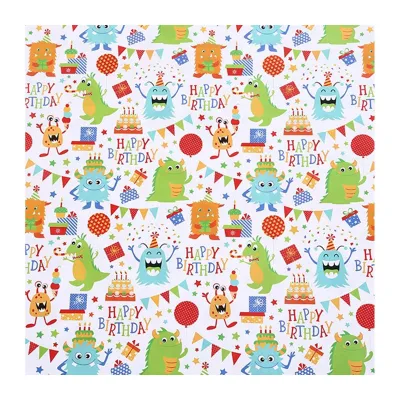
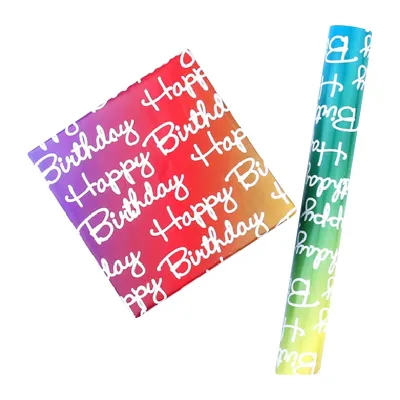
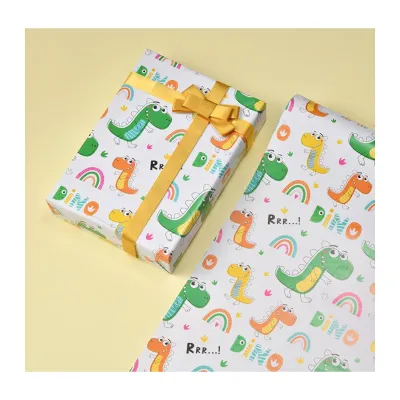
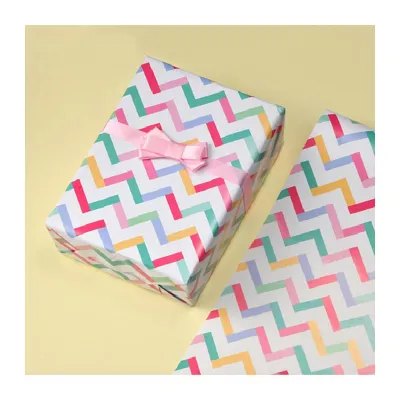
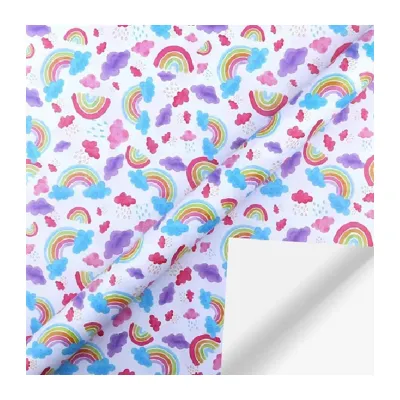
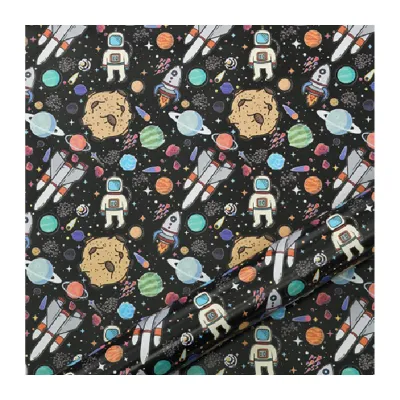
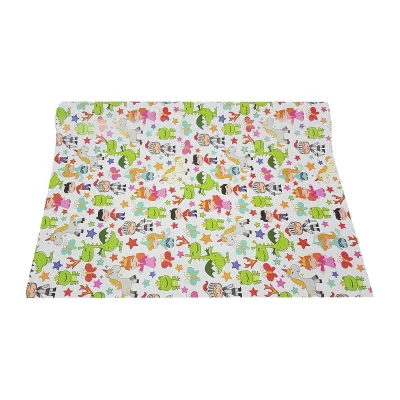
Prices are valid at publication and may change. Please refer to the product page for the latest price.
The tools you use will directly impact the precision of your cuts and folds. A pair of sharp scissors or a rotary cutter is essential for creating clean, straight edges that do not fray or tear the paper print. A long metal ruler helps you measure the pattern repeat accurately and serves as a straightedge for marking cut lines. For securing the paper, standard clear tape can ruin the illusion of a continuous design; instead, opt for high-quality double-sided tape, which allows you to secure the seams from the underside, keeping the adhesive completely invisible.
The weight and finish of the wrapping paper also play a critical role in the final presentation. Heavyweight paper, typically between 80 and 100 gsm, holds crisp creases and feels luxurious, but it can crack along the fold lines if it is too stiff, revealing unsightly white lines in the printed design. Matte or uncoated papers are generally more pliable and less prone to cracking than high-gloss finishes. In Singapore’s warm and humid climate, paper can absorb ambient moisture, making it slightly soft and prone to tearing if handled roughly. Choosing a high-quality paper print with a resilient, semi-matte finish ensures the paper remains durable and easy to fold without warping.
How to Measure and Cut Printed Paper to Preserve the Design
Before making any cuts, you must identify the pattern repeat length of your wrapping paper. Lay the paper flat on a clean, hard surface and locate a prominent element of the design, such as a specific flower, character, or geometric shape. Use your metal ruler to measure the distance from the start of that element to the exact point where the same element begins again on the roll. This measurement is your pattern repeat cycle, and it dictates where you should make your cuts to ensure the design aligns perfectly when wrapped around the box.

To calculate the required width of the paper, wrap the roll loosely around the gift box until the ends overlap. Instead of cutting the paper at a random point, adjust the overlap so that the pattern on the top layer aligns perfectly with the pattern on the bottom layer. This means your final cut must be made at a specific point in the pattern repeat cycle, even if it leaves a bit of excess paper. You can easily fold this excess paper under to create a clean, reinforced hem that aligns seamlessly with the design underneath.
For the length of the paper—the sections that will fold over the ends of the box—the paper should extend slightly more than half the height of the box on each side. If the paper extends too far, it will bunch up and distort the pattern; if it is too short, it will leave gaps. Measure the height of your box, divide it by two, and add a small allowance of about one centimeter to ensure complete coverage. This precise calculation prevents excess bulk, allowing the pattern to flow smoothly over the edges without awkward bunching.
Always flip the paper over and mark your cut lines on the unprinted back. Use a pencil and your metal ruler to draw straight, light lines that align with the orientation of the print on the front. If your wrapping paper features a printed grid on the reverse side, use it as a guide, but verify that the grid aligns with the front design, as some budget rolls may have slight printing misalignments. Cutting along these precise, measured lines ensures your edges are perfectly square, which is the foundation of a successful pattern match.
Step-by-Step Wrapping and Folding Techniques for Pattern Alignment
The first step in the actual wrapping process is centering the gift on the paper. Place the gift box face down on the unprinted side of the paper. Before making any folds, lift the paper on both sides to check where the design falls on the top face of the box. Adjust the position of the box left, right, up, or down until the main motif is perfectly centered on the top surface. If you are wrapping a book, a flat box, or a gift with a highly prominent central design, this step is crucial because any off-center alignment will be immediately noticeable to the recipient.
Once the gift is centered, bring the long sides of the paper up and over the box. To create a seamless look, do not simply tape the raw edge down onto the paper. Instead, fold the raw edge of the top layer under by about one centimeter to create a clean, folded hem. Align this folded hem with the pattern on the bottom layer so the design continues across the seam without interruption. Once the pattern matches perfectly, apply double-sided tape to the underside of the folded hem and press it down firmly against the bottom layer, keeping the tape completely hidden.
Next, move to the short ends of the box to create the side folds. Press the top flap down against the side of the box, creasing the corners sharply to form two neat diagonal wings on the sides. As you fold these wings inward, pay close attention to how the pattern aligns along the edges. If the design is directional, try to keep the print running in the same direction. Creasing the paper firmly with your fingers or a bone folder ensures the lines remain crisp and the pattern does not shift during the process.
Finally, fold the bottom flap upward to complete the wrap. Before securing it, fold the raw edge under to create another clean hem, adjusting the height so that any visible pattern on this flap matches the design on the top and sides of the box. Secure this flap with double-sided tape placed on the inside of the fold. By keeping all tape hidden and all raw edges folded under, the gift will look as though it was wrapped in a single, continuous sheet of custom-printed art, elevating the overall presentation.
Handling Irregular Shapes and Seams Without Breaking the Print
Wrapping cylindrical objects, such as tins, bottles, or poster tubes, presents a different challenge because the paper print can easily distort or bunch up at the ends. To maintain pattern continuity on a cylinder, wrap the paper around the circumference first, ensuring the seam matches perfectly along the length of the cylinder. Secure this long seam with double-sided tape. For the ends, instead of gathering the paper into a messy bunch, create neat, evenly spaced pleats that fold toward the center. This technique keeps the pattern organized and minimizes distortion, resulting in a clean, polished finish.
When wrapping exceptionally large gifts, a single sheet of wrapping paper may not be wide enough to cover the entire box. In this case, you will need to join two sheets together before wrapping. Lay the two sheets side by side on a flat surface, overlapping them until the pattern matches seamlessly. Once you find the exact alignment point, fold the edge of the top sheet under, apply double-sided tape along the underside of the fold, and press it onto the bottom sheet. This creates a single, larger sheet with an invisible seam that preserves the continuous paper print.
Despite your best efforts, some gifts have awkward dimensions that make a perfect pattern match impossible on every single side. When this happens, prioritize the top and front faces of the gift, as these are the first surfaces the recipient will see. If you have an unavoidable seam or a slight pattern mismatch on the side or back, use strategic embellishments to cover it. A wide fabric ribbon, a decorative gift tag, or a sprig of dried foliage can be placed directly over the seam, hiding the interruption in the design while adding an elegant, multi-textured layer to your presentation.
Frequently Asked Questions (FAQ)
How to Choose Tape for Printed Wrapping Paper
To secure printed wrapping paper without damaging the design, double-sided tape is the best choice because it remains completely hidden beneath the folds. If you must use external tape for reinforcement, select a low-tack or matte-finish clear tape that blends in with the paper’s texture. Avoid high-tack packing tapes or glossy clear tapes, as they reflect light awkwardly and can tear the paper print if you need to reposition the folds during the wrapping process.
How to Join Narrow Sheets Without Breaking the Paper Print
To join narrow sheets of paper, lay them flat and overlap the edges until the printed pattern aligns perfectly. Fold the raw edge of the top sheet under to create a clean seam, apply double-sided tape to the underside of this fold, and press it firmly onto the bottom sheet. Always position this joined seam on the bottom or back of the package to minimize visual disruption to the main design on the top face of the gift.

Community discussion
Share your experience or ask a question. Comments are reviewed before publication.