
Clear Oriented Polypropylene (OPP) plastic bags offer an exceptionally crisp, high-clarity presentation that instantly elevates the look of any gift. Unlike standard, soft polythene bags, OPP plastic is highly rigid, remarkably transparent, and possesses a brilliant gloss that mimics professional boutique packaging. Whether you are preparing handmade treats, curated stationery sets, or delicate crafts, using these bags allows the beauty of your gift to remain fully visible while protecting it from dust and moisture. Achieving a flawless, wrinkle-free finish requires a systematic approach to measuring, folding, sealing, and decorating. This guide provides a practical, step-by-step tutorial to help you master the technique at home, ensuring your gifts look polished, secure, and professionally curated.
What You Need Before You Start
Before beginning, gathering the correct tools and selecting the appropriate materials will prevent interruptions and ensure clean lines. The foundation of your presentation is the OPP plastic bag itself, which is available in various dimensions and thicknesses. For lightweight items like greeting cards, stickers, or single notebooks, a standard thickness of 30 to 40 microns is usually sufficient to provide a crinkle-free, structured sleeve. For heavier or bulkier items, such as thick journals, ceramic mugs, or multi-item gift bundles, look for bags with a thickness of 50 microns or more to prevent accidental punctures or seam splits.
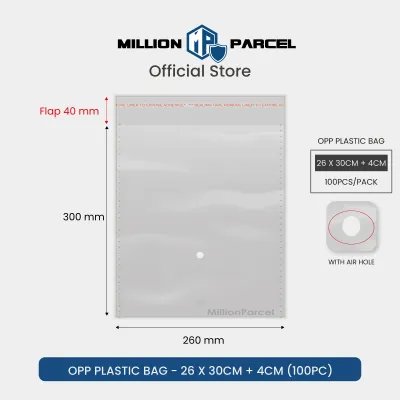
When selecting your OPP bags, you will encounter two main styles: plain open-top bags and self-adhesive strip bags. Self-adhesive bags feature a pre-applied strip of tape protected by a peel-off backing at the lip. These are highly convenient for quick packaging of flat items like art prints or greeting cards. However, for three-dimensional gifts or custom-shaped items, plain open-top bags offer greater flexibility, allowing you to fold and seal the plastic exactly where the gift ends.
Products mentioned in this guide
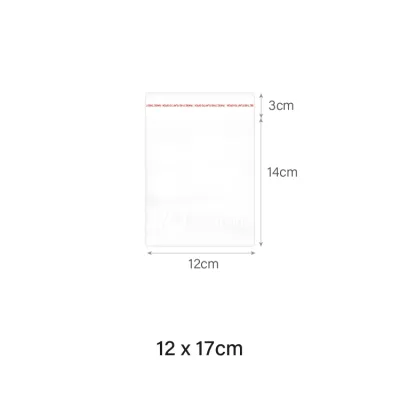
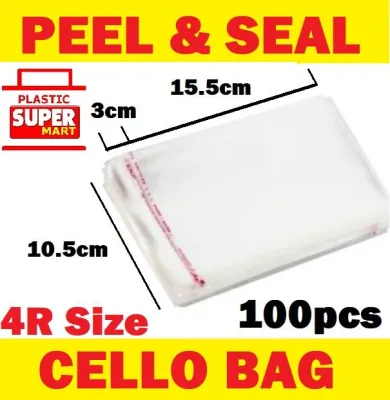
![100pcs Self Adhesive OPP Clear Plastic Packing Bag [Many Size]](https://img.lazcdn.com/g/p/6d5a103c36e20dfedbab5f74b0df7a78.jpg_400x400q80.jpg_.webp)
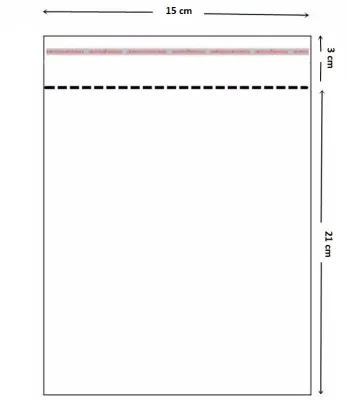
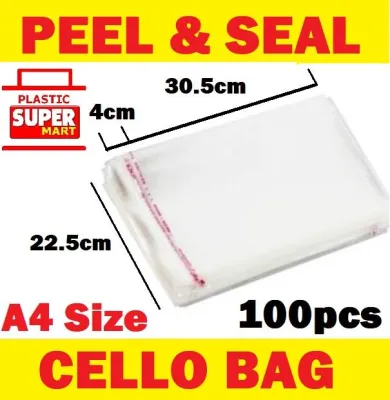
![[SG SELLER] Self Adhesive Clear OPP Transparent Packaging Poly Plastic Bag Retailer Clothes Sealing Wrap Plastic Storage](https://img.lazcdn.com/g/p/22be75670b3840eb6258305648fc2f8f.png_400x400q80.png_.webp)
![[SG] Free 1 pack |Transparent Self Adhesive Opp Bag | Transparent Plastic Bag with Seal | Self Adhesive Plastic Bag](https://img.lazcdn.com/g/p/dd5be533ffa418c574e3b7f6c8d3c8fa.png_400x400q80.png_.webp)
Prices are valid at publication and may change. Please refer to the product page for the latest price.
Additionally, consider whether a flat bag or a gusseted bag is better suited for your gift. Flat OPP bags work beautifully for thin, two-dimensional items. If your gift is thick or boxy, a gusseted bag—which features folded pleats along the sides or bottom—will expand to accommodate the depth of the item without distorting the shape of the plastic or putting excessive stress on the side seams.
You will also need a few essential tools to achieve clean, straight edges and secure seals. A sharp pair of scissors or a utility craft knife paired with a heavy metal ruler is indispensable for making precise cuts without stretching or tearing the plastic. For sealing, high-quality, ultra-thin double-sided tape is excellent for creating invisible seams on standard gifts. Alternatively, if you want a permanent, factory-style edge, an impulse heat sealer or a household hair straightener can be used. Finally, prepare your decorative elements, such as fabric ribbons, natural baker’s twine, or custom gift tags, to add a personalized touch that complements the high-gloss finish of the plastic.
Step-by-Step Guide to Wrapping with OPP Plastic Bags
Wrapping with OPP plastic requires a methodical approach to handle its rigid, slippery nature. The process is divided into three primary phases: measuring the material, positioning and folding the gift, and sealing the edges securely. To begin, clear a spacious, flat workspace and wipe it down thoroughly to remove any dust, lint, or moisture that could cling to the static-prone plastic.

Measuring and Cutting the Bag
To determine the correct bag size or the amount of plastic sheet needed, you must calculate the dimensions of your gift with precision. Measure the length, width, and depth of the item. As a general rule, the width of the OPP bag should be at least 2 to 3 centimeters wider than the width of your gift to allow the item to slide in smoothly without stretching the side seams. For the length, ensure the bag is long enough to cover the entire height of the item, plus an additional 5 to 8 centimeters at the top to accommodate folds, tucks, or decorative ties.
When cutting OPP plastic, precision is vital because any small nick or jagged edge can easily turn into a long tear under tension. Lay the plastic flat on a cutting mat and use a metal ruler as a straightedge guide. Press down firmly on the ruler and run a sharp utility knife along the edge in a single, continuous motion. If you are using scissors, make long, steady cuts rather than short, choppy snips to maintain a perfectly smooth line.
Folding and Positioning the Gift
Slide your gift gently into the center of the OPP bag, ensuring it is perfectly aligned and resting flat against the bottom seam. If you are wrapping a flat item like a book or an art print, push it flush against one side to minimize excess space. Pull the plastic tight across the front face of the gift to eliminate any unsightly wrinkles or air pockets, holding the tension firmly with one hand.
To create clean, professional folds, treat the OPP plastic similarly to traditional wrapping paper but with lighter pressure to avoid sharp, permanent creases in the wrong spots. Fold the open side edges inward, pressing them flat against the back of the gift. For the top or bottom openings, fold the corners inward at a 45-degree angle to create neat, triangular flaps. Fold these flaps tightly over the back of the item, creating a clean envelope-style finish that keeps the front face of your gift completely smooth and unobstructed.
For odd-shaped items like small plush toys or cylindrical jars, centering the item is even more critical. Gather the excess plastic at the top of the bag rather than folding it flat against the back. This creates a classic pouch or goodie bag look. You can secure this gathered neck tightly with a twist tie or a small piece of clear tape before concealing it with a decorative ribbon.
Sealing the Edges Cleanly
Securing your folds neatly is what distinguishes an amateur wrap from a boutique-quality presentation. For lightweight items and standard paper gifts, double-sided tape is the most practical choice. Apply a strip of thin, clear double-sided tape directly along the edge of your folded flap, peel off the backing, and press it firmly against the body of the bag. This creates an invisible, low-profile seal that does not distract from the gift inside.
For heavier items, or when you want a highly secure, tamper-evident finish, a heat sealer is highly effective. If you do not own an impulse heat sealer, a household hair straightener set to its lowest heat setting can serve as an alternative. Before applying heat to your wrapped gift, always test the temperature on a scrap piece of OPP plastic to find the melting threshold. Place a sheet of protective parchment paper over the plastic fold, clamp the heated tool over the edge for one to two seconds, and release. The plastic should fuse cleanly without warping, bubbling, or melting through.
Adding Professional Finishing Touches
Once your OPP bag is securely sealed, adding thoughtful decorations will elevate the overall presentation and soften the look of the plastic. Tying a high-quality ribbon, such as satin, grosgrain, or cotton herringbone, around the sealed edges is an excellent way to hide any visible seams or tape lines. For a rustic or minimalist aesthetic, natural materials like baker’s twine, jute string, or raffia provide a beautiful texture contrast against the smooth, high-gloss surface of the OPP plastic.
You can also attach decorative accents directly to the wrapping to make the gift feel more personal. Consider tucking a small sprig of dried lavender, a pressed leaf, or a piece of preserved greenery under the ribbon tie. Gift tags can be threaded onto the twine or attached using mini wooden clothespins or small adhesive dots. When applying these elements, ensure that you do not use sharp pins, heavy staples, or harsh solvent-based glues that could puncture, melt, or otherwise compromise the integrity of the sealed plastic bag.
Common Mistakes and How to Avoid Them
Working with OPP plastic can sometimes be challenging due to its stiffness and slippery texture. One common issue is the gift shifting inside the bag while you are trying to fold the edges. To prevent this, you can temporarily secure the item in place using a small piece of low-tack painter’s tape or place a clean, smooth weight on top of the bag while you work on the folds. Once the final folds are sealed, simply slide out the temporary tape or remove the weight.
Another frequent mistake is applying too much heat during the sealing process, which results in shriveled, warped, or completely melted edges. Always use a protective barrier, such as parchment paper or a Teflon sheet, between the heating element and the OPP plastic. Keep the heat contact brief, starting with a fraction of a second and gradually increasing the dwell time only if the plastic fails to fuse.
Finally, static cling can cause dust, hair, or the plastic itself to stick together awkwardly before you can position the gift. In warm, humid environments, moisture from your hands can also leave unsightly smudges on the ultra-clear surface. To manage these issues, wipe down your workspace and your hands with a slightly damp, lint-free microfiber cloth before handling the bags. You can also pass an anti-static dryer sheet lightly over the exterior of the OPP bag to neutralize the charge, ensuring a crystal-clear, dust-free presentation.
Frequently Asked Questions (FAQ)
Can I reuse OPP plastic bags for gift wrapping?
Yes, OPP plastic bags can be reused if they are handled carefully during the initial opening. Inspect the bag thoroughly for deep creases, punctures, or stubborn adhesive residue that might compromise its high-clarity appearance. If the top edge is slightly stretched or torn from tape removal, you can use a metal ruler and a sharp utility knife to trim away the damaged section, leaving a clean, slightly shorter bag that is perfect for wrapping smaller items.
Is OPP plastic safe for wrapping food gifts?
OPP plastic is generally known for its moisture barrier properties, but you must verify that the specific bags you are using are explicitly certified as food-grade by the manufacturer before placing unpackaged food inside. If the food-safe status of your stationery or craft OPP bag is unverified, always package your edible treats—such as cookies, chocolates, or tea leaves—in a confirmed food-safe inner barrier first, such as a sealed glass jar or food-grade cellophane, before placing them into the outer decorative OPP bag.

Community discussion
Share your experience or ask a question. Comments are reviewed before publication.