
To wrap gifts neatly with Christmas wrapping paper, you need to focus on precise measurements, sharp folds, and the right stationery tools. Achieving a professional, crisp finish relies on minimizing excess paper bulk, using hidden adhesive techniques, and matching your folding method to the specific shape of the gift. By mastering a few fundamental techniques, you can transform any standard box or irregular item into a beautifully presented holiday gift.
The presentation of a gift is just as important as the item inside, especially during the festive season when presents are displayed under the tree. Sloppy edges, visible tape, and torn corners can detract from the care you put into choosing the gift. Taking a systematic approach to measuring, cutting, and folding ensures that your holiday presentation looks polished and intentional.
Before you begin, it is helpful to understand that different types of wrapping paper behave differently under tension and folding. Developing an eye for paper behavior and mastering basic folding geometry will save you time and reduce wasted material. With the right preparation, anyone can achieve boutique-quality results at home.
Products mentioned in this guide
![[5 Meter Roll] [WRP 14] Christmas Wrapping Paper | Gift Wrapper | Xmas Wrapping Paper | Xmas Wrapper](https://img.lazcdn.com/g/p/e772ccaaf746e19b06e20b1d732bb0c0.jpg_400x400q80.jpg_.webp)
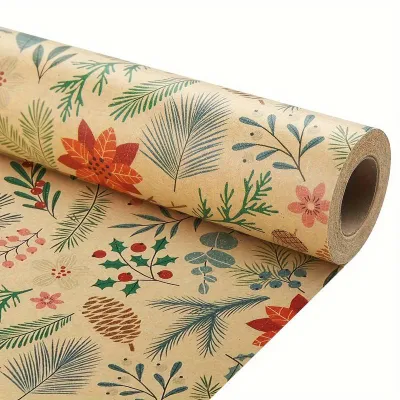
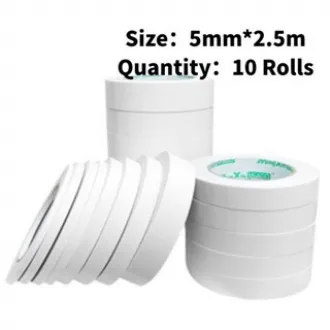
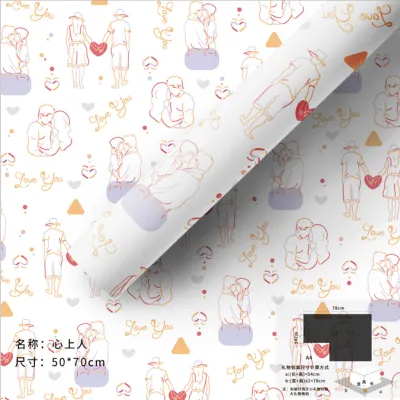
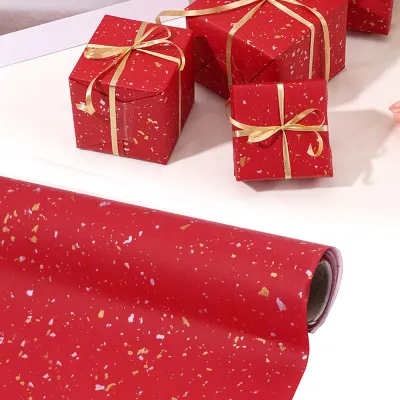

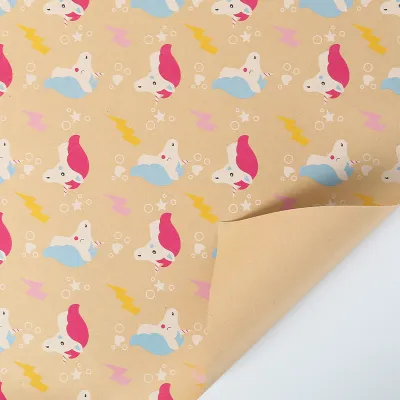
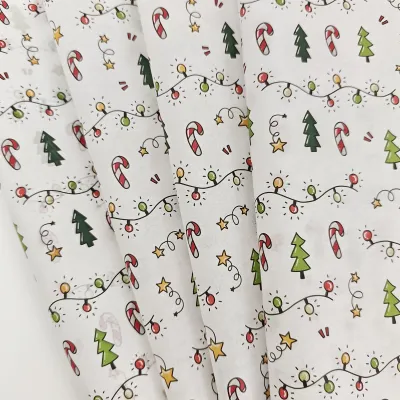
Prices are valid at publication and may change. Please refer to the product page for the latest price.
Essential Tools and Materials for Clean Gift Wrapping
To achieve clean lines and sharp corners, you must start with the correct stationery and wrapping supplies. The quality of your tools directly influences the ease of the wrapping process and the durability of the final presentation.
When selecting Christmas wrapping paper, pay close attention to its weight, thickness, and finish. Heavyweight paper (around 80 to 100 gsm) offers excellent durability and holds sharp creases beautifully, making it ideal for structured boxes. However, extremely thick or heavily coated papers can resist folding and may spring open if not secured with strong adhesive. Conversely, lightweight paper is highly pliable but prone to tearing along sharp edges, meaning it requires a gentler touch.
The choice of adhesive is equally critical for a seamless look. Double-sided tape is the preferred choice for professional gift wrappers because it remains completely hidden between the overlapping layers of paper. If you prefer standard tape, opt for a clear matte or invisible tape rather than glossy transparent tape. Matte tape blends seamlessly with the paper’s surface, making any exposed seams far less noticeable under holiday lighting.
For cutting, always use sharp stationery scissors or a dedicated rotary cutter. Dull blades can snag and tear the paper, leaving jagged, unprofessional edges. When using sharp cutting tools, always work on a flat, stable surface and cut away from your body to ensure safety. A self-healing cutting mat with grid lines is highly recommended, as it protects your tabletop and helps you guide your cuts along perfectly straight lines.
Finally, prepare a clean, spacious, and hard workspace. Wrapping gifts on a soft surface like a carpet or bed makes it nearly impossible to press sharp, flat creases into the paper. A large dining table, clean desk, or hard floor provides the solid foundation needed to press down folds and keep your paper flat and unwrinkled throughout the process.
Step-by-Step Guide to Wrapping Standard Rectangular Boxes
Wrapping a standard rectangular box is the foundation of all gift presentation. By mastering this process, you can ensure that the majority of your holiday gifts look uniform, neat, and professionally tailored.

Begin by measuring the correct amount of Christmas wrapping paper needed for your box. Place the box face down on the unrolled paper. Roll the paper out until it covers all four sides of the box with an overlap of about 2 to 3 centimeters. To measure the sides, pull the paper up against the side of the box; it should reach slightly more than half the depth of the box on each end. Cut the paper along these measured lines, using the grid lines on the back of the paper as a guide to ensure a perfectly straight cut.
Once your paper is cut, center the box face down on the sheet. Pull one long edge of the paper over the bottom of the box and secure it temporarily with a small piece of tape. Next, take the opposite long edge of the paper and fold it over by about 1 centimeter to create a clean, finished hem. Pull this hemmed edge tightly over the box, overlapping the first edge, and secure it with double-sided tape. This creates a neat, straight seam that runs along the bottom or edge of the box.
With the main body secured, move to the open ends of the box. Start on one side by pushing the top overhang of paper straight down against the side of the box. This action will naturally create two diagonal, wing-like flaps on the left and right. Crease these diagonal edges sharply with your fingers to keep them flat against the box.
Next, fold the left and right diagonal flaps inward, pressing them tightly against the side of the box. This leaves a single triangular flap at the bottom. Before folding this bottom flap up, fold its tip inward by about 1 centimeter to create another clean, straight hem. Apply a strip of double-sided tape along this hemmed edge, pull the flap up tightly against the box, and press it firmly to secure. Repeat this entire process on the opposite end of the box to complete the wrap.
Techniques for Wrapping Irregular and Cylindrical Shapes
Not all holiday gifts come in neat rectangular boxes. Items like bottles, plush toys, and cylindrical containers require alternative wrapping techniques to prevent the paper from bunching, wrinkling, or tearing.
For cylindrical items, such as bottles or poster tubes, the pleating method provides a clean and elegant finish. Roll the cylinder in the Christmas wrapping paper, leaving enough overhang on both ends to cover the circular faces. On the bottom end, start folding the paper inward in small, overlapping triangular pleats, working your way around the circumference of the circle. Secure the center of the pleats with a piece of tape or a decorative sticker. For the top end, gather the excess paper neatly around the neck of the bottle or top of the tube, and tie it securely with a festive ribbon or twine to create a decorative, gathered collar.
For small, soft, or highly irregular items that lack a rigid structure, the twist or “candy wrapper” method is highly effective. Roll the item in a sheet of wrapping paper to form a tube, leaving generous overhangs on both ends. Gently twist the paper at each end of the item, taking care not to twist too tightly and tear the paper. Secure each twisted end with a piece of ribbon, yarn, or decorative cord. This method works exceptionally well with flexible papers and gives the gift a playful, classic holiday appearance.
When dealing with fragile, heavy, or extremely awkward shapes, it is often best to provide an artificial structure before wrapping. Placing the item inside a simple inner box or securing it to a sturdy backing board of cardboard will make the wrapping process much easier. If a box is not available, wrap the item in several layers of soft tissue paper first. This cushioning layer fills out empty spaces, softens sharp protrusions, and creates a more uniform shape that the outer Christmas wrapping paper can easily wrap around without puncturing.
Achieving Crisp Corners and Professional Finishing Touches
The difference between an average wrapping job and a professional presentation lies in the details. Refining your folds and adding thoughtful decorative elements will elevate your gifts under the tree.
To achieve exceptionally sharp corners, use the pinch-and-fold technique. Once your paper is secured around the box, run your thumb and index finger firmly along every edge and corner of the package. This action pinches the paper tightly against the cardboard, removing any trapped air pockets and creating crisp, tailored lines. For thick, textured, or heavily coated Christmas wrapping paper, a plastic bone folder or the smooth edge of a ruler can be used to press down the creases without scratching or damaging the printed design.
When working with specialty papers, such as those with glitter, foil, or deep textures, standard adhesives may struggle to hold. Verify the tape’s adhesion on a small scrap piece of paper before wrapping the entire gift. If the paper resists folding, apply slightly more pressure when creasing, and use high-strength double-sided tape to ensure the seams do not pop open over time.
Once the box is neatly wrapped, add your finishing touches symmetrically to complement the paper’s design. If your Christmas wrapping paper features a busy, detailed pattern, opt for a simple, solid-colored ribbon to avoid visual clutter. For minimalist or solid-colored paper, you can use vibrant, textured ribbons, layered bows, or natural elements like pinecones and sprigs of holly. Position your ribbons so they align with the natural seams of the paper, securing them tightly enough to stay in place without compressing or warping the corners of the box.
Common Wrapping Mistakes and How to Avoid Them
Even with the right tools, minor errors can lead to torn paper, crooked seams, or wasted materials. Recognizing these common pitfalls allows you to adjust your technique and achieve a flawless finish.
One of the most frequent mistakes is pulling the paper too tightly, which often results in tears along the sharp corners of the box. This is especially common with delicate, thin, or heavily printed paper grades. To prevent tearing, avoid pulling the paper with excessive force. If you notice the paper starting to stress or discolor at the corners, loosen your grip slightly. You can also reinforce the inside corners of the paper with a small piece of clear tape before folding to provide extra resistance against sharp box edges.
Misaligned patterns and crooked seams can also ruin the symmetry of your gift. Before applying any tape, perform a dry run by folding the paper over the box to check how the patterns align. If the paper features stripes, trees, or geometric holiday motifs, ensure they run parallel to the edges of the box. Adjust the position of the box on the paper sheet before making your final cuts to keep the design perfectly centered and straight.
Finally, environmental factors like static cling or curling paper can make wrapping frustrating, particularly in dry or heavily air-conditioned rooms. If your paper keeps curling back onto the roll, use heavy objects like books, paperweights, or your tape dispenser to weigh down the corners of the sheet while you measure and cut. This keeps the paper flat and manageable, allowing you to focus on making precise cuts and clean folds.
Frequently Asked Questions (FAQ)
How much extra Christmas wrapping paper should I cut for a standard box?
To measure accurately, place your box on the paper and pull the sheet up and over the top. The paper should wrap completely around the box with about 3 to 5 centimeters of overlap. For the ends, the paper on each side should extend to approximately three-quarters of the box’s depth. This ensures full coverage when folded without creating bulky, overlapping layers that ruin the clean lines.
What is the best way to wrap a gift without using tape?
You can secure a gift beautifully without adhesive tape by using traditional Japanese furoshiki fabric wrapping techniques or origami-style interlocking folds. Alternatively, wrap the paper tightly around the box and secure the entire structure using a sturdy ribbon, twine, or decorative band tied with a tension knot. This not only holds the paper firmly in place but also makes the wrapping fully recyclable and easy to open.
How do I prevent dark or metallic Christmas wrapping paper from showing white crease marks?
Dark, saturated, or metallic Christmas wrapping papers often have a white paper base that shows through when the printed surface is cracked by harsh folding. To prevent these unsightly white lines, avoid using sharp metal creasing tools or scraping your fingernails along the folds. Instead, use the soft pad of your thumb to gently press the creases, and rely on high-quality double-sided tape to hold the paper flat with minimal friction and handling.

Community discussion
Share your experience or ask a question. Comments are reviewed before publication.