
Using a potli bag is one of the most elegant, sustainable, and culturally rich ways to present a gift. These traditional drawstring pouches, often adorned with beautiful embroidery, beadwork, or rich textures, instantly elevate the gifting experience. Unlike standard wrapping paper that is discarded after a single use, a potli bag serves as a secondary gift that the recipient can reuse for years to come.
Achieving a flawless presentation requires more than simply dropping an item inside and pulling the strings. To make your gift look truly professional, you must select the right bag, prepare the contents carefully, and master the art of securing the drawstrings. This step-by-step guide will walk you through the entire process, ensuring your presentation is neat, balanced, and memorable.
Choosing the Right Potli Bag for Your Gift
Selecting the perfect potli bag begins with a careful evaluation of your gift’s physical dimensions. Before purchasing or selecting a bag, measure the width, depth, and height of your item. The bag must be spacious enough to accommodate the gift comfortably without stretching the fabric or straining the side seams. A bag that is too small will look misshapen and bulky, while an oversized bag will leave your gift looking lost and unsupported.
Products mentioned in this guide
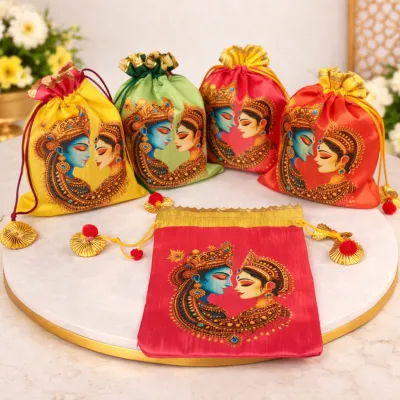
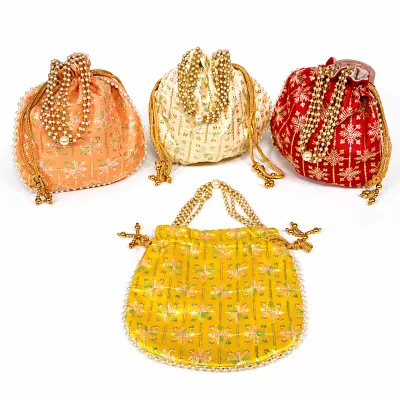
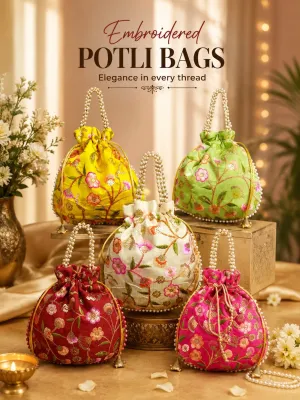
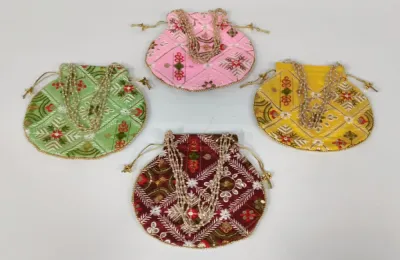
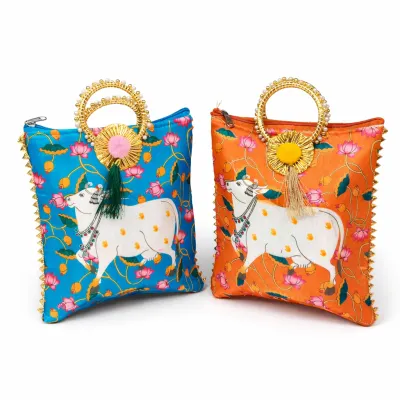
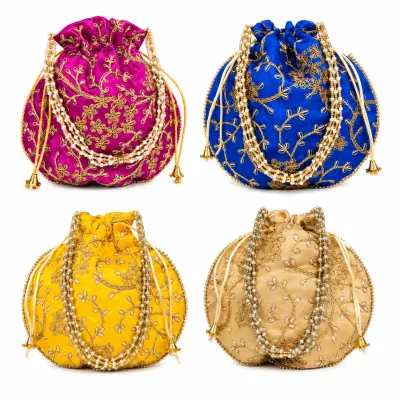
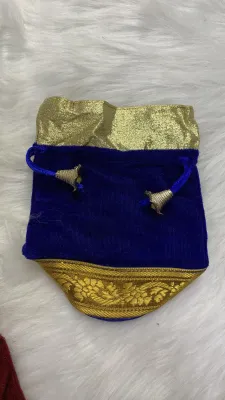
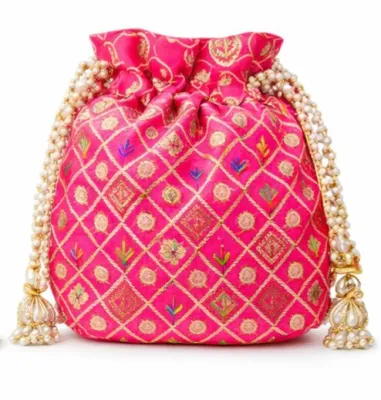
Prices are valid at publication and may change. Please refer to the product page for the latest price.
The material of the potli bag should complement both the gift itself and the occasion. Silk and brocade bags, with their vibrant colors and intricate metallic threads, are ideal for festive celebrations, weddings, and formal milestones. Velvet offers a plush, heavy texture that pairs beautifully with delicate jewelry, premium cosmetics, or high-value keepsakes. For casual occasions, eco-friendly themes, or artisanal gifts like handmade soaps and organic teas, a simple cotton or linen potli bag provides a clean, rustic charm.
Fabric opacity is another crucial factor to consider when choosing your packaging. Hold the potli bag up to a natural light source to check how sheer the material is. Lightweight fabrics like organza or thin silk can sometimes reveal the outline or colors of the item inside, ruining the element of surprise. If you find that the fabric is semi-transparent, you will need to plan for an opaque inner layer to keep the contents hidden until the bag is opened.
Preparing Your Gift and Protective Layers
Before placing any item inside a soft fabric bag, you must prepare it to protect both the gift and the delicate container. Sharp corners on retail boxes, metal edges on jewelry, or rough surfaces on handmade crafts can easily snag silk threads or tear thin linings. Wrapping your gift in a protective layer ensures it remains pristine and prevents damage to the potli bag’s exterior.

To wrap your item safely, wrap it in several sheets of acid-free tissue paper. Fold the paper neatly around the edges of the gift, securing any loose ends with a small piece of clear tape. This simple step creates a smooth barrier that glides easily into the bag. For fragile items like glassware or delicate ceramics, consider adding a layer of bubble wrap beneath the tissue paper for extra shock absorption during transport.
Using soft fillers is an excellent way to add volume and maintain the bag’s natural, rounded shape. Crinkle paper, shredded tissue, or clean wood wool can be placed at the bottom of the bag to create a supportive cushion. This filler prevents the bag from looking deflated or saggy, especially when wrapping small or lightweight items. It also holds the gift securely in place, preventing it from shifting or sliding around inside the pouch.
Before you begin packing, double-check that the gift and the interior of the bag are completely clean and dry. Dust, moisture, or natural oils from your hands can easily transfer to delicate fabrics like velvet or silk, leaving permanent stains. Work on a clean, flat surface and handle the materials with care to ensure the final presentation looks immaculate.
Arranging Items Inside the Bag
Achieving a balanced and visually appealing silhouette requires strategic placement of the items inside the potli bag. Start by placing your heaviest or largest item directly in the center of the bag’s base. Centering the weight ensures the bag maintains a stable center of gravity, allowing it to stand upright on a table or shelf without tipping over.
If you are presenting a collection of smaller items, such as a set of skincare products or assorted festive treats, arrange them symmetrically around the central point. Place the tallest items toward the back and the smaller items toward the front. This arrangement ensures that when the recipient opens the bag, they are greeted with an organized, aesthetically pleasing display rather than a cluttered pile.
Once the main items are positioned, gently pack the surrounding empty spaces with your chosen filler material. Use your fingers to tuck the crinkle paper or shredded tissue around the sides of the gift. This step is crucial for securing the items in place, preventing them from colliding with one another and causing damage during transit.
After arranging the contents, lift the bag by its neck and gently tap the base against a flat surface. This action helps the filler settle naturally and allows the fabric at the bottom to expand fully. If your potli bag features a structured, circular base, ensure the items are resting flat against this support so the bag retains its intended shape and stands proudly.
Tying and Securing the Drawstrings Neatly
The way you close and secure the drawstrings can make or break the overall presentation of your potli bag. To achieve the classic, elegant ruffled top, start by gathering the fabric evenly around the neck of the bag. Use your fingers to guide the pleats, ensuring the fabric bunches uniformly all the way around the opening.
Locate both ends of the drawstrings and hold them firmly. Pull both ends outward simultaneously and with steady, even pressure. Avoid pulling one side faster or harder than the other, as this can cause the fabric to bunch unevenly or jam inside the drawstring channel. If you feel resistance, stop pulling and gently massage the fabric channel to release any caught threads before continuing.
Once the bag is fully closed, hold the gathered neck secure with one hand while you prepare to tie the strings. For a clean and secure finish, tie a neat double knot close to the fabric gather. This prevents the weight of the gift from pulling the bag open during handling. Ensure the knot is firm but not so tight that it becomes impossible for the recipient to untie.
If your potli bag has long drawstrings, you can tie them into a symmetrical bow. Adjust the loops of the bow so they are proportional to the size of the bag, and let the remaining string ends hang down gracefully. If the drawstrings feature decorative tassels or beads, ensure they hang at equal lengths to maintain a balanced, professional look.
Adding Final Decorative Touches
Elevating your potli bag presentation with thoughtful accessories adds a personalized touch that shows extra care. A custom gift tag is a wonderful addition to the drawstrings. Always write your message on the tag before attaching it to the bag to avoid writing against a soft, uneven surface. Choose lightweight cardstock tags that will not weigh down the drawstrings or cause the bag to tilt.
For a festive or rustic touch, you can incorporate natural elements into the closure. Tuck a small sprig of dried flowers, such as lavender, eucalyptus, or baby’s breath, directly into the knot of the drawstring. This simple addition pairs beautifully with cotton or linen bags, adding a subtle fragrance and a pop of organic color to your presentation.
If you are preparing gifts for a formal event or wedding, consider adding a thin metallic ribbon or a small decorative charm to the drawstrings. Ensure any added decorations are lightweight and securely fastened. The goal is to enhance the presentation without overwhelming the delicate fabric or compromising the structural integrity of the bag.
Common Mistakes to Avoid When Wrapping
One of the most common mistakes when using potli bags is overstuffing. Packing too many items into a single bag strains the side seams, distorts the natural silhouette, and makes it impossible to close the drawstrings fully. If your gift does not fit comfortably, it is always better to upgrade to a larger bag size rather than forcing it into a smaller one.
Another frequent error is pulling the drawstrings with excessive force. Aggressive pulling can cause the cords to snap, fray, or tear through the delicate fabric channel. Always pull the strings steadily and simultaneously, and take the time to smooth out any fabric bunches that might be causing resistance.
Finally, avoid using heavy or oversized embellishments that can ruin the bag’s balance. Large metal charms, heavy wooden tags, or thick ribbons can pull the neck of the bag downward, causing the elegant ruffles to collapse. Keep your decorative additions lightweight, proportional, and securely attached to ensure the bag remains upright and beautiful.
Frequently Asked Questions (FAQ)
Can I reuse a potli bag after it has been given as a gift?
Yes, potli bags are highly durable and designed for long-term reuse. Materials like cotton, silk, and velvet can last for years when handled with care. To preserve the bag, advise the recipient to untie any knots gently without yanking the drawstrings, which can fray the cords. For storage, empty the bag completely, smooth out any wrinkles, and store it flat in a dry, dust-free drawer. If the fabric becomes dusty, a gentle spot cleaning with a damp cloth is usually sufficient; avoid harsh machine washing to protect delicate embroidery or inner linings.
How do I wrap an oddly shaped gift in a potli bag?
Wrapping oddly shaped items, such as sculpted candles, ceramics, or figurines, is simple with the right technique. Start by wrapping the item in several layers of tissue paper to soften any sharp edges or protruding parts that could damage the fabric. Place a generous layer of crinkle paper at the bottom of the potli bag to create a stable, level base. Position the oddly shaped item centrally, then pack additional filler around the sides to fill any empty pockets of space. This masks the irregular shape, protects the item, and ensures the exterior of the bag looks smooth, rounded, and professionally presented.

Community discussion
Share your experience or ask a question. Comments are reviewed before publication.