
Elevating a plain gift bag from a simple container to a memorable, personalized presentation is an art that relies on thoughtful material choices and deliberate crafting techniques. By mastering the coordination of ribbons, tags, and surface embellishments, you can transform budget-friendly paper bags into stunning, high-end gift packaging. This process allows you to customize every detail to match the recipient’s taste and the specific occasion, ensuring your gift stands out before it is even opened.
To achieve a professional, polished finish, you must consider both aesthetic design and structural integrity. Decorations add physical weight and tension to paper surfaces, meaning your choice of adhesives, tying methods, and structural reinforcements must be carefully planned. This comprehensive guide details the step-by-step techniques required to select your materials, tie flawless ribbons, design custom tags, apply balanced embellishments, and ensure your finished creation survives transit in any environment.
Selecting the Right Materials and Tools for Your Gift Bag
Before beginning your project, evaluate the base gift bag to ensure it can support your intended designs. The paper weight, measured in grams per square meter (GSM), dictates the bag’s structural limits. Standard lightweight paper bags (under 100 GSM) are prone to buckling, wrinkling, or tearing under the weight of heavy ribbons and 3D embellishments. For decorative projects, select a sturdy kraft paper bag of at least 120 to 150 GSM, or a premium art paper bag exceeding 200 GSM. Additionally, inspect the handles; rope and twisted paper handles offer strong anchor points for tying ribbons, whereas die-cut handles require alternative ribbon threading techniques.
Products mentioned in this guide
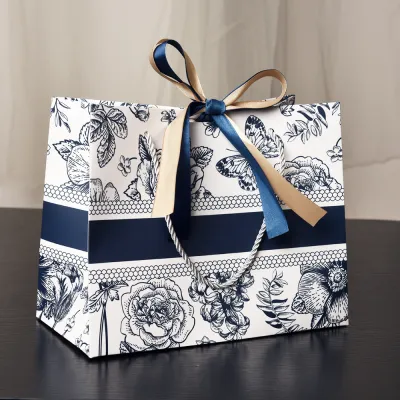
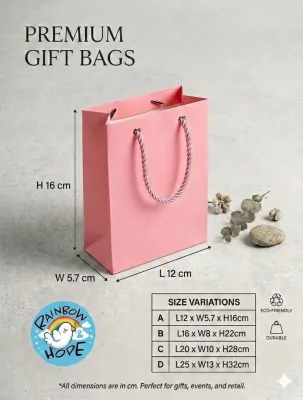

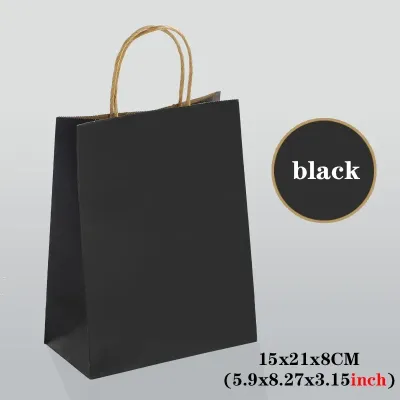
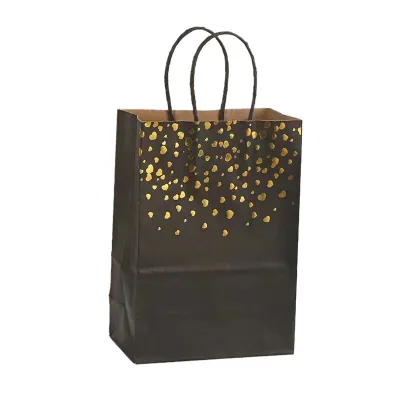
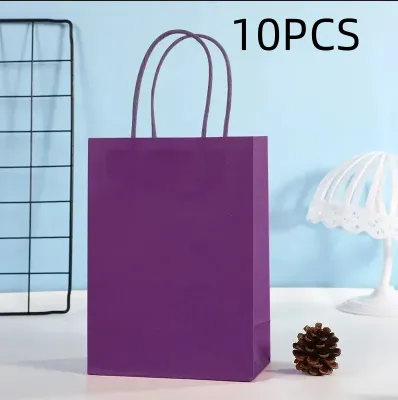
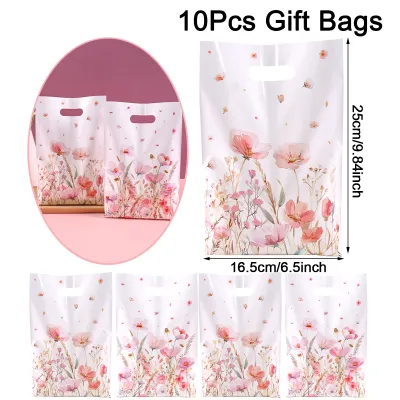
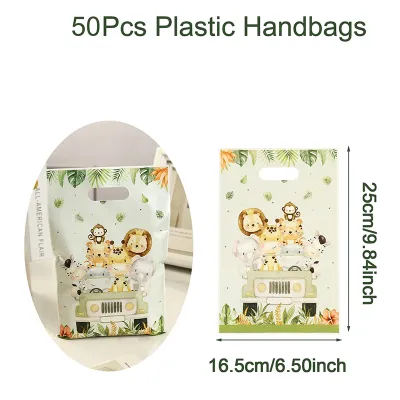
Prices are valid at publication and may change. Please refer to the product page for the latest price.
The texture and behavior of your ribbon significantly influence the overall aesthetic and ease of styling. Consider these common ribbon varieties:
- Satin: Features a high-gloss, smooth finish that exudes elegance, though its slippery texture requires tight knotting to prevent slipping.
- Grosgrain: Characterized by its ribbed, matte texture, offering excellent grip that holds structured bows and crisp loops exceptionally well.
- Organza: A sheer, lightweight fabric that adds delicate volume and a soft, airy feel without adding physical or visual weight.
- Velvet: A dense, plush material with a rich texture that brings a luxurious, tactile warmth to festive or formal presentations.
- Burlap and Jute: Coarse, tightly woven natural fibers that provide a highly structured, rustic, and organic appearance.
Your choice of gift tags and embellishments should harmonize with the bag’s texture. Classic options include rustic brown kraft paper tags, thick 300 GSM white cardstock, and modern, transparent acrylic tags. To complement these, gather decorative accents such as dried flowers, custom wax seals, metallic stickers, or delicate wooden shapes.
To execute these designs cleanly, assemble a dedicated set of crafting tools. You will need sharp fabric scissors to cut ribbons without fraying, a standard 6mm hole punch for custom tag placement, and high-tack double-sided tape for invisible, flat joins.
In Singapore’s humid climate, where relative humidity levels frequently exceed 80%, standard water-based school glues or low-quality glue sticks can soften and lose their grip over time. This causes heavy tags, ribbons, and 3D embellishments to sag or peel away. To prevent this, always use high-tack acrylic double-sided tape, solvent-free strong craft glue, or a low-temperature hot glue gun to ensure a permanent, moisture-resistant bond.
Step-by-Step Ribbon Tying and Attachment Techniques
Attaching ribbon to a gift bag requires different approaches depending on whether the bag has pre-existing handles. For bags with rope or twisted paper handles, the classic handle wrap is highly effective. Thread a length of ribbon through the interior holes where the handles attach to the bag. Bring the ribbon ends to the front, wrap them securely around the base of the handle, and tie a neat double knot. You can easily hide this knot by positioning it on the interior side of the bag’s top rim or concealing it directly beneath the loops of your finished bow.

If you are working with a flat-topped bag or a die-cut handle bag that lacks traditional handles, you can create a custom ribbon handle or top tie. Cut two identical lengths of wide ribbon, typically 25mm to 38mm in width. Apply a strip of heavy-duty double-sided tape along the inside top rim of the bag. Press the ends of the ribbon handles firmly onto the tape, spacing them roughly 8 to 10 cm apart. To secure the connection and prevent the ribbon from pulling free under weight, glue a reinforcing strip of matching heavy cardstock directly over the ribbon ends on the bag’s interior.
Tying a neat, symmetrical bow requires deliberate finger placement and tension control. Follow these steps to tie a classic bow:
- Fold your ribbon to create two equal-sized loops, often referred to as "bunny ears."
- Cross the left loop over the right loop to form a central opening below the intersection.
- Pass the left loop through this central opening from back to front.
- Pull both loops horizontally away from each other, tightening the center knot.
- Adjust the sizes of the loops and the lengths of the tails until they are perfectly balanced.
For stiff ribbons like grosgrain, pull the loops firmly to lock the shape. For soft, slippery ribbons like satin, tie a simple, elegant slip knot first to secure the bag opening before forming your bow loops. This prevents the tension of the gift bag from pulling the bow apart.
Preventing frayed ribbon edges is essential for a clean, professional finish. For synthetic ribbons, such as polyester satin, organza, or grosgrain, hold the freshly cut edge approximately one centimeter away from a small flame (such as a lighter or match) for one second. The heat will melt the synthetic fibers, creating a subtle, sealed plastic bead along the edge. For natural fiber ribbons like cotton, silk, or burlap, apply a very thin line of clear nail polish or specialized fabric fray-preventer liquid along the cut edge and let it dry completely.
To add depth and visual interest, try layering two contrasting ribbons. Select a wide, structured base ribbon, such as a 38mm beige grosgrain, and place a narrower accent ribbon, such as a 15mm emerald green satin, directly down its center. Tie both ribbons together as a single unit. The contrasting textures and colors will create a beautiful, multi-dimensional effect that instantly elevates the presentation.
Designing and Attaching Personalized Gift Tags
An effective gift tag should complement your gift bag design without cluttering the presentation. Maintain visual proportion by matching the tag’s size to the bag’s dimensions; a tiny tag on a large bag will look lost, while an oversized tag on a small bag will overwhelm the design. Choose materials that coordinate with your theme, such as pairing a rustic kraft tag with a burlap ribbon, or using a frosted acrylic tag to match a sleek, modern satin ribbon.
When writing your message, select your pens based on the tag’s surface material to prevent bleeding or smudging. On porous papers like kraft cardstock, use pigment-based fine liners or gel pens, avoiding alcohol-based markers that can bleed through the paper fibers. For dark cardstock, use opaque metallic paint markers.
Because Singapore’s high humidity slows down ink drying times, allow your written tags to sit undisturbed for at least five to ten minutes. Always perform a quick smudge test on a scrap piece of the same paper before handling or attaching the tag to the bag.
There are several elegant ways to attach your finished tag to the gift bag:
- Direct Threading: Slide the tag directly onto one of the ribbon tails before tying your final bow, allowing the tag to sit nestled against the knot.
- Mini Wooden Clothespins: Clip the tag directly to the top fold of the bag or to the base of a handle for a playful, dimensional look.
- Baker's Twine: Thread a separate piece of thin, contrasting baker's twine through the tag, wrap it around the handle base, and tie it with a simple slip knot so the tag hangs slightly lower than the main bow.
To give your tag a premium touch, add a small, focused embellishment directly to its surface. You can stamp a clean monogram using water-resistant archival ink, apply a pre-made wax seal to the bottom corner, or thread a single stem of dried lavender through the tag’s hole alongside your hanging twine.
Applying Embellishments for a Polished, Professional Finish
When applying decorative elements to the flat surface of a gift bag, use design principles to prevent a cluttered look. Apply the rule of thirds by placing your focal points—such as a cluster of dried flowers or a wax seal—at the intersection of imaginary grid lines, rather than dead-center. Leave plenty of negative space (the undecorated area of the plain bag) to give the eyes a place to rest, which highlights your handcrafted details.
For flat embellishments like custom stamps, metallic leafing, or high-quality stickers, careful application is key to avoiding bubbles and peeling. When applying stickers, press down on one edge first and slowly smooth the sticker outward using a plastic card or a bone folder. If you are using rubber stamps, place the bag on a completely flat, hard surface. Apply even, downward pressure without rocking the stamp, as rocking can cause ink to smudge on textured paper.
Three-dimensional embellishments, such as dried flower mini-bouquets, vintage brooches, or wooden cutouts, require strong adhesives that won’t damage the paper. Use high-tack glue dots or double-sided foam tape to mount these items. Foam tape is particularly useful because it lifts the embellishment slightly off the bag surface, creating a beautiful shadow effect. Always verify that your bag’s paper weight is heavy enough to support these 3D objects without bending or folding inward.
To complete your presentation, frame the top opening of the bag using premium, acid-free tissue paper or crinkle-cut paper filler. To style tissue paper, lay a sheet flat, pinch it firmly from the center, shake it to let the corners drape downward, and tuck the pinched end into the bag. This allows the pointed corners of the tissue paper to flare out symmetrically, framing your ribbons and tags while keeping the gift inside hidden from view.
As you decorate, keep these common styling mistakes in mind to ensure a professional result:
- Overloading: Combining too many textures (such as velvet, glitter, dried flowers, and metallic leafing) on a single bag creates visual confusion. Limit your design to two primary decorative textures.
- Weak Adhesives: Using standard glue sticks for heavy 3D elements will cause them to fall off during transport.
- Clashing Colors: Mixing warm undertones (like cream and gold) with cool undertones (like stark white and silver) without a deliberate bridging element can look uncoordinated. Stick to a cohesive color palette.
Curated Styling Combinations for Every Occasion
To help you coordinate your materials, here are four themed styling combinations designed for specific gifting scenarios:
Minimalist and Elegant
This refined style is perfect for weddings, formal anniversaries, or milestone celebrations. Start with a premium white or cream-colored kraft paper bag (150+ GSM). Loop a luxurious cream-colored silk or velvet ribbon through the handles, tying it into a soft, elegant drape. Attach a clear, frosted acrylic tag featuring clean white lettering, and secure the tag with a champagne-gold wax seal. This combination relies on subtle textures and a clean, neutral color palette to convey sophistication.
Festive and Cheerful
Ideal for birthdays, baby showers, or congratulations gifts, this theme focuses on bright, energetic colors. Use a vibrant pastel or primary-colored paper bag as your base. Layer a wide, sunny yellow grosgrain ribbon with a narrow, striped accent ribbon to create a playful pattern. Attach a custom die-cut tag shaped like a balloon or a star, and scatter a few subtle metallic star stickers across the bottom corner of the bag. The ribbed texture of the grosgrain ribbon adds a durable, cheerful feel to the presentation.
Rustic and Natural
This organic style is excellent for year-end holidays, housewarmings, or thoughtful thank-you gifts. Use a classic brown kraft paper bag as your canvas. Tie a thick, structured bow using natural burlap ribbon or braided jute twine. Attach a matching brown kraft paper tag, and tuck a small sprig of dried eucalyptus, a mini pinecone, or a cinnamon stick directly into the ribbon knot. This combination highlights natural elements and earthy textures.
Professional and Corporate
Tailored for corporate events, client appreciation, or executive gifts, this style is clean, structured, and polished. Select a heavy, matte black or deep navy blue paper bag. Use a single-loop satin ribbon in a matching tone or a classic metallic silver. Attach a minimalist, thick white cardstock tag with a clean, foil-stamped border. Tie the ribbon into a perfectly symmetrical, tight bow to ensure the presentation looks neat and professional.
Final Checks for Durability and Presentation
Before presenting your decorated gift bag, perform a few quick checks to ensure it is structurally sound and visually polished. Place your gift inside the bag and lift it by the handles. Check that the bottom of the bag does not sag excessively and that the handles remain securely attached. If the bag needs extra support, cut a piece of thick cardboard to fit the bottom dimensions and slide it inside to distribute the weight of the gift evenly.
Next, place the fully loaded bag on a flat surface to check its balance. The bag should stand perfectly upright. If heavy 3D embellishments on the front cause the bag to tip forward, adjust the position of the gift inside, sliding it toward the back of the bag to balance the weight.
If you need to transport your gift bag through humid outdoor air or busy transit systems, protect your delicate decorations from damage. Place the decorated gift bag inside a larger, clean tote bag to shield it from wind and friction. You can also cover delicate dried flowers or wax seals with a loose sheet of tissue paper to prevent them from getting crushed or caught on other items.
Finally, inspect your work under bright, clear lighting. Use a clean, soft white eraser to gently rub away any pencil guidelines you drew. Use tweezers to carefully peel away any stray hot glue strings or adhesive residue, and wipe down any smooth surfaces with a dry microfiber cloth to remove fingerprints, ensuring a flawless presentation.
Frequently Asked Questions (FAQ)
How do I attach a ribbon to a gift bag without holes?
To attach a ribbon to a flat-topped bag without holes, apply a strip of heavy-duty double-sided tape along the inside top rim of the bag. Press the ribbon ends firmly onto the tape to create your loops. To make the connection even stronger, glue a reinforcing strip of matching cardstock over the ribbon ends. Alternatively, you can use a standard hole punch to make new holes along the top fold of the bag. Reinforce these holes with self-adhesive paper reinforcement eyelets to prevent the paper from tearing when you thread the ribbon through.
What is the best adhesive for attaching heavy embellishments to paper bags?
For heavy or three-dimensional embellishments like dried flowers, wooden shapes, or metal charms, use high-tack glue dots, double-sided foam tape, or a low-temperature hot glue gun. These adhesives provide a strong, immediate bond without introducing excess moisture that can warp paper. Always test your chosen adhesive on a scrap piece of the same paper bag first. This allows you to verify that the glue does not bleed through, leave oil marks, or damage the paper surface before you apply it to your final project.
How can I keep my ribbon bow from losing its shape?
To keep soft ribbons like silk, organza, or satin from drooping, you can insert a thin, flexible piece of color-matched floral wire into the ribbon loops as you tie the bow. This allows you to gently bend and sculpt the loops into your desired shape. Alternatively, you can spray a light, even mist of fabric starch or unscented hairspray onto the finished bow from about 30 centimeters away. Allow the spray to dry completely to stiffen the ribbon fibers, helping the bow hold its shape during transit.
Community discussion
Share your experience or ask a question. Comments are reviewed before publication.