
Presenting a gift in a bag is a highly efficient and versatile alternative to traditional wrapping paper, but it can easily look unfinished or rushed without the right styling techniques. Elevating a simple gift bag into a stunning, boutique-style presentation relies on a combination of structural preparation, layered tissue paper, and a beautifully executed ribbon finish. By mastering these simple steps, you can ensure your gift stands out, maintains its shape, and delivers a memorable opening experience for the recipient. Whether you are preparing for a festive celebration, a wedding, or a housewarming, a few deliberate styling choices will transform your presentation from ordinary to extraordinary.
Gather Your Gift Wrapping Supplies
Before you begin, assembling the correct tools and materials is essential for a seamless wrapping process. Start by selecting a gift bag that matches the scale and weight of your item. A bag made from heavy-duty cardstock (typically 150 to 200 gsm) is ideal for heavier items, as it prevents the bottom from sagging and keeps the sides from bowing outward. For lighter gifts, a standard paper bag works well, provided the handles are securely attached.
Next, choose a ribbon that complements both the texture of the bag and the occasion. Satin ribbon offers a smooth, glossy finish that drapes elegantly, making it perfect for formal gifts. Grosgrain ribbon, with its ribbed texture, provides a more structured, contemporary look and holds knots exceptionally well. If you want a voluminous, dramatic bow that retains its shape during transport, opt for a wired ribbon, which allows you to sculpt and fluff the loops easily.
Products mentioned in this guide
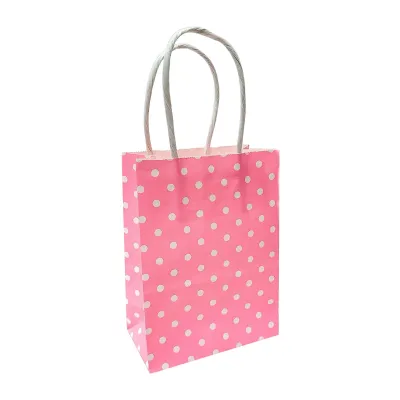
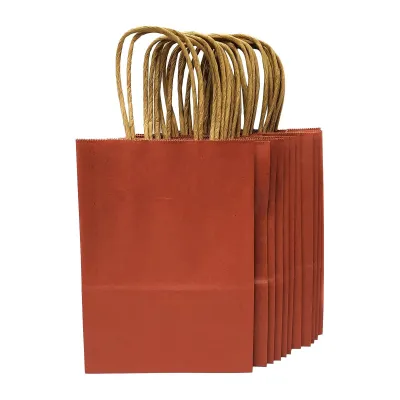
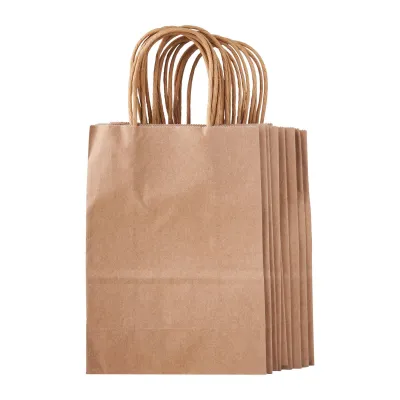
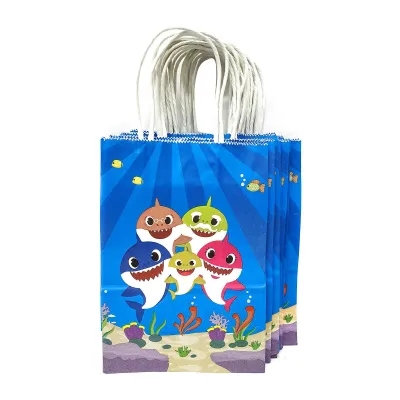
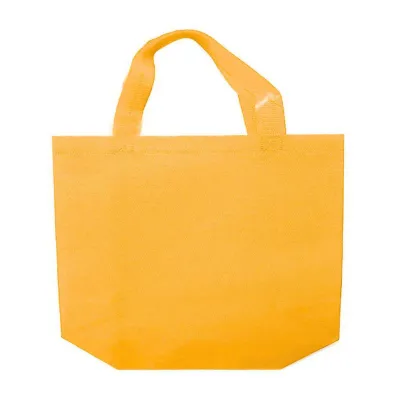
Prices are valid at publication and may change. Please refer to the product page for the latest price.
In addition to the bag and ribbon, you will need high-quality tissue paper. Select sheets that are crisp and free of deep creases; coordinating two complementary colors can add depth to your presentation. Finally, gather a pair of sharp fabric scissors to ensure clean, fray-free ribbon cuts, and a roll of high-tack double-sided tape to secure loose edges. When working with sharp scissors, always cut on a flat, stable surface and keep blades closed when not in use to ensure safety.
Prepare the Gift and the Bag
A common mistake in gift bag presentation is placing the item directly into an empty bag, which often causes the gift to slide around, tip over, or damage the outer packaging. To prevent this, you must build a supportive foundation. Begin by gently crumpling a few sheets of plain or color-coordinated tissue paper and placing them at the very bottom of the bag. This creates a soft, shock-absorbing cushion that elevates your gift, ensuring it sits at an appealing height rather than sinking to the bottom.

Before placing the gift inside, wrap the item itself in a protective layer of tissue paper. This step is particularly important for items with delicate surfaces, glossy finishes, or intricate details that could easily scratch against the interior of the bag during transit. For fragile items, a neat wrap also adds an extra layer of anticipation for the recipient as they unwrap the inner layer.
Carefully lower the wrapped gift into the center of the bag. Centering the weight is crucial; if the item is pushed too far to one side, the bag will tilt when lifted by the handles, potentially causing it to rip or spill. Test the balance by lifting the bag slightly off your workspace. If it leans, adjust the bottom cushioning or reposition the item until the bag hangs perfectly straight and stands upright on its own.
Arrange Tissue Paper for a Layered Look
The way you arrange the tissue paper at the top of the bag is what truly defines a professional presentation. Instead of simply stuffing the paper in, use a systematic folding and fluffing technique to create volume and elegant layers. Lay a sheet of tissue paper flat on a clean surface. Grasp the sheet directly in the center, lift it upward, and give it a gentle downward flick with your wrist. This creates a neat, pointed cone shape with the corners flaring outward.
Hold the pinched center of the paper and tuck it into the bag, allowing the flared corners to bloom outward over the rim. Repeat this process with three to five sheets, depending on the size of the bag. To achieve a sophisticated, multi-dimensional look, alternate between two coordinating colors or mix a solid color with a subtle metallic pattern.
Once all the sheets are in place, gently fluff the exposed corners with your fingertips. Adjust the heights so the paper forms a balanced, symmetrical crown that completely conceals the gift inside. Finally, ensure the bottom edges of the tissue paper are tucked securely around the sides of the gift. This anchors the paper in place, preventing it from shifting or falling out if the bag is carried in breezy conditions or transported in a vehicle.
Tie and Attach the Ribbon
The ribbon is the crowning jewel of your gift bag, serving as both a structural closure and a decorative highlight. To begin, measure your ribbon carefully. A good rule of thumb is to cut a length that is at least three times the width of the bag; this ensures you have plenty of material to tie a secure knot and leave elegant, trailing tails. Use your sharp fabric scissors to make a clean, swift cut to avoid fraying the edges.
If your bag has traditional rope or ribbon handles, you can tie your bow directly to the base of one handle. Thread the ribbon through the handle attachment point, tie a secure double knot to anchor it, and then fashion a classic bow. For a highly structured, symmetrical bow, wired ribbon is incredibly helpful, as you can manually shape the loops to stand upright and curve the tails elegantly downward.
For bags without handles, or if you prefer a modern, clean aesthetic, you can create a decorative band around the body of the bag. Wrap the ribbon horizontally around the upper third of the bag. Secure the ribbon at the back using a small piece of double-sided tape to keep it from sliding down. Bring the ends to the front, cross them over, and tie a beautiful bow in the center or slightly offset to one side. If you are working in a humid climate, ensure you use a high-quality, moisture-resistant double-sided tape to prevent the adhesive from lifting over time.
Final Touches and Presentation Checks
Before presenting your gift, take a few moments to refine the details and inspect your work. The difference between an amateur wrap and a professional finish often lies in the treatment of the ribbon ends. Avoid leaving raw, straight-cut edges on your ribbon. Instead, fold the end of the ribbon tail in half vertically and cut upward at a 45-degree angle from the folded edge to the outer edge. This creates a classic, clean V-notch that looks incredibly polished and prevents the fabric from unraveling. Alternatively, a sharp, single diagonal cut works beautifully for satin ribbons.
Next, attach your gift tag. Slide the tag onto one of the ribbon tails before tying the final bow, or loop it securely around the base of the bag handle. Position the tag so it is easily visible but does not crowd the bow or block the beautiful layers of tissue paper.
Finally, conduct a quick quality check. Inspect the exterior of the bag for any fingerprints, dust, or stray adhesive residue. Smooth out any accidental creases in the paper bag, and give the tissue paper a final, gentle fluff. Your gift is now structurally secure, visually balanced, and beautifully styled, ready to make a lasting impression.
Frequently Asked Questions (FAQ)
How do I keep tissue paper from falling out of a handleless bag?
To secure tissue paper in a handleless bag, apply a small strip of double-sided tape along the inside upper rim of the bag, about two centimeters below the edge. When placing your fluffed tissue paper inside, press the lower, pinched section of the paper firmly against the tape. This anchors the sheets securely to the interior walls of the bag, preventing them from slipping out during transport. Once anchored, gently fluff the top layers of the tissue paper over the rim to completely conceal the tape and maintain a seamless, elegant appearance.
What is the best way to attach a ribbon to a bag without handles?
For handleless bags, the most secure method is to wrap the ribbon completely around the body of the bag, either horizontally or vertically. Apply a small piece of double-sided tape to the back of the bag to anchor the ribbon in place and prevent it from sliding. Bring the ribbon ends to the front and tie a classic bow. Alternatively, you can fold the top edge of the bag down by two centimeters, punch two small holes through the folded layers, thread the ribbon through, and tie it into a bow at the front. This seals the bag shut while adding a beautiful, tailored touch.

Community discussion
Share your experience or ask a question. Comments are reviewed before publication.