
Marking your embroidery design onto fabric with fabric chalk is one of the most reliable ways to ensure your stitches stay aligned from start to finish. Unlike permanent pens, high-quality fabric chalk provides a temporary guide that can be easily brushed, sponged, or washed away once your needlework is complete. To use fabric chalk successfully, you must select the right chalk type for your fabric texture, apply light and consistent pressure at a slight angle to prevent fabric drag, and test the removal process on a scrap piece before marking your main project. Mastering this simple preparation step prevents misplaced stitches and keeps your base fabric pristine.
Whether you are working on a delicate linen handkerchief or a sturdy canvas tote bag, fabric chalk offers a level of flexibility that other marking tools cannot match. It allows you to sketch freehand designs or transfer intricate templates with ease, providing a clear path for your needle to follow. By understanding the unique properties of different chalk types and learning how to control your hand movements, you can achieve professional-looking embroidery results without worrying about permanent stains or ruined materials.
Preparing Your Fabric and Workspace
Before you pick up your fabric chalk, taking the time to prepare both your textile and your workspace is essential for achieving clean, accurate lines. The first step is selecting the right type of fabric chalk for your specific project. Clay-based chalk is the traditional choice; it is highly stable, leaves crisp lines, and brushes off easily, making it excellent for general embroidery on medium-weight fabrics. Wax-based chalk, on the other hand, is formulated to glide smoothly over sturdier materials and is typically removed with the heat of an iron. However, wax-based options should be used with caution on delicate or synthetic fabrics, as the wax can sometimes leave faint grease spots if not thoroughly tested. Water-soluble chalk, often available in convenient pencil or cartridge forms, is designed to dissolve completely when exposed to water, making it ideal for projects that will undergo a final wash.
Products mentioned in this guide
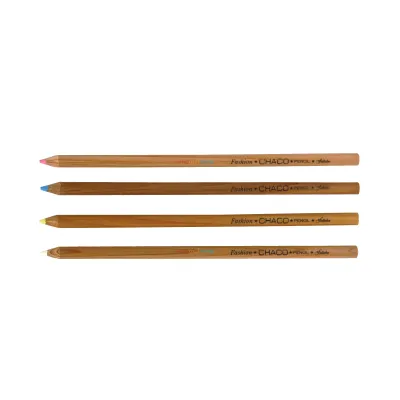
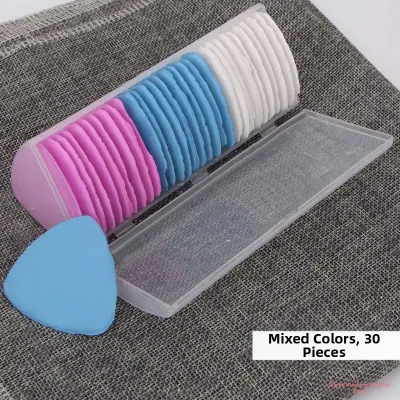
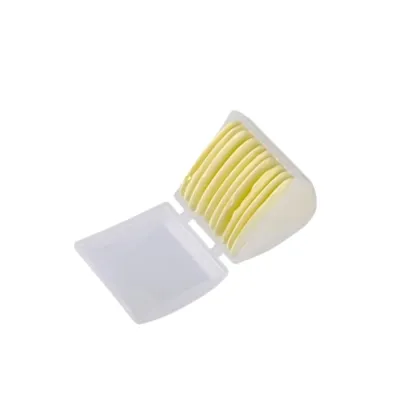
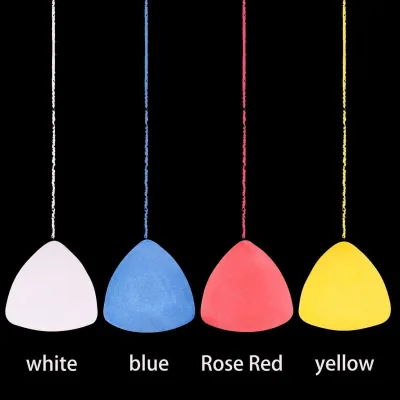
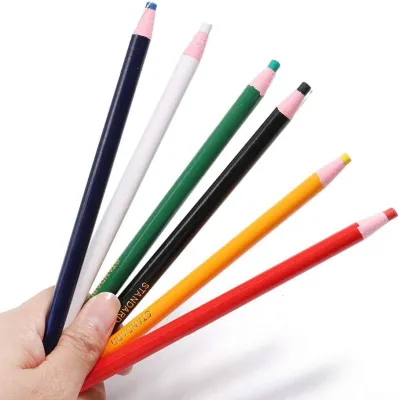
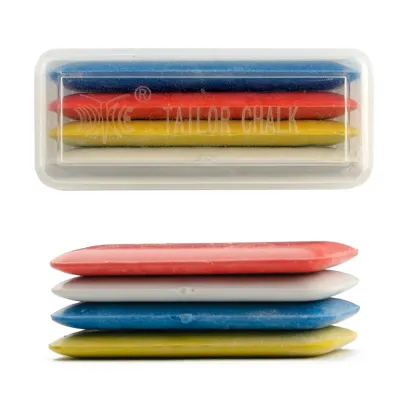
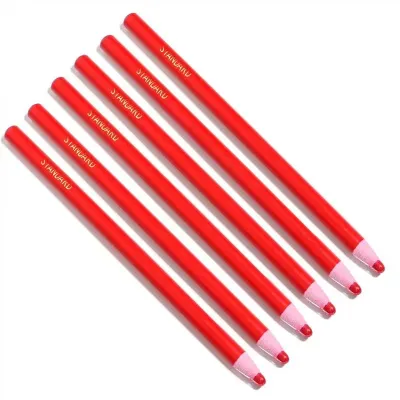
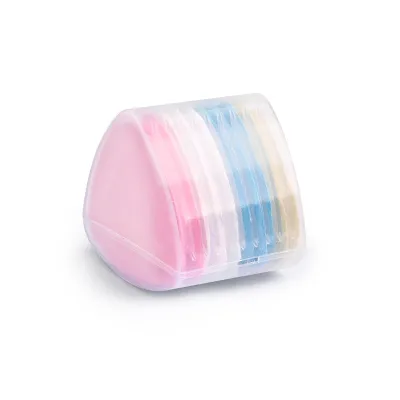
Prices are valid at publication and may change. Please refer to the product page for the latest price.
Once you have chosen your chalk, you must prepare the fabric itself. Pre-washing your fabric is highly recommended, as it removes any manufacturing sizing, starch, or chemical finishes. These temporary coatings can prevent the chalk from adhering properly or, worse, trap the chalk pigments in the fibers permanently. After washing, iron the fabric thoroughly to remove every wrinkle and crease. Even a minor wrinkle can distort your traced lines, leading to an asymmetrical embroidery design once the fabric is stretched in a hoop.
Finally, set up a dedicated workspace. You need a flat, hard, and clean surface, such as a large wooden table or a heavy-duty cutting mat. Soft or cushioned surfaces will cause the chalk to sink, resulting in thick, uneven lines. Ensure your area is well-lit; natural light is ideal, but a bright desk lamp positioned directly over your workspace will help you see fine details clearly. Gather all your essential tools before starting: your prepared fabric, your chosen fabric chalk, your pattern template, and pins or pattern weights to keep everything secure.
Step-by-Step Guide to Tracing Your Pattern
With your workspace prepared, you can begin the process of transferring your embroidery design. The first task is securing your pattern template to the fabric. If you are working with a sturdy, tightly woven fabric like cotton or linen, you can use fine sewing pins to pin the paper template directly to the cloth. For delicate fabrics like silk, or dense materials where pins might leave permanent puncture marks, opt for pattern weights instead. You can also use clean, flat household items like large coins or smooth stones as makeshift weights. Ensuring the template cannot slide or shift even a millimeter during tracing is crucial for maintaining the design’s integrity.

Once the template is secure, focus on your grip technique and pressure control. Hold the fabric chalk much like you would a standard writing pencil, but tilt it to a slight angle—approximately 45 degrees—rather than holding it completely upright. This angled position allows you to utilize the naturally sharp bevel or edge of the chalk block, rather than wearing down the flat face. When you begin drawing, apply light, consistent pressure. A common beginner mistake is pressing down too hard in an attempt to get a darker line. This excessive force stretches the fabric fibers out of shape; when you lift the chalk, the fabric snaps back, leaving a distorted, wavy line that does not match your original template.
To trace the design lines smoothly, avoid drawing in long, continuous sweeps. Instead, use short, overlapping strokes, lifting the chalk slightly at the end of each movement. This technique prevents the fabric from bunching up or dragging under the edge of the chalk, which is especially important when navigating tight curves or sharp corners. If you are tracing a complex pattern, work systematically from one side of the design to the other, or from the center outward. This structured approach ensures you do not accidentally smudge completed lines with your hand as you work across the fabric.
Adapting Your Technique for Different Fabric Types
Different embroidery fabrics possess unique textures, weaves, and weights, meaning a single marking technique will not work universally. To achieve the best results, you must adapt your approach to match the specific characteristics of your textile. For smooth and tightly woven fabrics, such as high-quality cotton, linen, or batiste, a sharp chalk edge is your best asset. These fabrics can handle fine, detailed lines, which are necessary for guiding intricate stitches like satin stitch, French knots, or detailed needle painting. Keep a small chalk sharpener or a piece of fine-grit sandpaper nearby to regularly restore the crisp edge of your chalk block.
Conversely, textured or loosely woven fabrics like canvas, burlap, denim, or heavy linen require a different touch. A razor-sharp chalk edge will easily catch in the loose weave of these fabrics, causing snags or skipping over the gaps between threads. For these materials, use a slightly blunter, rounded chalk edge and apply very light pressure. Let the chalk glide gently over the high points of the fabric’s texture. While the resulting line may be slightly thicker, it will remain continuous and visible without damaging the underlying fibers.
Color selection is another critical factor when adapting your technique. Contrast is essential for visibility, but it must be balanced with safety. For dark fabrics, such as navy, black, or deep forest green, white or light yellow chalk provides excellent contrast. For light-colored fabrics, opt for pastel shades like light blue, pink, or grey. Always avoid using highly saturated, dark chalk colors on very light fabrics unless you have thoroughly tested them first. Some intense pigments can migrate into natural fibers and prove difficult to remove completely. Always perform a quick test on a scrap piece of the exact same fabric to verify both visibility and ease of removal before marking your main project.
Common Marking Mistakes and How to Avoid Them
Even with the right tools, simple errors during the marking process can compromise your final embroidery piece. Understanding these common pitfalls will help you avoid them entirely. The most frequent mistake is applying too much pressure while marking. Heavy pressure embeds the fine chalk particles deep into the fabric’s weave, locking them in place. This makes the lines incredibly difficult to brush or wash out later, and on delicate fabrics like silk or satin, it can leave permanent physical grooves or shiny tracks that ruin the textile’s appearance. Always let the weight of your hand do the work, keeping your strokes as light as possible.
Another common issue is using dull, unmaintained chalk. As you use a chalk block or pencil, the edge naturally rounds out. Continuing to draw with a dull tool results in thick, fuzzy, and imprecise lines. When your guideline is several millimeters wide, it becomes difficult to determine exactly where to insert your needle, leading to uneven outlines and a messy final embroidery piece. To avoid this, make a habit of rotating your chalk block to find a fresh edge, and sharpen your tools frequently.
Finally, marking on dirty, dusty, or oily surfaces can lead to permanent damage. If your workspace has trace amounts of dust, sewing machine oil, or even natural oils and lotions from your hands, these substances can mix with the loose chalk powder. This mixture creates a stubborn paste that binds tightly to the fabric fibers, resulting in stains that are nearly impossible to remove. To prevent this, always wash and dry your hands thoroughly before handling your project, and wipe down your work table with a clean, damp cloth before laying out your fabric.
Safely Removing Chalk Marks After Stitching
Once your embroidery stitches are complete, the final step is to safely and completely remove the remaining chalk guidelines. Before attempting any removal, always check the manufacturer’s instructions on the chalk packaging. Different formulations require specific removal methods; some are designed to be brushed away, while others respond best to a damp sponge, steam, or a full machine wash. Following these guidelines prevents you from accidentally setting the chalk permanently, which can happen if you apply heat to a chalk that is not heat-removable.
Before applying any removal method to your finished embroidery, perform a test on a hidden scrap of the same fabric that you marked earlier. Apply the chalk, let it sit for the same duration as your stitching process, and then try to remove it. This test allows you to verify that the removal method does not leave water spots, cause your embroidery threads to bleed color, or leave a ghost-like residue on the fabric.
When you are ready to clean your actual embroidery piece, always use gentle, non-abrasive techniques. Avoid rough scrubbing or vigorous rubbing, as this friction can easily fray your delicate embroidery threads, distort your stitch tension, or pull loose stitches like lazy daisies or French knots out of alignment. Instead, use a soft-bristled brush, such as a clean, soft toothbrush, to gently flick the loose chalk dust away from the stitches. If using water, lightly dabbing the area with a clean, damp microfiber cloth or a soft sponge, working from the outside of the design inward to avoid spreading any dissolved pigment. Allow the fabric to air dry flat on a clean towel.
Frequently Asked Questions (FAQ)
Can I use standard tailor's chalk for delicate embroidery fabrics?
Standard tailor’s chalk is often harder and formulated for sturdier garment fabrics like wool, denim, or heavy cotton. When used on delicate embroidery fabrics such as silk, organza, or fine batiste, this hardness can be problematic. You may need to apply excessive pressure to leave a visible mark, which risks snagging or tearing the delicate weave. For fine fabrics, it is highly recommended to use soft, clay-based chalks or specialized chalk pencils designed for delicate crafts. Always check the product label for fabric compatibility and test the chalk on a scrap piece before marking your project.
What should I do if the chalk lines fade before I finish stitching?
On long-term embroidery projects, chalk lines can naturally fade or rub away due to constant hand contact, fabric movement, and environmental factors. To manage this, try working in smaller, manageable sections, marking only the portion of the design you plan to stitch in your current session. If you must mark the entire design at once, you can lightly re-trace the lines with your chalk as they begin to fade. When storing your project between stitching sessions, keep it flat inside a clean project bag or a protective hoop stand to minimize friction and handling.
Is fabric chalk safe to use on children's clothing?
Fabric chalk is generally safe for children’s clothing, but you should always verify that the product packaging carries a recognized non-toxic certification, such as the AP (Approved Product) seal or equivalent safety standards. Because infants and young children have highly sensitive skin, it is crucial to ensure that all chalk residue is completely removed from the fabric before the garment is worn. Once your embroidery is complete, wash the clothing thoroughly according to the fabric’s care instructions to eliminate any remaining chalk dust or binding agents.

Community discussion
Share your experience or ask a question. Comments are reviewed before publication.