
Using an embroidery thimble is a fundamental skill that transforms your stitching experience from a tiring, finger-straining task into a smooth, controlled, and comfortable craft. While many beginners view the thimble as an awkward obstacle, mastering its placement and pushing technique is the key to executing consistent stitches without pain. By learning how to select the right style, position it on your dominant pushing finger, and leverage your hand’s natural mechanics, you can protect your skin and significantly improve your needlework precision.
The primary challenge for newcomers is overcoming the initial unfamiliarity of wearing a hard cap or band on the finger. It is common to feel as though you have lost your sense of touch or that the tool is getting in the way of your fabric. However, with a systematic approach to fitting and movement, the thimble quickly becomes an intuitive extension of your hand, allowing you to stitch for hours with ease.
Understand the Benefits of Using an Embroidery Thimble
Embroidery often requires pushing a needle through multiple layers of tightly woven fabric, dense stabilizer, or thick embroidery floss. Without a protective barrier, the constant pressure against the side or tip of your finger can quickly lead to painful blisters, deep indentations, and calluses. A thimble acts as a shield, distributing the force of the needle eye across a wider, protected surface area so that your skin remains completely unharmed during extended stitching sessions.
Products mentioned in this guide
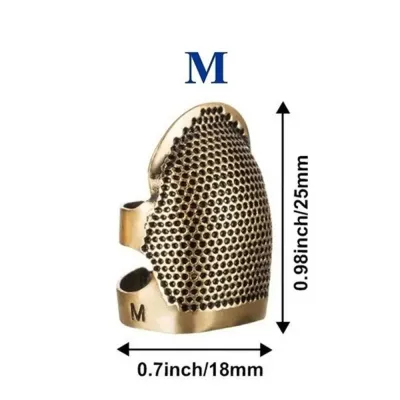
![[Local SG Seller] PRYM Ergonomics Thimbles](https://img.lazcdn.com/g/p/905b1f14988df05e8661c6d095028d84.jpg_400x400q80.jpg_.webp)
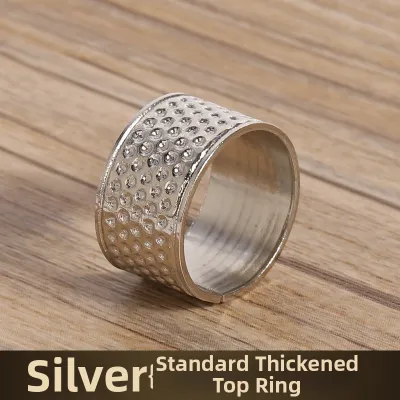
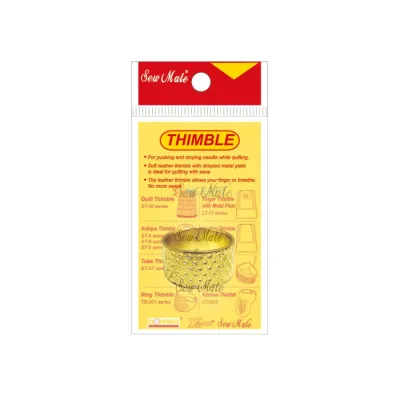
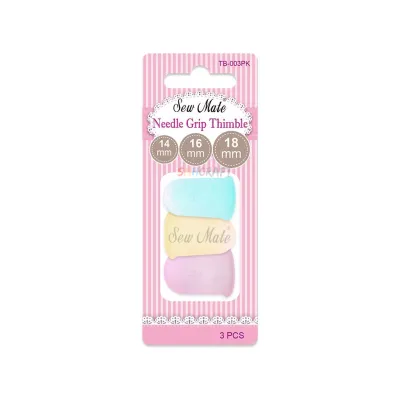
![[SG FREE 🚚] 5Pcs Counting Cone Rubber Thimble Protector Sewing Quilter Finger Tip Craft](https://img.lazcdn.com/g/p/915dca6af5b3480ebeafff6d95695990.jpg_400x400q80.jpg_.webp)
Prices are valid at publication and may change. Please refer to the product page for the latest price.
Beyond basic physical protection, a thimble provides a level of needle control that is difficult to achieve with bare fingers alone. The textured surface of a quality thimble—typically covered in small dimples or ridges—grips the blunt end of the needle securely. This prevents the needle from slipping or angling unexpectedly as you push it through the fabric, resulting in straighter lines, more even stitch tension, and a cleaner overall finish on your embroidery project.
Using a thimble also fundamentally changes the ergonomics of your stitching hand. Instead of relying on the small, delicate muscles of your fingertips to pinch and force the needle through stubborn fabric, a thimble allows you to leverage the larger, stronger muscle groups in your hand, wrist, and forearm. This shift in mechanics dramatically reduces hand fatigue, lowers the risk of repetitive strain injuries, and makes the entire embroidery process feel significantly lighter and more fluid.
Select the Right Thimble Type and Fit
Choosing the correct thimble is a highly personal decision, as no single style or material works universally for every hand shape or stitching style. Understanding the differences between the primary designs will help you narrow down the options and find a tool that feels natural and comfortable.

Common Thimble Styles
Closed-top thimbles are the traditional dome-shaped caps that cover the entire tip of the finger. These are excellent for stitchers who prefer to push the needle with the very end of their finger, offering complete protection from all angles. However, they can trap heat and moisture, which some crafters find uncomfortable during long sessions.
Open-top thimbles, often called tailor’s thimbles, feature a band design with an open end that leaves the fingernail and fingertip exposed. This style is highly favored by embroiderers with long nails or those who prefer to maintain their natural sense of touch for feeling the fabric and needle tip. The open design also allows for better airflow, keeping the finger cool.
Coin-style thimbles consist of a soft leather or fabric band with a metal or plastic disk embedded on the side or pad of the finger. This hybrid design offers the flexibility and breathability of soft materials combined with the rigid pushing power of a traditional metal thimble. It is particularly popular among those who find rigid metal caps too restrictive or heavy.
Material Considerations
The material of your thimble directly impacts its weight, grip, and overall comfort. Metal thimbles, typically made of brass, stainless steel, or silver, are incredibly durable and provide a solid, unyielding surface for heavy-duty pushing. They are ideal for dense fabrics but can feel cold initially and do not mold to the finger.
Leather and silicone thimbles offer a softer, more flexible alternative. Leather naturally conforms to the unique shape of your finger over time, providing a custom fit and a warm, comfortable feel. Silicone thimbles are lightweight, highly flexible, and offer excellent natural grip against the needle, though they may wear out faster than metal or leather options.
Finding the Correct Fit
A thimble must fit precisely to be effective; a poor fit is the leading cause of beginner frustration. To test the fit, place the thimble on your chosen finger and gently shake your hand downward. The thimble should remain securely in place without slipping off, yet it should not pinch your skin, restrict your blood circulation, or prevent you from bending your finger joints naturally.
If the thimble is too tight, it will cause throbbing and discomfort within minutes of stitching. If it is too loose, you will constantly tense your hand muscles to keep it from falling off, defeating the ergonomic benefits. Many stitchers find it helpful to try on several sizes or use adjustable leather and silicone styles to achieve a secure, comfortable fit.
Position and Wear Your Thimble Correctly
Once you have selected a thimble that fits well, the next step is learning how to position it on your hand for maximum efficiency. The correct placement depends entirely on your dominant hand and your personal stitching style.
For most embroidery techniques, the thimble is worn on the middle finger of your dominant hand. This finger is naturally the longest and strongest, making it the ideal tool for pushing the needle through the fabric while your thumb and index finger guide the needle’s path and pull it through from the other side. Some stitchers who use a palm-pushing technique may prefer to wear a thimble on the ring finger, so experiment to see which finger feels most supportive.
Aligning the thimble’s textured surface with the needle eye is crucial for maintaining control. When you hold your needle, the blunt end (the eye) should rest securely against the dimpled portion of the thimble. If you are using a closed-top thimble, this will be near the tip; if you are using an open-top or coin-style thimble, it will be along the side or pad of the finger. Ensure the needle is centered on a dimple to prevent it from slipping off the smooth edges.
Pay close attention to the depth and angle of the thimble on your finger. It should sit deep enough to cover the first joint securely but should not block the knuckle from bending. Maintaining full joint mobility is essential for executing smooth, rhythmic stitching motions and preventing stiffness in your hand.
Master the Needle-Pushing Technique Step-by-Step
With your thimble properly positioned, you can begin practicing the fundamental needle-pushing technique. Mastering this motion requires patience, as it involves retraining your hand muscles to work in a coordinated, relaxed manner.
First, ensure your embroidery fabric is secured tautly within a hoop or frame. Loose fabric creates excess resistance, forcing you to apply unnecessary pressure to push the needle through. A drum-tight fabric surface allows the needle to glide through with minimal effort, making the thimble’s job much easier.
Next, hold the needle between your thumb and index finger near the pointed end, leaving the eye end exposed. Position the needle tip against the fabric at the exact point where you want to start your stitch. Bring your thimble-clad middle finger up behind the needle, resting the flat, blunt end of the needle eye securely into one of the thimble’s dimples.
To execute the push, do not rely solely on fingertip pressure. Instead, use a gentle, coordinated movement that combines a slight extension of your middle finger with a subtle forward rotation of your wrist. This motion should feel like a smooth, rolling push rather than a sharp jab. The thimble will bear the brunt of the force, easily sliding the needle through the fabric layers.
Once the needle has passed halfway through the fabric, release your grip with your thumb and index finger. Reach to the underside of the fabric to grasp the needle tip, and pull the remaining length of thread through. Reset your hand position, place the needle eye back against the thimble, and prepare for the next stitch.
Troubleshoot Common Beginner Mistakes and Discomfort
It is entirely normal to experience some awkwardness when first learning to use a thimble, but persistent pain or difficulty usually indicates a technique or equipment issue that needs adjustment.
One of the most common beginner mistakes is pushing the needle with the smooth, untextured sides of the thimble. When the needle eye rests on a smooth surface, it easily slips off, which can cause the needle to poke your other fingers or bend under pressure. Always take a moment to visually check that the needle eye is nested securely within a dimple or textured ridge before applying forward force.
If you find yourself needing to apply extreme force to push the needle, do not simply push harder with the thimble. Excessive force can bend or break your needles and distort your fabric. Instead, check your fabric tension and ensure you are using the correct needle size and type for your fabric. A needle that is too thick for a tightly woven fabric will always be difficult to push, regardless of your thimble technique.
Listen to your body during your practice sessions. If you feel a dull ache in your hand, stiffness in your fingers, or notice your skin turning pale under the thimble, pause immediately. These are clear signs of poor fit, restricted circulation, or excessive muscle tension. Remove the thimble, stretch your fingers, and adjust the fit or your grip before resuming.
Maintain Your Thimble and Embroidery Tools
Proper maintenance of your thimble and sewing tools ensures they remain safe, clean, and effective for all your future embroidery projects.
After each stitching session, take a moment to wipe down your thimble with a soft, dry cloth. This simple step removes natural skin oils, perspiration, lint, and fabric dust that accumulate during use. If left on the surface, these residues can make the thimble slippery, reducing its grip and potentially transferring stains to your delicate embroidery threads. For metal thimbles, an occasional gentle wash with mild soap and warm water is sufficient, provided you dry them thoroughly to prevent tarnish.
Regularly inspect the pushing surface of your thimble for signs of wear. Over time, heavy use can wear down the protective dimples or create sharp metal burrs and rough edges. If you notice any rough spots that could snag your embroidery floss or scratch your skin, it is time to smooth them down with a fine emery board or replace the thimble entirely.
Finally, store your thimble in a dedicated compartment within your sewing kit or embroidery box. Keeping it protected prevents it from getting lost, scratched, or dented by other metal tools. Proper storage also ensures that your thimble is always clean and ready to protect your fingers whenever inspiration strikes.

Community discussion
Share your experience or ask a question. Comments are reviewed before publication.