
Quick Answer: The Basic Tracing Process
Using a light drawing board—often called a light pad or light box—streamlines the process of transferring and refining your sketches. To begin, place your reference image flat on the illuminated acrylic surface and secure it with low-tack tape. Layer your blank drawing paper directly over the reference, aligning the edges carefully. Turn on the device and adjust the brightness until the underlying lines are clearly visible through the top sheet without straining your eyes.
To execute clean lines, maintain a light hand and use continuous, confident strokes rather than short, sketchy marks. This simple setup allows you to replicate complex designs, refine rough drafts, or practice lettering with high precision. It is an efficient way to improve your line work while keeping your original sketches intact.
Choosing the Right Paper and Drawing Tools
Selecting compatible materials is essential to protect your light drawing board and achieve crisp, smudge-free lines. The thickness and opacity of your paper directly impact how well the light penetrates. Standard tracing paper (usually around 50 to 90 gsm) offers excellent transparency, making it ideal for highly detailed work. If you prefer to work on heavier media like cartridge paper or light cardstock (up to 120 gsm), you will need a light board with higher brightness settings. For very thick media, such as 300 gsm watercolor paper, standard light transmission may be insufficient, requiring alternative transfer methods.
Products mentioned in this guide
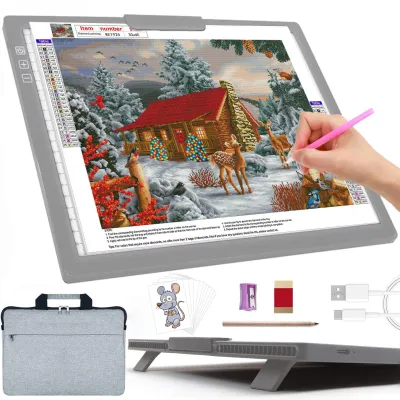
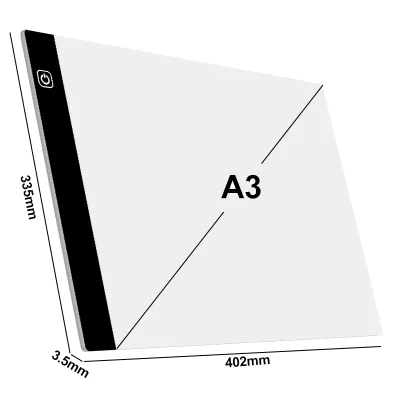
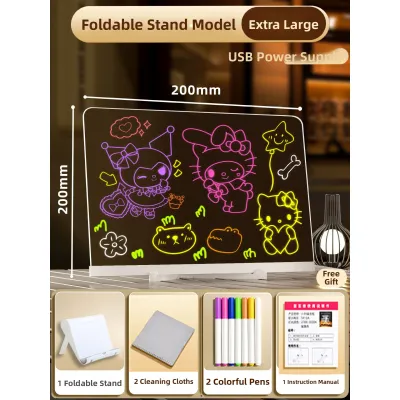
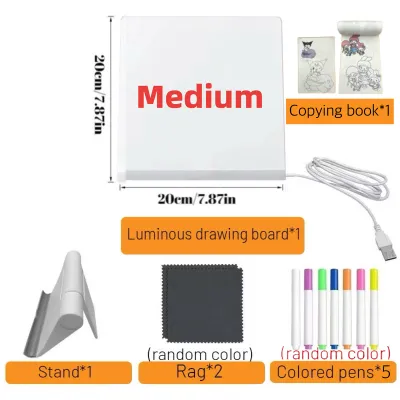
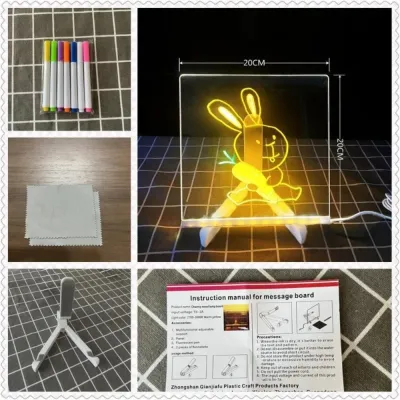
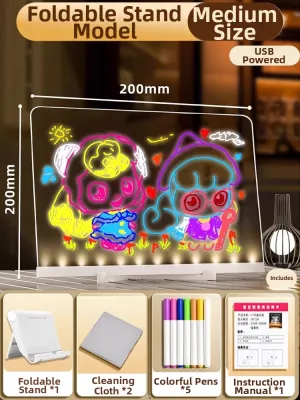
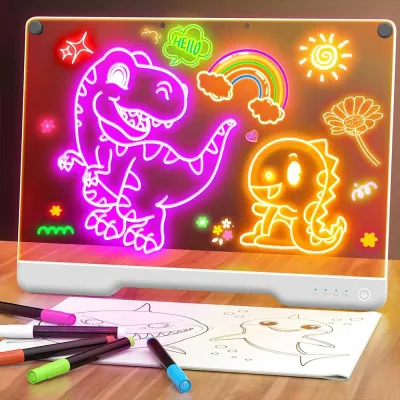
![[SG STOCK] Reusable LED Drawing Board DIY Luminous Acrylic Message Memo Note Pad Night Light Kids Writing Gift发光画板](https://img.lazcdn.com/g/p/4f49319070b36c6e7ba9cbce60944690.jpg_400x400q80.jpg_.webp)
Prices are valid at publication and may change. Please refer to the product page for the latest price.

Your choice of drawing instruments also determines the quality of your final piece and the longevity of your equipment. Hard graphite pencils, such as 2H or 4H, are excellent for faint, clean guidelines, but their sharp tips can scratch the acrylic surface if you apply too much pressure. Soft pencils like 2B or HB glide smoothly but are prone to smudging under your hand. When using ink, opt for quick-drying fineliners or pigment liners. To prevent ink from bleeding through the paper and staining the board, always perform a quick test on a scrap piece of paper first to observe if the ink smears when lightly rubbed after five seconds.
Securing your sheets properly prevents frustrating misalignments during your drawing session. Avoid standard household adhesive tapes, which can leave a sticky residue on the acrylic surface or tear your paper upon removal. Instead, use low-tack artist tape, drafting tape, or washi tape. Many modern light boards also come with specialized magnetic clips or physical clamps that hold the paper firmly along the edges without using adhesives.
Step-by-Step Guide to Tracing and Sketching
Setting Up the Board and Reference Image
Before plugging in your light drawing board, prepare a clean, clutter-free workspace. Wipe the acrylic surface gently with a dry, lint-free microfiber cloth to remove any dust, fingerprints, or eraser shavings. Even tiny particles trapped under your reference image can create bumps, leading to uneven pencil strokes or accidental tears in your paper.
Next, position your reference image in the center of the illuminated area. Ensure the printout or sketch lies perfectly flat against the board. Any curls or folds in the paper will distort the light and cause parallax errors, making your traced lines appear misaligned. Once the reference is positioned, secure its top corners to the board using small pieces of low-tack tape. This keeps the base image stationary while you prepare the top layer.
Adjusting Brightness and Securing the Top Sheet
With your reference image secured, place your drawing paper directly on top. Instead of taping all four corners, use the “hinge method” by taping only the top edge of the drawing paper. This allows you to lift the bottom of the sheet periodically to check your progress against a dark background, ensuring you have not missed any details.
Now, turn on the light board and adjust the brightness. Most modern boards feature step-less dimming or multiple brightness levels. Start at the lowest setting and gradually increase the intensity until the reference lines are sharp and clear. Avoid setting the brightness to maximum immediately; excessive light can cause glare, leading to eye strain and headaches during long drawing sessions. If you are working in a brightly lit room, you may need a higher setting, whereas a dimly lit workspace requires less illumination.
Executing Clean Line Work
When you begin drawing, your physical technique plays a major role in the final quality of your sketch. Hold your pencil or pen at a comfortable angle and practice maintaining a light, consistent pressure. Pressing too hard not only risks denting your drawing paper and the reference sheet underneath but can also leave permanent scratches on the light board’s protective surface.
To keep your artwork pristine, place a clean, blank guard sheet of paper under your drawing hand. This simple barrier prevents the natural oils from your skin, as well as sweat, from transferring to the paper. It also prevents your hand from dragging and smudging completed pencil or ink lines as you move across the board.
For the cleanest results, focus on drawing continuous, confident strokes. Instead of using short, hesitant, sketchy marks, try to draw longer lines in a single, fluid motion. You can achieve this by moving your entire arm from the elbow or shoulder rather than just pivoting your wrist. If you need to trace a complex curve, rotate the light board itself to find the most natural angle for your hand.
Troubleshooting Common Tracing Issues
Even with a careful setup, you may encounter a few common challenges while using a light drawing board. If the reference lines appear faint or invisible, first check the thickness of your top paper. If the paper is too thick, the light may not penetrate sufficiently. In this case, try darkening the lines of your reference image with a black marker before tracing, or dim the ambient lights in your room to increase the contrast of the board.
Smudged ink or graphite is another frequent issue that can ruin hours of work. If you notice smudging, evaluate your drawing tools. Switch to a harder pencil grade or a faster-drying ink pen. Always work from the top-left corner of the page to the bottom-right (or top-right to bottom-left if you are left-handed) to avoid resting your hand on freshly drawn lines. Additionally, allow ink lines a few minutes to dry completely before applying any watercolor washes or markers over them.
If your paper shifts or loses alignment mid-drawing, your tape may be losing its adhesion due to dust or humidity. Clean the edges of the board and apply fresh pieces of low-tack tape. If you are working on a larger project, consider using additional drafting clips along the sides of the board to lock both sheets firmly in place.
Cleaning and Maintaining the Light Board Surface
Proper maintenance ensures your light drawing board remains a reliable tool for years. To clean the drawing surface, always unplug the device first. Use a dry, soft microfiber cloth to wipe away dust. For stubborn smudges or fingerprints, dampen the cloth slightly with water. Never spray water or cleaning liquids directly onto the board, as moisture can seep into the edges and damage the internal LED circuitry.
Avoid using harsh chemical solvents, glass cleaners, alcohol, or abrasive scrubbing pads. These substances can degrade the acrylic surface, causing it to cloud over or develop micro-scratches that scatter the light unevenly. If a mild cleaning is necessary, a single drop of gentle dish soap mixed with water on a damp cloth is usually sufficient.
When storing your light board, keep it flat or upright in a protective sleeve or its original box to prevent scratches. Avoid placing heavy objects on top of the board, which can warp the acrylic panel or damage the internal light guide plate. Finally, handle the power cable with care. Avoid wrapping the cord tightly around the board; instead, coil it loosely to prevent internal wire breakage and ensure a stable power connection.
Frequently Asked Questions (FAQ)
Can I trace directly onto thick watercolor paper?
Tracing directly onto heavy watercolor paper (such as 300 gsm) can be challenging because the dense cotton fibers significantly block light transmission. To determine if your setup will work, perform a quick test by placing a scrap piece of your watercolor paper over a dark reference line on your light board at its maximum brightness. If the line is invisible, trace your design onto thinner tracing paper first. Once the trace is complete, use transfer paper or the graphite-rubbing method to transfer the design onto your watercolor paper.
Will leaving the light board on for hours damage the LEDs?
Most modern light drawing boards use energy-efficient LED technology, which is designed for long-lasting performance and generates minimal heat. However, leaving the board on continuously for hours can cause slight warmth to build up along the edges. To preserve the lifespan of the LEDs and prevent potential warping of the acrylic panel, check your manufacturer’s guidelines regarding continuous usage. Taking short breaks every hour not only allows the device to cool but also helps prevent eye strain and physical fatigue.

Community discussion
Share your experience or ask a question. Comments are reviewed before publication.