
Transforming plain paper bags into vibrant, themed party favors is an excellent way to elevate a child’s birthday celebration. By using wrapping paper and ribbons, you can bypass generic, pre-printed plastic bags and create custom designs that perfectly match your party theme. This approach is not only budget-friendly but also allows you to control the quality and aesthetic of the final presentation.
Whether you are hosting a whimsical fairy gathering, a bold superhero adventure, or a rustic safari party, plain kraft or white paper bags serve as the perfect blank canvas. With a few basic stationery supplies and some simple folding techniques, you can turn bulk packaging into memorable keepsakes that kids will be excited to carry home.
Gathering the Right Wrapping Paper, Ribbons, and Tools
To achieve a polished look, selecting the appropriate materials is essential. The foundation of your project is the wrapping paper. Standard wrapping paper typically ranges from 60 to 80 GSM (grams per square meter). For covering bags, look for a medium-weight paper around 80 to 90 GSM. This weight offers enough opacity to prevent the underlying plain bag from showing through, while remaining pliable enough to fold cleanly without cracking. Avoid heavy cardstock, which is too stiff to wrap around corners, and ultra-thin tissue paper, which tears easily when adhesive is applied.
Products mentioned in this guide
![[SG STOCK] (Large Paper Bags) (10PCS Per Pack) Party Paper Bag - Kids Birthday Party Gift Bag Cartoon Animal Kraft Carrier Treat Bags Christmas Children Goodies Bag Birthday Gift Present Party Paper Bags](https://img.lazcdn.com/g/p/0fc2d1df2280a12eecc0a858973a5e39.jpg_400x400q80.jpg_.webp)
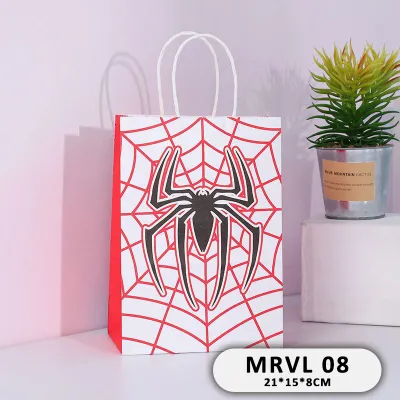
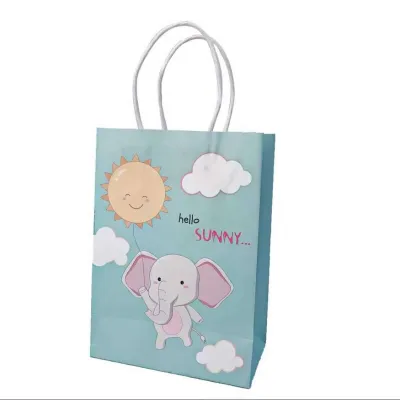
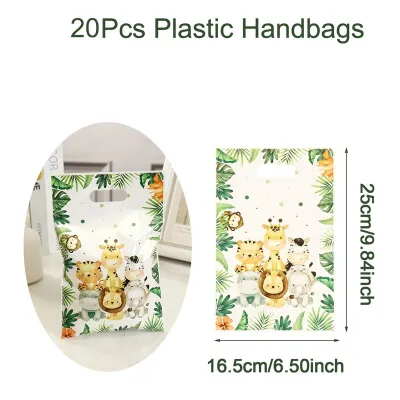
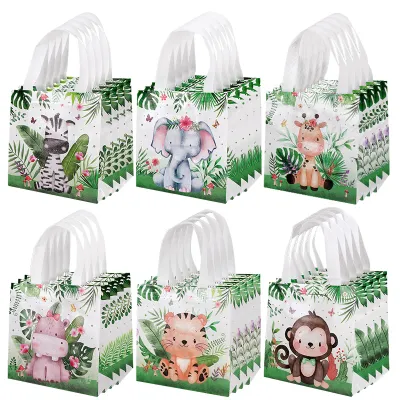
Prices are valid at publication and may change. Please refer to the product page for the latest price.
Next, consider your ribbon options. Grosgrain ribbon is highly recommended for kids’ parties because its ribbed texture provides excellent grip, making knots secure and less likely to slip. Satin ribbon offers a beautiful, glossy sheen that adds an elegant touch, though it requires tighter knotting to stay in place. For a playful, high-volume look, curling ribbon is an affordable choice that can be easily spiraled using a pair of scissors.
Adhesives play a critical role in the durability of your decorated bags. Double-sided tape is the preferred choice for clean, invisible seams. It bonds instantly and eliminates the risk of paper wrinkling. Glue sticks are suitable for flat paper embellishments, but they must be applied evenly to prevent lifting. Avoid standard liquid school glue for large paper surfaces, as its high water content can cause thin wrapping paper to warp, bubble, or tear. If children are assisting with the craft, ensure you provide child-safe, blunt-tip scissors and non-toxic, acid-free adhesives.
Step-by-Step Guide to Covering and Wrapping the Bags
Decorating your party bags requires a systematic approach to ensure every corner looks neat and professional. Begin by laying your plain paper bag flat on your work surface. Measure the height, width, and depth of the bag. Cut a piece of wrapping paper that is wide enough to wrap completely around the bag with a 2 cm overlap, and long enough to cover the height plus the depth of the bottom, with an additional 2 cm allowance at the top rim.

To start wrapping, place the cut wrapping paper face down on your table. Position the plain bag in the center of the paper. Fold the left and right sides of the paper over the bag so they meet in the middle of the back panel. Before securing, use a bone folder or the side of a clean ruler to press along the vertical edges of the bag. This creates sharp, crisp creases that make the bag look structured rather than bulky. Apply a strip of double-sided tape along the overlapping paper seam and press firmly to seal.
Next, address the bottom of the bag. Fold the bottom of the wrapping paper exactly like you would wrap a standard gift box. Fold the short sides inward to form triangles, then fold the top and bottom flaps over each other. Secure these flaps with double-sided tape. To ensure the bag stands upright without wobbling, press the bottom flat against your work surface and smooth out any air pockets.
For the top opening, fold the excess 2 cm of wrapping paper inward over the top rim of the bag. This technique hides the raw cut edge of the paper and reinforces the opening, which is especially important if the bag will be opened and closed multiple times. If your plain bag has pre-existing handles, use precision scissors to make small, neat slits in the folded paper to let the handles thread through cleanly.
Adding Ribbons, Bows, and Embellishments
Once your bag is neatly covered in wrapping paper, you can add ribbons and embellishments to bring the design to life. Tying a classic bow directly onto the bag handles is one of the simplest ways to elevate the presentation. Cut a length of grosgrain or satin ribbon, thread it through the handle loops, and tie a secure square knot before forming your bow. This prevents the bow from unraveling when handled by excited children. To prevent the ribbon ends from fraying, cut them diagonally or in a clean V-shape.
If you prefer a whimsical look, curling ribbon is highly effective. Cut several strands of curling ribbon in coordinating colors, tie them around the base of the bag handle, and gently pull the ribbon across the blade of a pair of scissors to create tight spirals. This adds height and movement to the bags, making them visually exciting for younger children.
For bags without handles, you can fold the top of the bag down by 3 cm, punch two holes through the folded layers using a paper punch, and thread a ribbon through the holes to tie the bag shut. This creates a beautiful parcel-like appearance.
You can also attach lightweight embellishments to the front of the bag. Custom paper cutouts, themed stickers, or personalized name tags can be secured using double-sided tape or foam adhesive dots for a three-dimensional effect. When designing for young children, avoid using small, loose items like sequins, rhinestones, or tiny beads that could detach and pose a choking hazard. Keep all embellishments flat, secure, and made from child-safe materials.
Adapting the Designs for Specific Kids' Party Themes
The beauty of using wrapping paper and ribbons is the ease with which you can adapt your designs to match any party theme. For a cohesive look, establish a clear color palette. If you are hosting an outer space party, choose deep blue or black wrapping paper paired with silver metallic ribbon. For a woodland or safari theme, opt for kraft paper wraps with leaf patterns, paired with natural twine or forest green grosgrain ribbon.
When mixing patterns, follow the rule of scale. If your wrapping paper features a busy, detailed pattern, pair it with a solid-colored, wide ribbon to give the eyes a place to rest. Conversely, if you use a simple, solid-colored wrapping paper, you can use a vibrant, patterned ribbon or a multi-colored cluster of curling ribbons to create contrast.
Consider the age group of the party guests when planning your designs. For toddlers, focus on bright, high-contrast colors and simple shapes that are easy to recognize. For older children, you can introduce more intricate details, such as interactive gift tags, custom monogram letters, or small wooden clips holding the ribbon in place. This personalization makes each child feel special and adds to the anticipation of opening the bag.
Troubleshooting Common Wrapping and Tying Mistakes
Even with careful planning, minor issues can arise during the assembly process. One common problem is peeling edges, where the wrapping paper begins to lift from the bag. This usually happens if the adhesive was applied too close to the edge or if the paper is under tension. To fix this, gently lift the peeling section, apply a thin line of high-tack double-sided tape directly to the edge, and press down firmly for ten seconds to establish a strong bond.
Another frequent issue is paper tearing at the corners, especially when wrapping bags with sharp edges. If you notice a small tear, do not discard the bag. You can cover the damaged corner with a strategically placed embellishment, such as a themed sticker, a paper cutout, or a wrap-around ribbon band. To prevent future tears, avoid pulling the wrapping paper too tightly around the corners, and reinforce the inside corners of the wrapping paper with a small piece of clear tape before wrapping.
If your ribbon bows look limp or uneven, the issue is often the tension of the knot. Undo the bow and tie a tight, flat square knot first. When forming the loops, pull them firmly and adjust the tails so they are symmetrical. Using a stiffer ribbon material, like grosgrain, will help the loops hold their shape throughout the event.
Frequently Asked Questions (FAQ)
Can I use regular liquid school glue instead of a glue stick or double-sided tape?
It is best to avoid regular liquid school glue for this project. Liquid glue has a high water content that easily saturates paper, causing thin wrapping paper to warp, wrinkle, or tear as it dries. For a smooth, professional finish, use double-sided tape or a high-quality glue stick, which apply dry and bond instantly without distorting the paper.
How do I keep the wrapping paper from tearing when kids carry the bags?
To prevent tears, reinforce high-stress areas like the bottom corners and the top rim. You can apply a strip of clear packing tape to the inside of the wrapping paper at these points before wrapping the bag. Additionally, avoid overfilling the bags with heavy items, and ensure any heavy party favors are placed flat at the bottom of the bag to distribute weight evenly.
What is the best way to store decorated party bags before the event?
Store your completed party bags upright in a sturdy, clean plastic bin or a cardboard box to protect them from dust and moisture. Keep the storage container in a cool, dry place away from direct sunlight, which can fade the wrapping paper colors and weaken the adhesives. Avoid stacking the bags on top of each other to prevent the ribbons and bows from getting crushed.

Community discussion
Share your experience or ask a question. Comments are reviewed before publication.