
Transforming a plain paper gift bag into a custom, high-end presentation is an exceptionally rewarding way to elevate your gift-giving. By combining structured wrapping paper accents—such as bands, sleeves, or custom cutouts—with textured ribbon embellishments, you can easily create a personalized look that rivals expensive boutique packaging. The secret to a flawless finish lies in selecting the right adhesives for your specific paper type, measuring accurately, and applying clean folding techniques.
Whether you are preparing for a festive holiday, a birthday, or a special celebration, customizing your own gift bags allows you to match any theme perfectly. This approach is not only highly creative but also sustainable, as it provides an excellent way to repurpose leftover wrapping paper scraps and ribbon offcuts. With a few basic stationery supplies and some mindful crafting techniques, you can turn a simple, budget-friendly bag into a memorable part of the gift itself.
Essential Tools and Materials for Bag Decoration
Before beginning your crafting project, gathering the correct stationery and assembly tools will ensure a smooth and enjoyable process. The foundation of your project is the base bag, typically a plain paper or kraft gift bag. These are available in various sizes, colors, and paper weights. Thicker kraft bags, often rated at 120 GSM (grams per square meter) or higher, offer a sturdy canvas that can support heavier embellishments without sagging or tearing.
Products mentioned in this guide
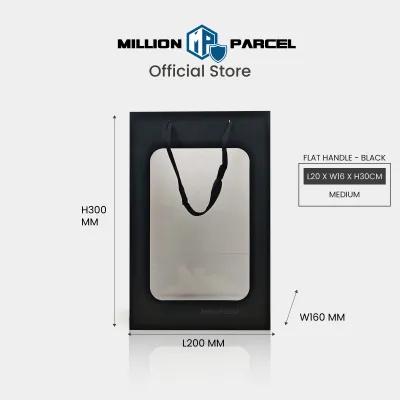
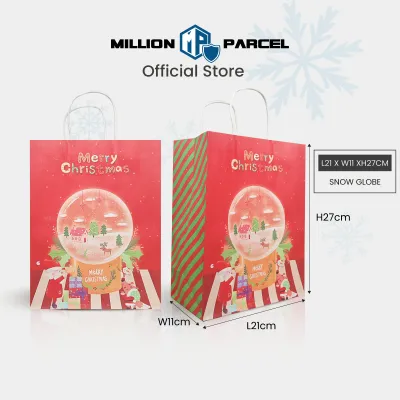
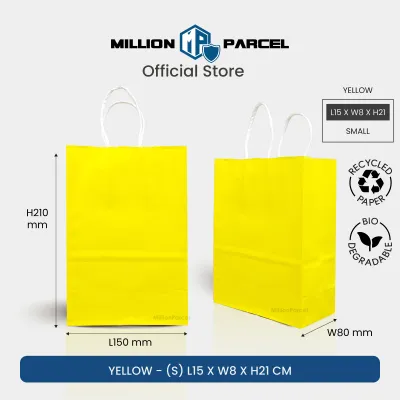
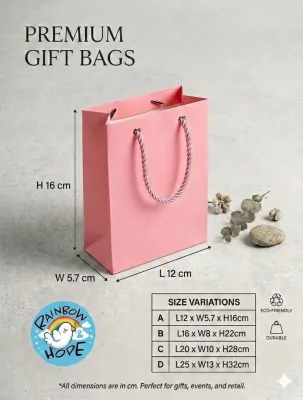


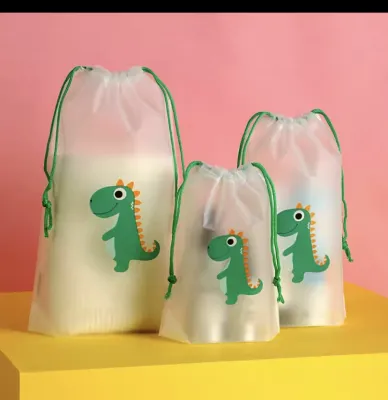
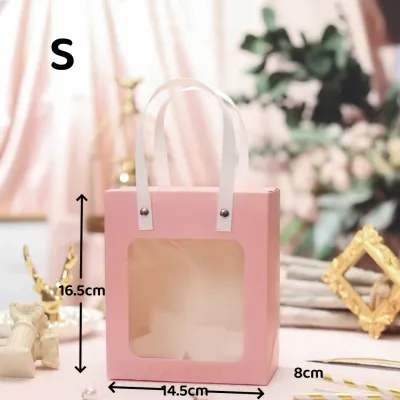
Prices are valid at publication and may change. Please refer to the product page for the latest price.
Your choice of adhesive is critical to achieving a clean, professional look without unsightly warping. Double-sided craft tape is the absolute standard for paper-to-paper applications because it lies completely flat and provides an instant, dry bond. For securing ribbons, bows, or heavier decorative elements, high-tack glue dots or a specialized clear craft glue are highly effective. If you are working in a humid environment like Singapore, avoid standard water-based school glues, as the high humidity can prolong drying times and cause thin paper to warp or wrinkle.
For cutting, a pair of sharp fabric or ribbon scissors is essential to prevent the edges of your ribbons from fraying. A precision craft knife, a metal safety ruler, and a self-healing cutting mat are ideal for making perfectly straight, clean cuts on your wrapping paper accents. When using a craft knife, always cut away from your body and keep your fingers well behind the metal ruler’s edge to ensure safety. Finally, gather your decorative elements, including leftover wrapping paper rolls, assorted ribbons (such as satin, grosgrain, or rustic jute twine), and plain gift tags.
Step-by-Step Techniques for Wrapping Paper Accents
Applying wrapping paper panels directly to the face of a plain gift bag is an excellent way to introduce vibrant patterns and colors. To begin, measure the flat front panel of your gift bag carefully using a standard ruler. Cut a piece of wrapping paper that is slightly smaller than the bag’s face, leaving a neat 1-centimeter border of the original bag showing around all four sides. This framing technique creates a clean, intentional border that makes the patterned paper pop.

To secure the paper panel cleanly, apply double-sided tape along the entire perimeter of the wrapping paper’s backside, keeping the tape as close to the cut edges as possible. Add one or two diagonal strips of tape across the center to prevent the paper from bowing outward. Carefully align the top edge of the paper with your bag, then slowly lower it onto the surface, smoothing it down from the center outward with a clean cloth to eliminate any trapped air bubbles.
The success of your bond depends heavily on the surface texture of your base bag. Standard matte kraft paper bags have a porous surface that bonds effortlessly with almost any paper adhesive. However, if you are decorating a glossy or laminated gift bag, standard double-sided tape may peel off over time. For glossy surfaces, verify the adhesive’s compatibility by testing a small piece on the bottom of the bag first, or opt for high-tack glue dots or specialized scrapbooking tape designed for non-porous materials.
Creating Custom Bag Sleeves and Bands
A paper sleeve or band wrapped horizontally around the middle of a plain gift bag adds a sophisticated, structured look. To create this, measure the full circumference of your gift bag using a flexible measuring tape, then add 2 centimeters to this measurement to allow for an overlapping seam. Cut a strip of wrapping paper to this calculated length, choosing a width that covers roughly one-third of the bag’s total height.
To ensure the edges of your paper band look incredibly neat and do not tear during handling, fold the top and bottom edges of the strip inward by 5 millimeters to create a clean, double-thick border. Press these folds flat using a bone folder or the smooth side of a marker. This simple step hides any slightly uneven scissor cuts and gives the band a premium, finished appearance.
Wrap the prepared band tightly around the center of the gift bag, ensuring it sits level and parallel to the bag’s bottom edge. Secure the overlapping ends at the back of the bag using a strip of double-sided tape. By keeping the adhesive seam strictly on the back of the bag, the front remains completely seamless, clean, and free of visible tape marks.
Adding Paper Cutouts and Layered Shapes
Using wrapping paper scraps to create custom cutouts is a wonderful way to add whimsical motifs and personalized details to your gift bag. Start by selecting a prominent pattern from your wrapping paper, such as a large floral element, a star, a heart, or even a monogram letter. Trace the outline of the shape onto the back of the paper, or use a metal craft stencil to ensure perfect symmetry before cutting it out with fine-tipped detail scissors.
To create visual depth, try layering different paper patterns and textures together. Cut a slightly larger background shape out of a solid-colored paper or textured cardstock, then mount your patterned cutout directly on top of it using double-sided tape or thin foam adhesive dots. This layering technique lifts the design off the flat surface of the bag, creating subtle shadows that make the presentation look far more dynamic.
When positioning your cutouts, aim to balance the visual weight of the bag. Placing your main decorative shape slightly above the vertical center of the bag naturally draws the eye upward and leaves plenty of clean space at the bottom. Be sure to leave the area near the handles clear so that your gift tags or ribbon bows do not overlap or crowd your beautiful paper cutouts.
Step-by-Step Techniques for Ribbon Embellishments
Ribbons introduce texture, movement, and a touch of luxury to plain paper gift bags. When selecting your ribbons, consider how their width and material complement both the bag size and your wrapping paper accents. A wide, structured grosgrain ribbon works beautifully on large, heavy-duty kraft bags, whereas a delicate, shimmering satin ribbon is perfect for smaller, elegant gift presentations.
Securing your ribbons properly is essential to maintain the structural integrity of the paper bag. Never pull ribbons so tightly around the bag or its handles that the paper begins to crease, buckle, or rip. If your bag has pre-installed rope or ribbon handles, you can easily tie your decorative ribbons directly to the existing handle knots or thread them through the pre-punched holes for a seamless integration.
To keep your finished presentation looking pristine, always manage the ribbon ends to prevent fraying. Cut the tails of your ribbons at a sharp 45-degree angle or make a classic V-shaped chevron cut using very sharp scissors. For synthetic ribbons like polyester or nylon, you can gently seal the cut edges by holding them briefly near a small heat source, such as a lighter, to melt the fibers slightly. Always perform a quick test on a scrap piece of ribbon first to ensure it does not discolor or burn.
Tying Bows and Knots for Bag Handles
Adding a beautifully tied bow directly to the base of a gift bag’s handle instantly elevates the entire presentation. To tie a classic, symmetrical bow, cut a length of ribbon approximately 30 centimeters long. Loop the ribbon around the base of one handle, tie a secure single knot, and then form two even loops to tie your bow, adjusting the loops and tails until they are perfectly proportioned to the size of the bag.
If you prefer a more elaborate look, you can create a multi-loop florist bow separately and attach it to the bag afterward. To do this, wind your ribbon into several overlapping loops, secure the center tightly with a thin piece of craft wire or a twist tie, and fan out the loops to create a full, rounded shape. Attach this pre-made bow directly to the handle base or the front of the bag using a high-tack glue dot, which keeps the bow firmly in place without damaging the paper.
Once your bow is secured, take a moment to dress the tails for a polished finish. For satin or grosgrain ribbons, pull the tails downward so they drape elegantly over the front of the bag. If you are using lightweight curling ribbon, open a pair of scissors, press the dull side of the blade gently against the ribbon tail, and pull it quickly outward to create playful, bouncy curls that add energy to your design.
Weaving and Crisscrossing Ribbons Across the Bag
For a highly customized and modern look, you can weave or crisscross ribbons across the entire body of the gift bag. To create a classic grid pattern, wrap a horizontal band of ribbon around the center of the bag and secure it at the back. Next, wrap a vertical band of ribbon around the bag, crossing over the horizontal band on the front panel, and secure the ends inside the top rim of the bag.
To keep the ribbons perfectly flat and prevent them from shifting during transport, place a tiny dot of double-sided tape or a glue dot at the exact intersection point where the ribbons cross. This invisible anchor ensures your grid pattern remains perfectly aligned. If your paper bag is thick enough, you can also use a standard hole punch to create clean holes along the top collar, allowing you to thread and weave ribbon in and out for a beautiful laced border.
When wrapping ribbons around the entire body of the bag, maintaining even tension is crucial. The ribbon should lie completely flat against the paper surface without any sagging, but it must not be pulled so tight that it compresses or warps the bag’s rectangular shape. Slide a finger under the ribbon to verify that it is snug yet gentle on the paper structure.
Combining Paper and Ribbon for a Polished Finish
The most spectacular gift presentations occur when you combine wrapping paper accents and ribbon embellishments into a single, cohesive design. To achieve this, use a simple color-coordinating rule: select a patterned wrapping paper with two or three distinct colors, and then choose a solid ribbon that matches the least dominant color in that pattern. This creates a harmonious look without overwhelming the eyes.
Layering is the key to professional-looking results. Try wrapping a wide band of patterned wrapping paper around the center of your plain bag, and then wrap a thinner, contrasting satin ribbon directly over the middle of that paper band. The contrast between the smooth paper and the textured ribbon adds an instant touch of luxury. You can also use a small, circular paper cutout as an anchor point, gluing it down first and then placing a neat ribbon knot directly in its center.
To complete your personalized presentation, add thoughtful final touches that tie the entire theme together. You can layer a rustic piece of jute twine alongside a polished satin ribbon for a beautiful mix of textures. Attach a handwritten kraft paper tag using a tiny wooden peg, or slide a small sprig of dried lavender or rosemary under the ribbon knot. These small, sensory details show your recipient that as much care went into the packaging as the gift itself.
Common Mistakes to Avoid When Decorating Gift Bags
While decorating gift bags is a highly creative process, avoiding a few common crafting pitfalls will ensure your hard work looks professional and lasts. First, avoid using standard liquid school glue or heavy craft glue on thin paper bags. The high water content in these glues will quickly saturate the paper fibers, causing the bag to warp, wrinkle, or develop dark, permanent moisture stains that ruin the clean aesthetic.
Second, be mindful of the total weight of your embellishments. Overloading a lightweight paper bag with heavy cardstock layers, thick wooden ornaments, or massive metal charms can compromise its structural integrity. This extra weight can cause the paper handles to tear away from the collar or make the bottom of the bag sag and split open when the gift is lifted. Keep your decorations lightweight and proportional to the bag’s paper thickness.
Finally, take your time to align your paper bands and cutouts carefully before pressing them down. Because high-quality double-sided tape bonds instantly, attempting to reposition a misaligned paper band will almost certainly tear the surface of your gift bag. Always use a pencil to lightly mark your placement guidelines, and avoid using shiny, single-sided plastic tape on the exterior of the bag, as visible tape lines instantly detract from a hand-crafted, premium look.
Frequently Asked Questions (FAQ)
Can I use fabric scraps instead of wrapping paper?
Yes, fabric scraps like cotton, linen, or burlap are excellent alternatives that add rich texture to plain gift bags. However, because fabric is heavier than wrapping paper, you must ensure your base bag is made of sturdy, thick kraft paper to prevent sagging. Use a specialized fabric glue or high-tack double-sided tape to secure the fabric, and always test a small scrap on an inconspicuous area of the bag first to ensure the adhesive does not bleed through the fabric weave.
How do I prevent ribbon from slipping off glossy gift bags?
Glossy or laminated gift bags have a very smooth, non-porous surface that can cause standard adhesives to slide off. To keep ribbons securely in place, use high-tack glue dots or heavy-duty double-sided tape designed specifically for slick surfaces. If you are wrapping ribbon around the entire bag, you can also lightly scuff the small area where the adhesive will sit using fine-grit sandpaper to create a textured surface that helps the glue bond securely.
Community discussion
Share your experience or ask a question. Comments are reviewed before publication.