
Giving a beautifully wrapped gift is as much about the presentation as it is about the item inside. While pre-decorated gift bags are readily available, they often lack a personal touch and can carry a high price tag. Transforming plain paper bags for gifts into premium, boutique-style packaging is an elegant, cost-effective way to elevate your presentation. By focusing on structural upgrades, tactile contrast, and refined design principles, you can easily turn a basic kraft or matte bag into a sophisticated work of art.
Essential Materials and Tools for a Premium Finish
Creating a high-end look starts with selecting the right foundation. Flimsy, thin paper bags will sag under the weight of embellishments and look cheap. Instead, opt for heavy-duty kraft paper or thick matte cardstock bags, ideally with a paper weight of 120 to 150 GSM (grams per square meter) or higher. These sturdier options provide a rigid, flat canvas that can support decorations without warping or tearing, ensuring your final presentation maintains its clean lines.
The choice of embellishments is what introduces tactile luxury to the presentation. Rather than using plastic bows or glossy synthetic ribbons, invest in materials that invite touch. Double-faced satin ribbons, plush velvet ribbons, organic jute twine, and braided cotton cords instantly elevate the sensory experience. For personalization, custom rubber stamps, metallic pigment inks, and wax seals add an artisanal, old-world charm that suggests the gift was curated with deep thoughtfulness.
Products mentioned in this guide

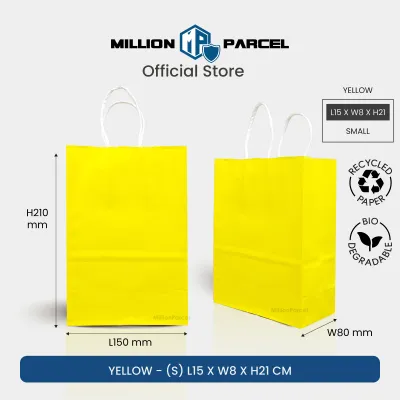
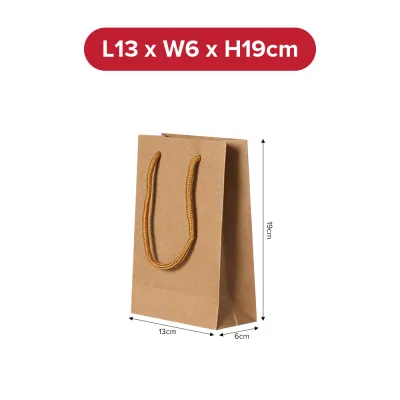
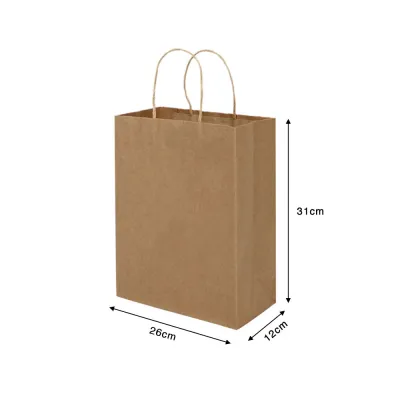
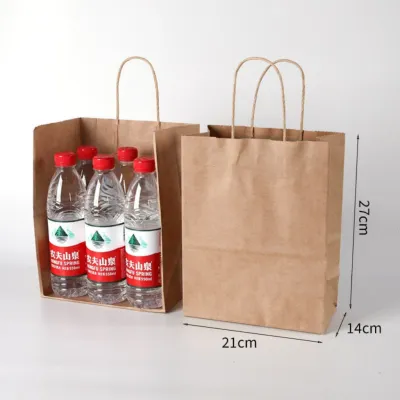

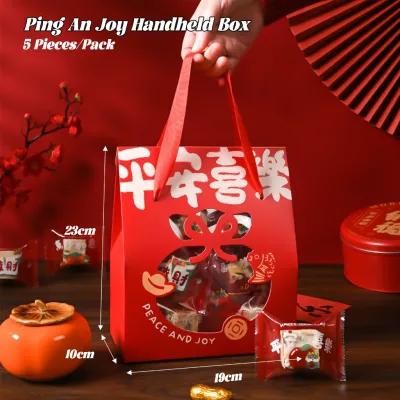
Prices are valid at publication and may change. Please refer to the product page for the latest price.
To assemble your designs cleanly, you must use the correct tools. High-quality double-sided tape, dry adhesive rollers, and pressure-sensitive glue dots are indispensable. These tools provide an instant, strong bond without introducing moisture to the paper. You will also need a sharp pair of craft scissors to ensure clean ribbon cuts without fraying, and a standard single-hole punch to create precise openings for new handles.
It is highly recommended to avoid liquid school glues or standard PVA craft glues. These water-based adhesives relax the paper fibers, leading to unsightly warping, buckling, and bubbling that ruin the flat, premium aesthetic. Furthermore, in humid environments like Singapore, liquid glues take an exceptionally long time to dry fully and can remain sticky. Hot glue should also be avoided on thin paper, as it can leave thick, uneven lumps and messy, spiderweb-like strings that are incredibly difficult to clean up.
Step-by-Step Techniques to Elevate Your Gift Bags
Upgrading a plain bag requires a systematic approach. By breaking down the process into structural upgrades, surface personalization, and dimensional embellishments, you can ensure each element is applied cleanly and securely.

Adding Texture with Ribbons, Twine, and Handles
The handles of a standard paper bag are often its most underwhelming feature, usually consisting of stiff, twisted paper or cheap polyester cords. To instantly elevate the bag, carefully snip off these existing handles from the inside. Replace them with luxurious alternatives such as wide velvet ribbon, soft leather cord, or thick braided cotton rope.
To install your new handles, use a single-hole punch to create clean, matching holes near the top collar of the bag. If you are working with delicate paper, place a small piece of clear tape over the area before punching to prevent the edges from tearing or fraying. Thread your chosen ribbon or cord through the holes from the outside in, and secure them on the inside with a neat, tight figure-eight knot. For a highly polished look, you can also thread the ribbon through the holes and tie a generous, symmetrical bow on the exterior face of the bag.
If you prefer a rustic-chic or organic aesthetic, jute twine is an excellent handle material. To prevent twine from looking messy or unraveled, wrap it tightly around the existing paper handles, securing the start and end points with a thin strip of high-tack double-sided tape. This conceals the basic paper base while adding a rich, textured grip that feels sturdy and intentional.
Personalizing with Stamps, Stickers, and Calligraphy
Custom branding and hand-lettering add an exclusive, boutique feel to plain paper bags. Rubber stamps are a highly effective way to apply a clean, consistent graphic or monogram. When stamping, choose archival ink or metallic pigment inks in shades of gold, copper, or silver. Press the stamp firmly and evenly onto the center or the bottom-right corner of the bag, taking care not to rock the stamp, which can cause blurry edges. Because pigment inks sit on top of the paper fibers, they require extra drying time; always perform a quick smudge test on a scrap piece of paper first.
For a three-dimensional tactile accent, consider applying a wax seal. You can melt sealing wax directly onto the paper bag, or use pre-made wax seals backed with adhesive circles for a perfectly clean application. Placing a wax seal at the junction where a ribbon meets the paper creates an immediate focal point that exudes luxury. High-quality vinyl stickers with minimalist geometric patterns or custom monograms can also be used to seal the top fold of the bag securely.
If you have steady hand lettering or calligraphy skills, writing the recipient’s name directly on the bag adds an unmatched level of personalization. Use a high-quality brush pen or a metallic marker. To ensure perfect alignment and spacing, always sketch your letters lightly with a soft lead pencil first. Once you have finished tracing the letters with your marker, allow the ink to dry completely. In humid climates, wait at least ten to fifteen minutes before gently erasing the pencil guidelines with a soft polymer eraser to prevent any smudging.
Incorporating Natural Elements and Embellishments
Integrating natural, three-dimensional elements into your gift wrapping creates a beautiful, artisanal aesthetic. Lightweight botanical elements, such as dried lavender sprigs, pressed eucalyptus leaves, baby’s breath, or small cinnamon sticks, work wonderfully. These elements can be tucked neatly under the knot of your ribbon or secured with a small piece of twine.
To attach these delicate items without damaging them, use small glue dots or mini wooden clothespins. A mini clothespin clipped to the top fold of the bag not only holds the bag closed but also provides a charming, rustic anchor for a sprig of greenery and a personalized gift tag. You can also use small wooden tags or acrylic charms to add a modern, contrasting texture.
When adding three-dimensional elements, weight management is critical. Heavy wooden ornaments, thick metal charms, or large wet botanical clippings can overwhelm the paper bag’s structure. This can cause the paper to sag, crease, or tear at the attachment points. Always select lightweight, thoroughly dried elements, and ensure they are balanced properly so the bag does not tip over when set down.
Design Principles for a High-End, Uncluttered Look
The difference between a premium gift bag and a cluttered school craft project lies in restraint and visual balance. Applying professional design principles ensures your decorated bag looks cohesive, intentional, and sophisticated.
The first principle to observe is the “rule of three.” Limit your color palette to no more than three complementary tones. For example, a classic combination includes natural brown kraft paper, a cream-colored silk ribbon, and a subtle gold wax seal. Keeping the palette restrained prevents visual noise and allows the textures of the materials to shine. If you are using a colored paper bag, select neutral or monochromatic embellishments to keep the overall look grounded.
Embracing negative space is equally vital. It can be tempting to cover every inch of a plain paper bag with stamps, drawings, or stickers, but this quickly cheapens the presentation. Leave at least 70% of the bag’s surface completely blank. This negative space acts as a visual resting place, drawing the recipient’s eye directly to your curated embellishments, such as a single, perfectly tied bow or a beautifully hand-lettered name.
Intentional texture mixing creates sophisticated visual depth without adding unnecessary clutter. Pair contrasting surfaces to create a tactile dialogue. The rough, matte texture of a kraft paper bag pairs beautifully with the glossy, smooth surface of a satin ribbon or the cool, hard finish of a wax seal. If you are using a smooth, matte cardstock bag, consider pairing it with a textured jute twine or a rustic wooden tag to create an appealing contrast.
Finally, consider the symmetry and placement of your design elements. Centering your main embellishments—such as a large stamp or a central ribbon bow—creates a traditional, formal, and balanced look. Alternatively, placing your decorations off-center, such as stamping a monogram in the bottom-right corner and securing the top-left corner with a small botanical sprig, offers a modern, dynamic, and minimalist aesthetic. Experiment with different placements on a blank sheet of paper before committing to the bag.
Common Mistakes to Avoid When Decorating Paper Bags
To ensure your finished gift bag looks flawless, it is important to avoid common pitfalls that can ruin the premium illusion. A single misplaced drop of glue or an overloaded handle can quickly compromise the entire presentation.
Adhesive errors are the most common culprit behind ruined paper crafts. As mentioned, liquid glues introduce moisture that warps paper fibers, leaving unsightly ripples that cannot be flattened. Hot glue, while fast-drying, often leaves thick, visible lumps under ribbons and thin paper, and its signature “spiderweb” strings can cling to the bag, making it look untidy. Stick to dry adhesives like double-sided tape, glue dots, or high-tack tape runners for a perfectly flat, clean finish.
Over-decorating is another frequent mistake. Combining glitter, metallic markers, ribbons, stickers, and natural elements all on one bag creates a chaotic, amateurish appearance. Choose one or two key techniques—such as a custom stamp paired with a premium ribbon handle—and let those elements be the stars of the show.
Structural oversights can lead to embarrassing accidents during the gifting moment. Always verify the weight capacity of your paper bag before decorating it. If you plan to gift a heavy item, such as a jar of artisanal preserves or a ceramic mug, a thin paper bag will tear, regardless of how beautifully it is decorated. Reinforce the bottom of the bag with a custom-cut piece of thick cardboard to distribute the weight evenly.
Before placing your gift inside, always perform a final verification step. Stand the bag up on a flat surface and inspect it from a distance of one meter. Check for visual balance, ensure all elements are securely attached, and look inside the bag to confirm there are no messy tape residues, loose glue strings, or unsightly knots showing. This final quality check ensures your presentation is truly flawless.
Frequently Asked Questions (FAQ)
How do I prevent the paper bag from tearing when adding heavy embellishments?
To reinforce a paper bag for heavier embellishments or handles, cut a strip of heavy cardstock (around 200 to 250 GSM) that matches the width of the bag’s top collar. Apply double-sided tape to this strip and adhere it to the inside fold of the bag where the handles are attached. When you punch holes through both the bag and this hidden cardstock reinforcement, the weight of the ribbons, cords, or heavy charms will be distributed across a much stronger, rigid surface, preventing the paper from ripping.
What is the best adhesive for attaching items to kraft paper bags without leaving marks?
The best adhesives for a clean, mark-free finish on kraft paper are high-tack glue dots, double-sided tape, and dry adhesive rollers. These products provide an instant, high-strength bond without the moisture content of liquid glues, which prevents the paper from warping or buckling. This is particularly important in Singapore’s humid climate, where liquid water-based glues dry slowly and can cause paper fibers to weaken and sag. Glue dots are especially useful for securing uneven or three-dimensional items like wax seals, wooden tags, and dried botanicals cleanly.

Community discussion
Share your experience or ask a question. Comments are reviewed before publication.