
Transforming a simple, everyday item into an elegant piece of art is one of the most satisfying aspects of gift-giving. While store-bought premium gift wrap can be expensive and often ends up discarded, customizing plain paper bags offers a sustainable, highly personalized, and budget-friendly alternative. With a few thoughtful additions—such as high-quality ribbons, custom tags, and structured folding techniques—you can elevate a basic kraft or matte paper bag into a luxury presentation that rivals high-end boutique packaging.
The secret to achieving a premium look lies not in complex crafting skills, but in precision, structural integrity, and cohesive design choices. By focusing on clean lines, balanced textures, and sophisticated color palettes, you can create a memorable unboxing experience for any occasion, from weddings to local housewarmings. This guide walks you through the essential materials, step-by-step assembly, and professional styling tips to master this creative transformation.
Materials and Tools for Upgrading Paper Bags
To elevate plain paper bags successfully, you must start with a solid foundation and select embellishments that look intentional rather than haphazard.
Products mentioned in this guide
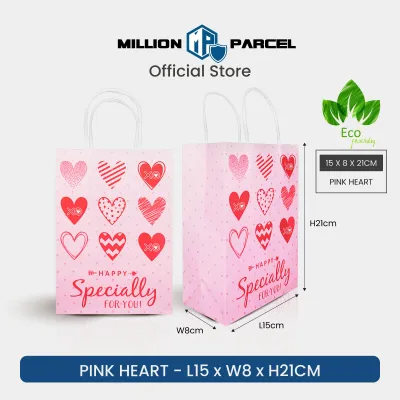
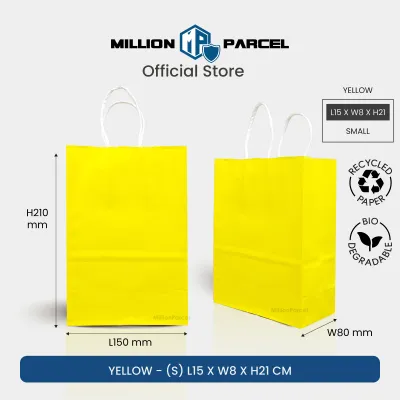
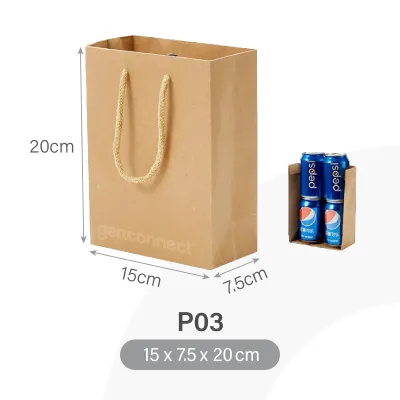
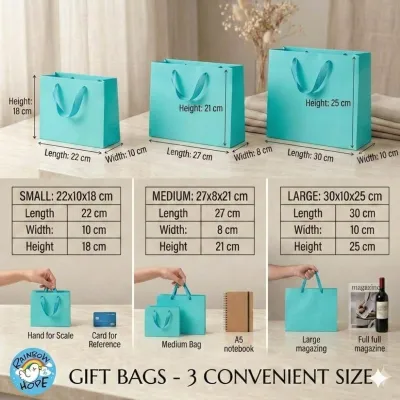
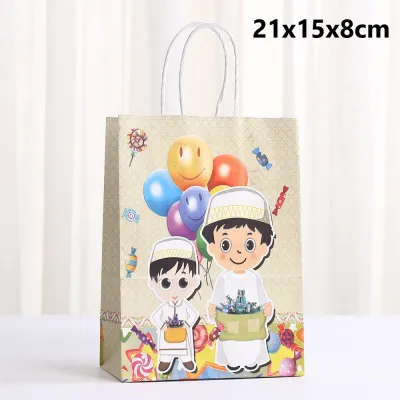
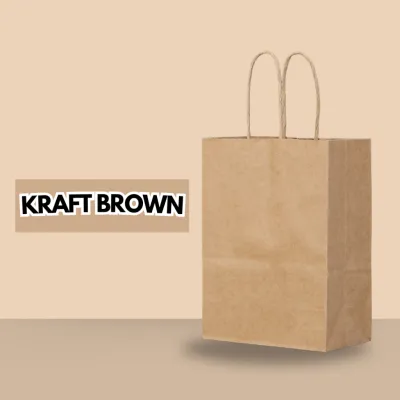
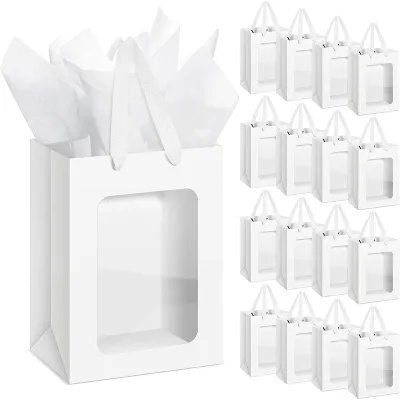
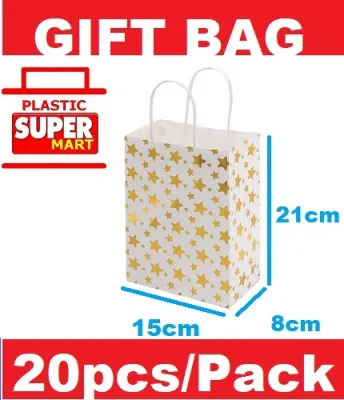
Prices are valid at publication and may change. Please refer to the product page for the latest price.
- Selecting the Base Bag: Choose sturdy paper bags made from thick kraft paper or heavy matte cardstock. Look for paper weights between 120 gsm and 150 gsm. Flimsy, thin bags will sag under the weight of decorations and lose their shape. White or natural brown kraft paper provides an excellent neutral canvas, while solid black or navy matte bags offer a dramatic, modern backdrop. Plain kraft bags are highly accessible and typically cost around S$2 to S$5 for a pack of ten at local stationery shops.
- Ribbons and Fabric Ties: High-quality ribbon is the most effective tool for upgrading a package. Avoid plastic-feeling curling ribbons. Instead, opt for double-faced satin ribbon, grosgrain ribbon with its distinctive ribbed texture, or soft cotton herringbone tape. A width of 15mm to 25mm is highly versatile for standard-sized bags.
- Adhesives and Binding Agents: Avoid liquid school glue, which contains high water content and will warp, wrinkle, or tear the paper. Instead, use double-sided tape, high-tack glue dots, or a low-temperature hot glue gun for heavier embellishments.
- Tags and Twine: Thick cardstock tags (around 250 gsm to 300 gsm) in complementary colors add a tactile, premium feel. Use natural jute twine, polished baker's twine, or thin metallic cord to attach them.
- Decorative Accents: Dried botanicals such as lavender sprigs, baby's breath, or pressed eucalyptus leaves add an organic, artisanal touch. You can also use custom rubber stamps with archival ink, or wax seals to secure ribbons and add historical elegance.
- Essential Tools: Keep a sharp pair of fabric scissors (for clean ribbon cuts), a metal ruler, a bone folder (or the edge of a clean plastic card) for crisp creases, and a standard single-hole punch.
Step-by-Step Guide to Decorating Your Paper Bag
Upgrading a bag requires a systematic approach. Rather than applying decorations randomly, follow this structured workflow to ensure the finished product is structurally sound, balanced, and visually stunning.

Preparing and Shaping the Bag
Before adding any decorative elements, you must ensure the bag itself looks crisp and structured. Plain bags often arrive flat and may have soft, uneven folds from storage. Due to Singapore’s humid climate, paper can absorb moisture and soften over time, making structural preparation even more critical for maintaining a sharp look.
First, open the bag fully and reinforce the base. If your gift has any weight, cut a piece of stiff cardboard slightly smaller than the bag’s bottom dimensions and slide it inside. This simple step prevents the bottom from sagging, which instantly compromises the premium aesthetic.
Next, sharpen the existing folds. Lay the bag flat on a hard, clean surface. Using a metal ruler and a bone folder (or the edge of a credit card), press firmly along the side gussets and the bottom creases. Creating sharp, defined edges gives the bag a highly structured, box-like appearance.
Finally, fold down the top edge. If your bag has raw cut edges at the top, fold the top 2 to 3 cm of the bag inward. This creates a clean, reinforced rim that hides the raw paper edge and provides a sturdier anchor point for ribbons or handles. Run your bone folder along this new fold to make it perfectly flat.
Adding Ribbons and Handles
Ribbons introduce texture and color, breaking up the monotony of plain paper. There are two primary ways to integrate ribbon: replacing the existing handles or wrapping the bag’s body.
To replace standard twisted paper handles, carefully cut them off close to the bag’s inner rim. Use a single-hole punch to create two clean holes on each side of the bag, aligning them with the old handle placement. Cut two equal lengths of satin or grosgrain ribbon (typically 30 to 40 cm each). Thread the ribbon ends from the outside to the inside through the holes, and tie a secure double knot on the inside. Gently pull the ribbon to ensure the knots hold.
If you prefer to keep the original handles, you can wrap a wide ribbon horizontally around the center of the bag. Measure the circumference of the bag, cut the ribbon to size with a 2 cm overlap, and secure it tightly using double-sided tape. Apply the tape directly to the paper, then press the ribbon firmly onto it, ensuring there are no wrinkles or air bubbles.
To tie a perfect, symmetrical bow, loop the ribbon as you would tie a shoe, but ensure the shiny side of the satin faces outward on both loops. Pull the loops tight, adjust their size to match the scale of the bag, and trim the ribbon tails at a sharp 45-degree angle. This angle not only looks professional but also helps prevent synthetic ribbons from fraying.
Attaching Tags and Embellishments
The final layer of decoration is where you can truly personalize the presentation. This step requires restraint; too many elements will create visual clutter.
Start with the gift tag. If you are using a rubber stamp, test it on a scrap piece of the bag first to check the ink’s drying speed and bleed resistance. Once dry, write your message on the tag using a fine-liner or calligraphy pen. Thread a piece of twine or thin ribbon through the tag’s eyelet.
To attach the tag, loop the twine around the base of one of the ribbon handles and tie a simple knot. For a more modern look, you can secure the tag directly to the face of the bag using a mini wooden clothespin or a subtle metallic eyelet.
If you want to add a botanical element, tuck a single sprig of dried eucalyptus or lavender behind the tag or slip it directly into the ribbon knot. Secure the stem with a tiny dot of hot glue or a glue dot to keep it from sliding out during transport.
For a truly luxurious touch, apply a wax seal. To avoid damaging the bag with hot wax, pour the wax onto a non-stick silicone baking mat first. Press the stamp into the wax, let it cool, peel it off, and then use a high-tack glue dot to adhere the finished wax seal over the ribbon crossover or directly onto the tag. Always handle hot wax with care, and keep glue guns out of reach of young children.
Styling Tips for a Premium Finish
To make your decorated paper bags look like they came from a high-end designer boutique, apply professional design principles that focus on cohesion and sensory appeal.
- Embrace Monochromatic and Analogous Color Schemes: A common mistake is using too many contrasting colors. For a sophisticated look, stick to a limited color palette. Pair a natural brown kraft bag with cream, forest green, or terracotta ribbons. If using a white bag, try a minimalist black-and-white theme, or pair it with soft pastel shades like sage green or dusty rose.
- Incorporate Subtle Metallic Accents: Gold, silver, or copper accents instantly elevate paper. Use a metallic gold paint marker to gently trace the folded edges of a brown kraft bag, or choose a tag with a gold foil border. Keep these accents minimal to maintain an elegant, understated aesthetic.
- Play with Textural Contrasts: Contrast is key to visual interest. Pair the rough, organic texture of a kraft paper bag with the ultra-smooth, glossy finish of a silk or satin ribbon. Alternatively, pair a smooth matte black bag with a textured grosgrain or velvet ribbon.
- Master the Art of Tissue Paper Placement: The way you fill the bag is just as important as the exterior decoration. Avoid crumpling tissue paper into a ball. Instead, lay a sheet of tissue paper flat, pinch it from the center, give it a gentle shake to let the corners drape naturally, and place it into the bag point-side up. Use two or three sheets in alternating colors to frame the gift beautifully.
- Add a Subtle Sensory Element: Elevate the recipient's unboxing experience by introducing a gentle scent. You can lightly spritz the tissue paper with a high-quality linen spray or tuck a small lavender sachet inside the bag before closing it. Ensure the spray is completely dry before placing the gift inside to avoid staining the paper.
Common Mistakes to Avoid When Decorating Paper Bags
While decorating paper bags is a highly accessible craft, certain pitfalls can quickly make your hard work look messy, cheap, or structurally unstable.
- Using the Wrong Adhesives: As mentioned, liquid glues are the enemy of paper crafts. They warp the paper fibers, leaving unsightly wrinkles and damp spots. Always opt for dry adhesives like double-sided tape, adhesive runners, or glue dots. If you must use hot glue, use it sparingly and opt for a low-temperature gun to prevent the glue from bleeding through thin paper.
- Ignoring Weight Capacity and Durability: A beautiful bag is useless if it breaks. Always match the bag's paper weight to the gift's weight. Heavy items like ceramic mugs, candles, or bottles require reinforced bases and thick, secure handles. If you have replaced the handles with ribbon, double-check that your knots are large enough not to slip through the punched holes under tension.
- Over-Decorating and Visual Clutter: It is easy to get carried away with stamps, ribbons, tags, flowers, and glitter. A premium look relies on restraint. Choose one or two focal points—such as a beautiful satin bow paired with a simple botanical sprig—and leave plenty of negative space on the paper bag to let the design breathe.
- Failing to Seal Ribbon Ends: Synthetic ribbons like satin and grosgrain will fray rapidly once cut. To prevent this, always use sharp fabric shears for a clean cut. If using synthetic ribbon, you can carefully pass the cut edge near (but not directly in) a lighter flame for a split second to melt and seal the fibers. For natural fibers like cotton or jute, a tiny dab of clear craft glue on the very tip of the cut edge will keep it secure.
- Forgetting to Test Your Ink: If you are stamping or writing directly on the paper bag, always perform a test on the bottom or inside flap of the bag first. Some paper bags have a slight waxy coating that causes ink to bead up or smudge, while highly absorbent kraft paper might cause the ink to bleed and lose its sharp lines. Testing ensures your custom designs remain crisp and legible.

Community discussion
Share your experience or ask a question. Comments are reviewed before publication.