
Transforming a standard ziplock bag into an elegant gift package is an excellent way to combine practical utility with creative presentation. By wrapping the plastic exterior in decorative paper and securing it with coordinated ribbons, you can elevate a simple household storage item into a beautiful, personalized gift container. This technique is particularly useful for packaging delicate, moisture-sensitive, or small items that require a secure seal but deserve a more sophisticated look than a plain plastic bag. With a few basic stationery tools and leftover wrapping materials, you can craft a professional-looking package that surprises and delights the recipient.
Essential Materials and Tools for the Project
Before starting, gather the necessary stationery and wrapping supplies to ensure a smooth crafting process. Select a bag with a thickness that matches the weight and shape of your gift; thicker freezer-grade bags offer more structural support. The size of the bag should comfortably accommodate the item without stretching or distorting the plastic, leaving enough flat surface area on the sides for the decorative paper wrap.
For the outer covering, look for wrapping paper scraps, kraft paper, or lightweight cardstock. Using leftover paper is an eco-friendly way to create beautiful packaging. Ensure the paper is thick enough to hide the contents of the bag if you want a surprise element, but flexible enough to fold cleanly around the edges. Pair your paper with coordinating ribbons, cotton twine, or jute string to add texture and visual interest to the final design.
Products mentioned in this guide
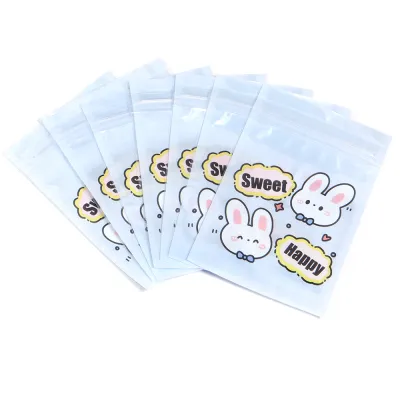
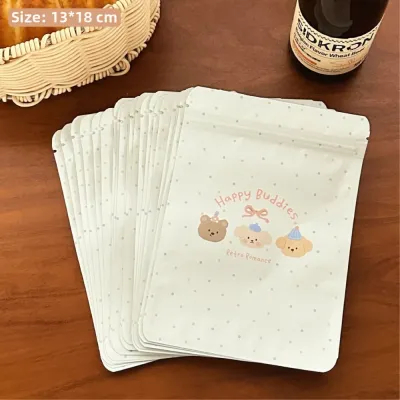
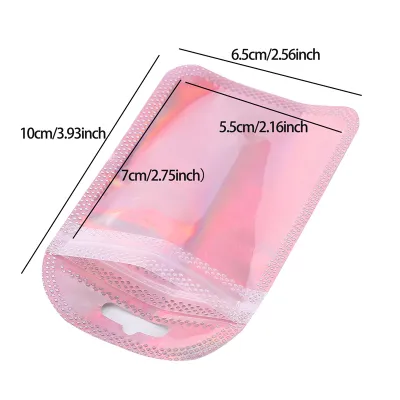
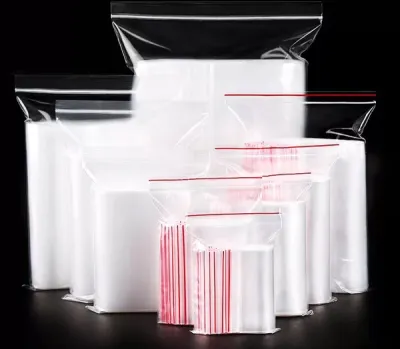
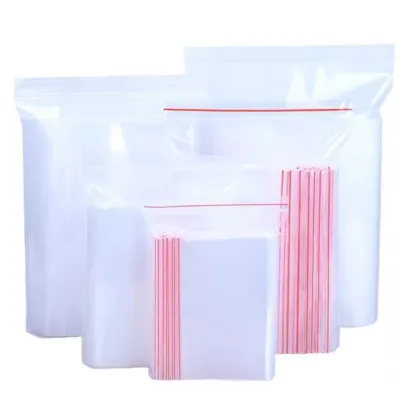
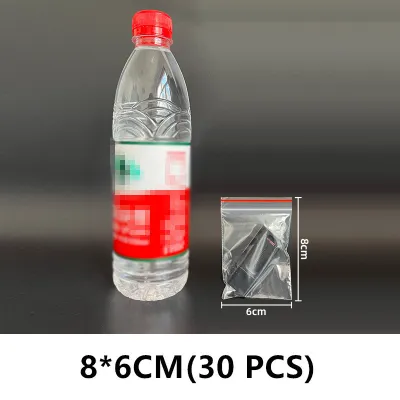
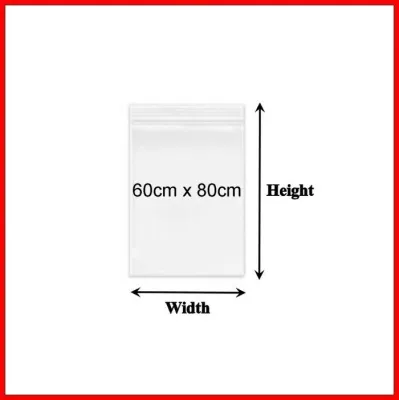
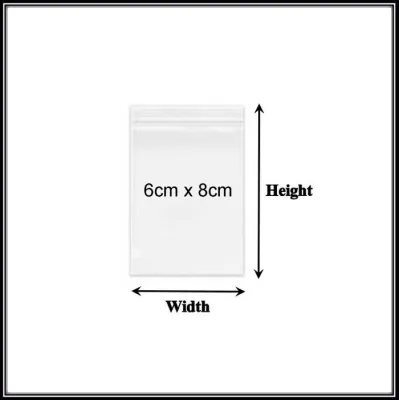
Prices are valid at publication and may change. Please refer to the product page for the latest price.
Adhesives are critical for achieving a clean, professional finish. Double-sided tape is the preferred choice for securing paper to plastic because it lies completely flat and prevents the wrinkling often caused by liquid school glues. Glue dots are also highly effective for attaching heavier embellishments like gift tags, dried flowers, or small ornaments. Avoid hot glue guns directly on the plastic, as the heat can melt or warp the ziplock bag.
Finally, prepare your cutting and measuring tools. A sharp pair of scissors, a metal ruler, and a craft knife will help you achieve straight, clean edges. A bone folder or the smooth edge of a plastic ruler can also be incredibly helpful for scoring and pressing down crisp folds in your wrapping paper.
Step-by-Step Guide to Wrapping the Ziplock Bag
Transforming your ziplock bag involves a simple, three-phase workflow designed to ensure a neat and secure finish. First, you will prepare and measure your materials to fit the specific dimensions of your bag. Next, you will attach the decorative paper sleeve to the plastic surface using clean adhesive techniques. Finally, you will add ribbons and personalized embellishments to complete the presentation.

Preparing the Bag and Wrapping Paper
Place your empty ziplock bag flat on your work surface and measure its width and height using a metal ruler. To create a paper sleeve that wraps around the bag, you will need to cut a piece of wrapping paper that matches the width of the bag but is slightly more than twice the height. This extra length allows the paper to wrap completely around the bottom and fold over the top or back, creating a seamless look.
Add an extra one to two centimeters to the length to allow for a clean overlap where the paper edges meet. Use your ruler and a pencil to mark these measurements on the back of your wrapping paper. Carefully cut along the lines using a craft knife and a straight edge, or a sharp pair of scissors, to ensure there are no jagged edges.
Once your paper is cut, pre-fold the borders to create crisp, professional-looking edges. Fold a small half-centimeter hem along the top and bottom edges of the paper strip, pressing the creases down firmly with a bone folder or your fingernail. Pre-folding these edges hides the raw, cut sides of the paper and prevents fraying, giving your finished gift package a highly polished appearance.
Attaching the Paper to the Bag
Next, secure the paper to the ziplock bag. Lay the paper strip face down and apply double-sided tape along the inner edges. Place a strip of tape along the top hem, the bottom hem, and down the center where the paper will anchor to the bag. Using double-sided tape ensures that the adhesive remains completely hidden and does not create unsightly wet spots or bumps.
Carefully align the bottom fold of the paper with the bottom edge of the ziplock bag. Press the paper down firmly, starting from the center and smoothing it outward toward the edges to prevent air bubbles or wrinkles from forming. Slowly wrap the paper up and around the front and back of the bag, pulling it taut but not so tight that it bends the plastic bag inside.
Secure the overlapping paper edges at the back or top of the bag using another strip of double-sided tape. If you are wrapping the sides of the bag as well, use standard gift-wrapping envelope folds to tuck the corners in neatly. Fold the side corners inward to form clean triangles, apply a small piece of double-sided tape to the tips, and press them flat against the body of the package.
Adding Ribbons and Embellishments
Once the paper sleeve is attached, you can begin decorating the package. Cut a length of ribbon or twine that is roughly three times the width of your package. Wrap the ribbon horizontally or vertically around the paper-covered portion of the bag, pulling it snug so it stays in place without pinching the paper. Tie a neat bow or a simple knot at the front or side of the package.
Slide a personalized gift tag onto the ribbon before tying the final knot. You can also tuck a small sprig of dried lavender, a piece of eucalyptus, or a paper flower under the ribbon for a touch of natural beauty. If you prefer a cleaner look, use glue dots to attach flat embellishments, such as custom stickers or decorative paper cutouts, directly onto the wrapping paper.
When adding these decorative elements, always ensure they do not interfere with the bag’s structural integrity or the functionality of the ziplock seal. Keep all heavy embellishments centered on the paper sleeve so the package remains balanced and does not tip over or tear. Avoid placing adhesives or ribbons directly over the zipper track if you want the recipient to be able to open and close the bag easily.
Design Ideas and Customization Tips
This wrapping technique allows you to customize the design for almost any occasion. By varying the textures, colors, and materials, you can create completely different aesthetics using the exact same structural method.
For a rustic style, use plain brown kraft paper as your main wrap. Pair it with natural jute twine or cotton baker’s twine, and attach a simple tag made from recycled cardstock. You can add a hand-stamped design or write a handwritten message in black ink to complete the organic, handcrafted look. This style works beautifully for homemade baked goods, artisanal soaps, or organic tea blends.
If you are preparing a gift for a festive occasion, such as a birthday or a holiday, opt for a vibrant, festive style. Choose high-quality patterned wrapping paper with metallic foil accents or bright geometric prints. Wrap the package with a wide, glossy satin ribbon in a coordinating color, and tie a large, classic bow. You can add a shiny metallic gift tag or a small glittery sticker to make the package feel celebratory and luxurious.
For a romantic or vintage style, look for unique paper alternatives like old newspaper sheets, pages from damaged vintage books, or sheet music. Wrap the bag in this textured paper and pair it with delicate lace trim or a soft velvet ribbon. To finish the vintage look, apply a faux wax seal sticker or a real wax seal directly onto the paper wrap, giving the package an antique, old-world charm.
Practical Considerations and Limitations
Keep several practical considerations in mind to ensure your gift arrives safely. First, be mindful of weight limits. Standard plastic bags are designed for lightweight items; placing heavy, dense, or sharp-edged objects inside can cause the plastic to stretch, puncture, or tear, which will ruin the outer paper wrapping.
A major advantage of using a ziplock bag is its moisture resistance. This makes it an ideal choice for items that need protection from the elements or products that might leak, such as homemade cookies, scented bath salts, or small wax melts. The airtight seal keeps food items fresh and prevents scented products from losing their fragrance before the gift is opened.
To maintain a flat and presentable exterior, fill the bag evenly before you seal it and apply the paper wrapping. If the contents are lumpy or unevenly distributed, they will create bumps under the paper, making it difficult to achieve a smooth finish. Gently shake the bag to settle the items, press out any excess air before sealing the zipper, and lay the bag flat on your table to ensure an even surface before you begin wrapping.
Frequently Asked Questions (FAQ)
Can I use a ziplock bag for liquid or messy gifts?
Ziplock bags are not recommended for holding pure liquids or highly messy gifts like syrups or oils. Standard household ziplock seals can burst under pressure, which could ruin the outer paper wrapping and create a significant mess. If you are gifting semi-liquid items like thick body scrubs or dense jams, ensure the item is first placed in a secure, leak-proof primary container, such as a small glass jar, before placing it inside the decorated ziplock bag as an extra layer of protection.
How do I ensure the gift looks professional and not cheap?
Making a ziplock bag gift look professional lies in precise execution and quality materials. Always use a sharp blade and a ruler to ensure your paper cuts are perfectly straight, and take the time to pre-fold your edges for a clean, hemmed look. Avoid using standard liquid glue, which causes paper to warp and wrinkle; instead, rely on high-quality double-sided tape that lies completely flat. Choosing thick, textured wrapping paper and high-quality fabric ribbons rather than cheap plastic curling ribbons will instantly elevate the perceived value of your package.
Is it better to seal the ziplock completely or leave it openable?
Whether to seal the bag completely or keep it openable depends on the gift type and how the recipient will use it. If you are packaging items that the recipient might want to access gradually, such as a collection of tea bags, craft supplies, or small candies, keep the ziplock functional by wrapping the paper sleeve only around the lower body of the bag, leaving the zipper track exposed. If the gift is a one-time opening experience, you can wrap the paper completely over the top seal, or even cut off the zipper track entirely to create a traditional, fully sealed paper package that the recipient tears open.

Community discussion
Share your experience or ask a question. Comments are reviewed before publication.