
Transforming a plain paper bag into a premium gift bag is an excellent way to elevate your presentation while practicing sustainable, creative crafting. With a few thoughtful structural adjustments and high-quality stationery accents, a basic utility item can rival the packaging of high-end luxury boutiques. The secret lies in reinforcing the bag’s natural shape, upgrading the standard handles, and applying clean, intentional surface decorations that reflect the recipient’s taste.
By focusing on tactile materials like heavy-weight ribbons, custom ink stamps, and structured inserts, you can turn an ordinary kraft or white paper bag into a memorable part of the gifting experience. This approach not only saves resources but also allows you to customize the size, strength, and aesthetic of your packaging to perfectly match any occasion.
Materials and Tools You Will Need
Before beginning your project, gathering the right materials ensures a smooth workflow and a polished final product. The foundation of your project is the base bag itself. Select a bag made from thick, high-density paper—ideally 120 GSM (grams per square meter) or higher. Heavy-weight paper resists creasing, holds its shape when loaded, and accepts adhesives without warping or bubbling.
Products mentioned in this guide
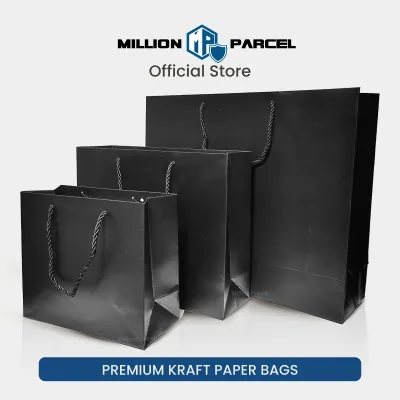
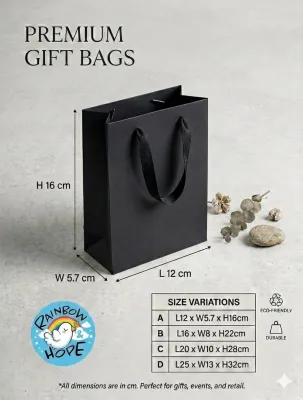

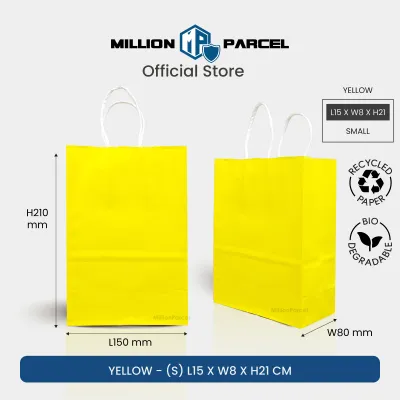
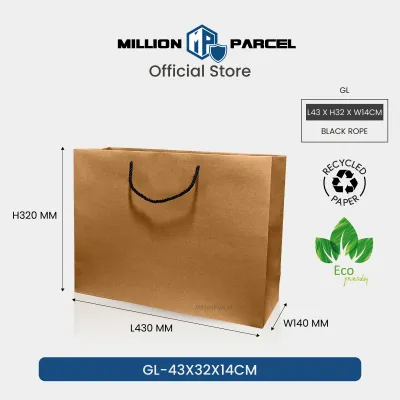
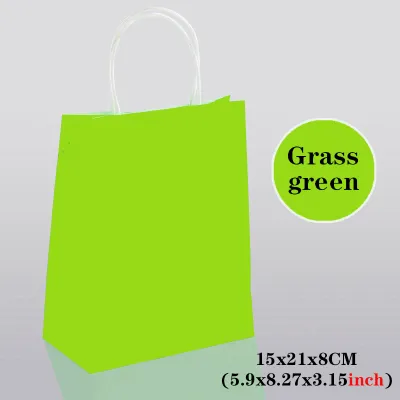
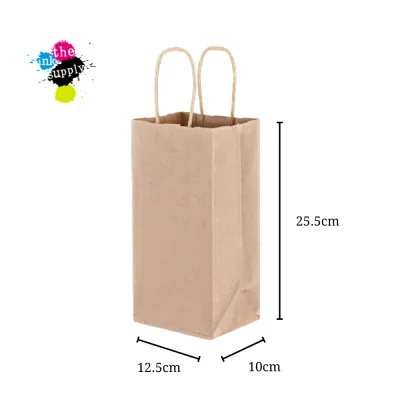
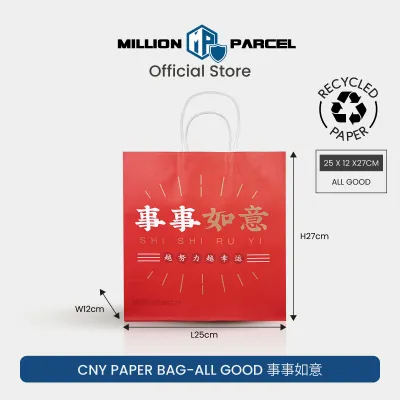
Prices are valid at publication and may change. Please refer to the product page for the latest price.
For cutting and assembly, you will need a pair of sharp paper scissors, a metal ruler, and a precision craft knife. When working with sharp blades, always use a self-healing cutting mat to protect your tabletop and maintain control over your cuts. Keep your fingers well clear of the blade’s path, and work in a well-lit, stable workspace.
Adhesives play a critical role in achieving a clean finish. Double-sided craft tape, adhesive rollers, and glue dots are highly recommended because they provide strong, instant adhesion without introducing moisture to the paper. If you must use liquid glue, opt for a quick-drying bookbinding glue or PVA, and keep a fine-bristle brush on hand to apply it in thin, even layers.
To elevate the visual appeal, select premium decorative elements. Double-faced satin, grosgrain, or cotton herringbone ribbons make excellent handle replacements. For surface designs, gather custom rubber stamps, high-quality ink pads, wax seal kits, or dried botanicals like lavender sprigs and eucalyptus leaves.
Step-by-Step Guide to Upgrading Your Paper Bag
Elevating a standard paper bag requires a systematic approach that addresses both structural integrity and visual design. By reinforcing the weak points of the bag first, you create a sturdy canvas that can support elegant handles and delicate surface embellishments without sagging or tearing.

Reinforcing and Shaping the Bag
A premium gift bag must stand upright with crisp, clean lines. Start by folding the top raw edge of the bag inward by about two to three centimeters. Use a bone folder or the edge of a plastic ruler to press this fold into a sharp, permanent crease. This double-layer collar hides the raw paper edge and provides a reinforced anchor point for your new handles.
Next, address the bottom of the bag, which is often the most vulnerable area. Measure the interior base dimensions precisely, then cut a piece of rigid chipboard or heavy cardstock to match. Slide this insert flat into the bottom of the bag. This simple addition distributes the weight of your gift evenly, preventing the unsightly sagging common in cheap paper packaging.
Before proceeding to decoration, perform a quick structural check. Place an object of similar weight to your actual gift inside the bag and lift it gently. Observe how the sides and bottom behave; if you notice any buckling, you can slide thin cardstock panels inside the front and back walls to add extra rigidity.
Adding Premium Handles and Accents
Standard paper bags usually come with flimsy twisted paper or thin cord handles. Replacing these with luxurious textiles instantly changes the look and feel of the packaging. Carefully snip away the existing handles from the inside of the bag, taking care not to tear the surrounding paper.
To install your new handles, mark two evenly spaced points on the front and back collar of the bag. Use a heavy-duty hole punch to pierce the double-layered paper at these marks. To prevent the paper from tearing under the weight of the gift, install metal eyelets or grommets into the holes using an eyelet setting tool. This small metal detail adds a highly professional, retail-grade finish.
Thread your chosen ribbon or leather cord through the eyelets from the outside in. Tie a secure knot on the inside of the bag to hold the handle in place. Ensure the handle length is balanced; for a medium-sized bag, a handle drop of twelve to fifteen centimeters is comfortable to hold and visually proportionate.
Applying Surface Decorations and Finishes
With the structure secured, you can now focus on the exterior design. If you are using custom rubber stamps, test your ink on a scrap piece of the same bag material first. Uncoated kraft paper absorbs ink quickly but can cause fine lines to feather, while coated or semi-gloss paper requires pigment-based ink and extra drying time to prevent smudging.
Inside the bag, the unboxing experience can be elevated using acid-free tissue paper. Instead of stuffing it in randomly, fold the tissue paper gently using an accordion fold or a classic center-pinch technique. Layer the sheets so they cradle the gift securely while peeking out from the top of the bag in soft, clean folds.
To secure the top of the bag, consider a sophisticated closure method. You can punch a single hole through the center of the top collar and thread a short piece of twine or ribbon through it, securing it with a wax seal. Alternatively, wrap a wide band of contrasting patterned paper around the middle of the bag to act as an elegant belly band.
Design Ideas for Different Gift Occasions
Tailoring the design of your upgraded paper bag to the specific event shows a high level of care and attention to detail. By adjusting your color palette and decorative materials, you can create a presentation that perfectly matches the mood of any celebration.
For formal events like weddings, anniversaries, or corporate gatherings, a minimalist and elegant approach works best. Start with a matte black or crisp white paper bag. Pair it with wide, double-faced black satin ribbon handles and a single, clean metallic wax seal in gold or bronze. Keep the surface free of busy patterns, opting instead for a single line of neat calligraphy or a subtle, blind-embossed monogram.
For birthdays and festive holidays, embrace vibrant colors and playful textures. Use a neutral kraft bag as your base, then wrap a bright, patterned paper band around the center. Pair this with a contrasting grosgrain ribbon in a bold hue like emerald green or crimson. You can also use a custom stamp to create an all-over geometric pattern across the surface of the bag before assembly.
If you prefer a rustic, eco-friendly aesthetic, lean into natural textures and organic elements. Use a standard brown kraft paper bag paired with natural jute twine or cotton herringbone handles. Secure a small bundle of dried botanicals, such as a sprig of rosemary or a dried orange slice, to the front of the bag using a simple wooden peg or a neat twine bow. This tactile style feels warm, personal, and highly crafted.
Common Mistakes to Avoid When Decorating Paper Bags
While decorating paper bags is a highly accessible craft, a few common missteps can compromise the structural integrity or cheapen the overall look of your creation. Being aware of these pitfalls helps ensure your gift arrives safely and looks impeccably polished.
One of the most frequent errors is overloading the bag beyond its physical capacity. Even with a reinforced cardboard base and metal eyelets, lightweight paper has its limits. Avoid using thin-gauge paper bags for exceptionally heavy or sharp-edged items like large glass jars or heavy hardcover books, as the paper fibers can shear under sudden movement.
Another common mistake is using the wrong type of adhesive. Liquid school glues and heavy hot glue guns introduce excess moisture and heat, which can warp, wrinkle, or shrink paper surfaces. These glues can also seep through thin paper, leaving permanent, dark grease-like stains on the exterior. Always favor dry adhesives like double-sided tape or adhesive rollers for flat surface laminations.
Finally, guard against visual clutter. It can be tempting to use every decorative tool in your arsenal, but combining stamps, ribbons, glitter, wax seals, and dried flowers on a single small bag often results in a chaotic design. Choose a clear theme, limit your color palette to two or three coordinating tones, and allow plenty of empty space to let your premium accents stand out.
Frequently Asked Questions (FAQ)
Can I use a decorated paper bag for heavy items like books or bottles?
Yes, provided you reinforce the bag properly. Before adding heavy items, verify that the base bag is made of thick paper (at least 120 GSM). You must insert a rigid piece of corrugated cardboard or thick chipboard into the bottom to distribute the weight. Additionally, replace standard handles with strong ribbon or cord, and always reinforce the handle holes with metal eyelets to prevent the paper from tearing under tension.
How do I prevent the paper bag from wrinkling when using glue?
To prevent wrinkling, avoid liquid craft glues that contain high water content. Instead, use dry adhesives such as double-sided craft tape, adhesive rollers, or glue dots, which provide instant hold without moisture. If you must use liquid glue for a specific element, apply a very thin layer using a foam brush, press the paper flat immediately, and place a heavy, flat object like a book over the area while it cures.

Community discussion
Share your experience or ask a question. Comments are reviewed before publication.