
Transforming a plain paper bag into a beautiful, custom gift presentation is an excellent way to upcycle materials while adding a deeply personal touch to your gifts. By combining leftover wrapping paper scraps and spare ribbons, you can craft bespoke packaging that rivals premium boutique wrapping services. This approach not only saves resources but also allows you to tailor the colors, textures, and themes perfectly to the recipient. Whether you are preparing a gift for a formal corporate event or a playful birthday celebration, mastering a few simple paper-crafting and ribbon-tying techniques will elevate your presentation from basic to extraordinary.
Gathering the Right Materials and Tools for Paper Bag Decoration
Selecting the appropriate base materials and tools is the foundation of a polished, durable gift bag. The interaction between your paper bag, decorative scraps, adhesives, and ribbons determines how well the final design holds up during transport and handling.
Selecting and Preparing Your Paper Bags
Plain paper bags serve as your canvas, and their material properties dictate your design choices. Brown kraft paper bags, typically ranging from 100 to 120 gsm (grams per square meter), offer a rustic, textured surface that pairs beautifully with rich jewel tones, metallic accents, and natural twine. White kraft bags provide a high-contrast, neutral background that makes vibrant, multi-colored wrapping paper scraps pop. When selecting a bag, verify its thickness and surface texture; highly textured or ribbed papers require stronger adhesives, while thin, low-gsm colored bags may warp or show adhesive wet spots if liquid glues are applied.
Products mentioned in this guide
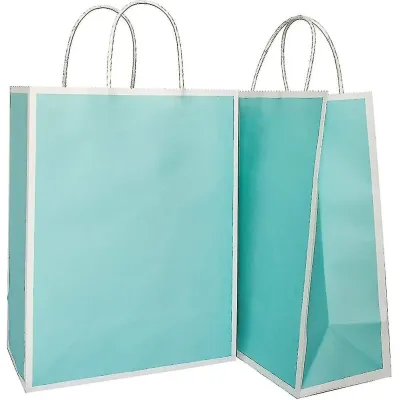
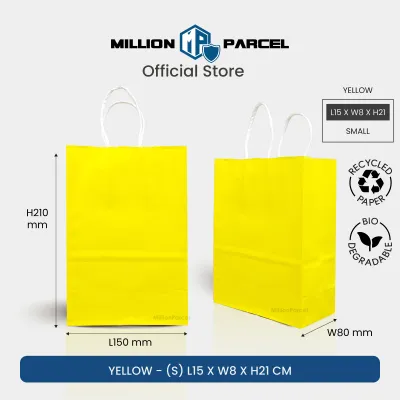

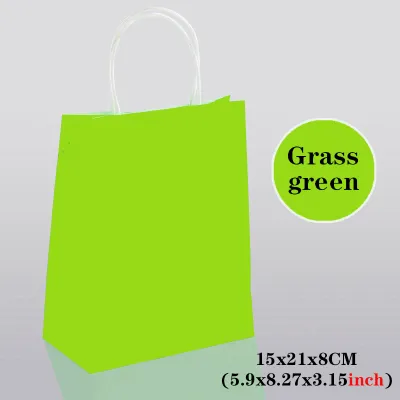
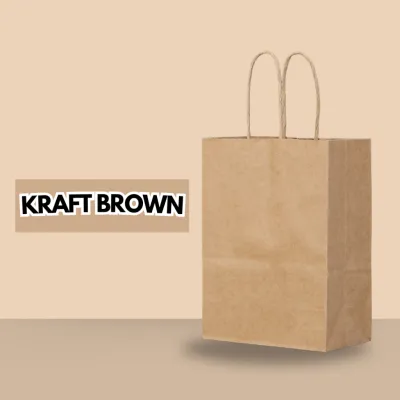
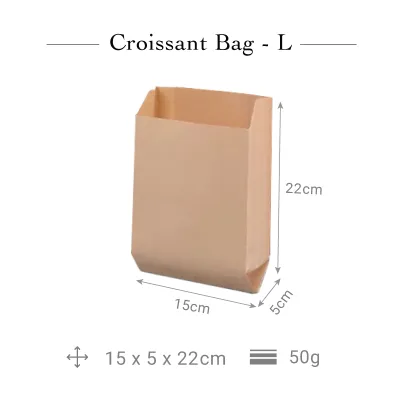
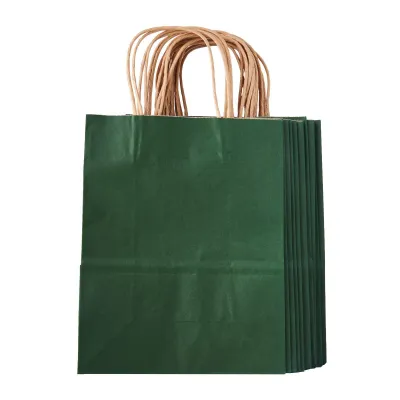
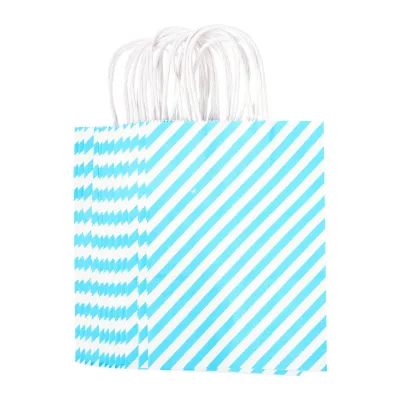
Prices are valid at publication and may change. Please refer to the product page for the latest price.
Sorting and Flattening Wrapping Paper Scraps
Before starting, sort your wrapping paper remnants by weight, pattern scale, and color palette. Lightweight papers (around 60 to 80 gsm) are highly flexible and easy to fold, but they are prone to wrinkling when exposed to moisture. Heavyweight, foil-stamped, or embossed wraps (100 gsm or more) provide excellent structure but require high-tack adhesives to prevent their edges from lifting. If your scraps are creased or wrinkled from previous use, lay them face-down on a clean, flat surface. Cover them with a thin, dry cotton press cloth and gently run a household iron on its lowest, non-steam setting over the cloth to flatten the paper completely.
Choosing the Right Ribbons for Tying and Gluing
Ribbons add movement, texture, and structural elegance to your paper bag. Satin ribbons feature a high-gloss, smooth finish that is ideal for elegant, formal presentations, though their slippery texture requires tight, secure knots. Grosgrain ribbons have a distinct ribbed texture that provides excellent grip, making them highly reliable for holding structured, voluminous bows. Delicate organza ribbons introduce a sheer, lightweight layer of color, while paper or curling ribbons are excellent for casual, festive designs. For elements that need to be glued flat against the bag, lightweight satin or grosgrain ribbons work best, whereas stiffer ribbons are preferred for freestanding bows.
Essential Adhesives and Precision Tools
Using the correct adhesive prevents unsightly warping, bubbling, and bleeding. For paper-to-paper application, high-quality double-sided tape or dry glue dots are superior to liquid school glues, as they provide an instant, moisture-free bond. If you must use liquid craft glue, select a quick-drying, acid-free formula and apply it sparingly with a small foam brush to ensure even distribution. For tools, gather a pair of ultra-sharp craft scissors to prevent frayed ribbon edges, a metal-edged ruler for precise measuring, a pencil, and a bone folder to create crisp, professional creases on your paper scraps.
Step-by-Step Techniques for Applying Wrapping Paper Scraps
Applying wrapping paper scraps to a flat paper bag requires precision to ensure the final presentation looks intentional and neat. By structuring your layout and using dry adhesive techniques, you can create seamless, eye-catching paper designs.

Creating Patchwork and Collage Designs
A patchwork design allows you to combine multiple small remnants into a cohesive, geometric pattern. This technique works exceptionally well for covering large areas of a plain paper bag.
First, select three to four coordinating wrapping paper patterns that share a common accent color. Using your metal ruler and a pencil, mark precise geometric shapes—such as 5 cm squares, equilateral triangles, or uniform vertical strips—on the back of your scraps. Cut these shapes out carefully using sharp craft scissors or a utility knife on a self-healing cutting mat.
Next, lay your paper bag completely flat on your work surface. Arrange the cut paper pieces across the bag’s face without any adhesive to plan your layout. Strive for visual balance by placing busy patterns next to simpler geometric prints or solid colors, ensuring that no single pattern dominates one side of the bag.
Once you are satisfied with the arrangement, flip the first paper scrap face-down. Apply thin strips of double-sided craft tape along all four outer edges, keeping the tape approximately 1 mm away from the edge to prevent adhesive from squeezing out. Carefully position the piece back onto the bag and press firmly, smoothing from the center outward to eliminate any trapped air bubbles. Repeat this process for each piece until your collage is complete.
Making Custom Labels, Tags, and Accents
Smaller, irregular scraps that cannot be used for larger panels are perfect for crafting custom focal points, such as hanging gift tags, decorative banners, or layered 3D accents.
To create a custom tag, trace a classic luggage tag shape, a star, or a heart onto the back of a patterned scrap. Alternatively, use a heavy-duty craft punch to cut clean shapes instantly. Because wrapping paper is often too thin to hang neatly on its own, adhere the cut scrap onto a piece of rigid cardstock using double-sided tape.
Once adhered, use your scissors to cut around the shape, leaving a consistent 2 mm to 3 mm border of the cardstock visible. This creates a beautifully framed, professional border that makes the pattern stand out. If you want a 3D effect, apply foam adhesive dots to the back of the cardstock before mounting it directly to the front of the paper bag.
Finally, use a single-hole punch to create a clean opening at the top of your custom tag. Thread a thin piece of ribbon, baker’s twine, or metallic cord through the hole, and tie it securely to the base of the paper bag’s handle, allowing the tag to drape elegantly over the front of the bag.
Mastering Ribbon Tying and Attachment Methods
Ribbons serve both functional and decorative purposes on a paper bag. Learning how to secure them properly ensures that your bows remain intact and your bag maintains its structural integrity under the weight of a gift.
Tying Classic Bows and Knots on Bag Handles
Decorating the handles of your paper bag is a quick way to add a touch of luxury. A well-tied bow should sit flat against the bag and remain secure without slipping.
To tie a classic, symmetrical bow, cut a length of ribbon approximately 30 to 40 cm long. Loop the ribbon around the base of one of the paper bag’s handles. Cross the right tail over the left tail, tuck it under, and pull it tight to create a firm, flat starting knot at the anchor point.
Next, form a neat loop with the left strand of the ribbon. Wrap the right strand around the base of this loop, then push it through the resulting center opening to create a second loop. Pull both loops gently while holding the center knot secure. Adjust the size of the loops and the length of the tails until they are perfectly symmetrical and proportioned to the bag.
If you are using synthetic curling ribbons, hold the ribbon tail firmly and slide the blade of your scissors along the underside of the ribbon in a swift, upward motion. This tension causes the ribbon to curl into tight spirals. Always test this technique on a scrap piece first to gauge the correct pressure, as pulling too hard can snap the ribbon.
Wrapping and Securing Ribbons Around the Bag Body
Wrapping ribbon around the body of the paper bag mimics the look of a traditional wrapped gift box and adds excellent structural support.
To execute a classic cross-wrap, lay a long piece of ribbon horizontally across the front of the bag, wrap it around the back, and bring the ends back to the front, crossing them vertically. Pull the ribbon snug, ensuring it is taut but not so tight that it compresses or warps the sides of the paper bag.
For taller or wider bags, a diagonal wrap offers a modern, dynamic look. Angle the ribbon across the bottom-left corner of the bag, wrap it around the back, and bring it up to the top-right corner. Secure the ribbon on the back of the bag using a small piece of high-tack double-sided tape hidden entirely beneath the ribbon band.
When joining ribbon ends, avoid tying bulky knots that disrupt the flat surface of the bag. Instead, overlap the ribbon ends flatly on the front of the bag where your main decorative element will sit. Secure the overlap with a strong glue dot, then adhere your pre-tied bow or custom paper tag directly over the seam to conceal the connection seamlessly.
Combining Scraps and Ribbons for Polished Gift Presentations
To achieve a truly professional finish, your wrapping paper scraps and ribbons should work together to tell a cohesive design story. Tailoring these combinations to specific gifting scenarios ensures your presentation matches the occasion.
Minimalist and Elegant Designs
Sophisticated, understated designs are ideal for corporate gifts, formal events, or adult recipients. The key to this aesthetic is restraint, high-quality textures, and a limited color palette.
Start with a classic brown or white kraft paper bag. Cut a single, wide band of a solid-colored or subtly textured wrapping paper scrap—such as a matte charcoal, cream, or soft metallic gold—and wrap it horizontally around the lower third of the bag. This acts as a clean, modern belly band.
Accent this band with a thin, high-quality satin ribbon in a coordinating tone, such as olive green, navy, or champagne. Instead of a large, voluminous bow, tie a simple, neat overhand knot, allowing the long, cleanly cut tails of the ribbon to drape elegantly down the front of the bag.
Ensure you leave at least 60% of the paper bag’s surface undecorated. This generous use of negative space emphasizes the clean lines of your design, highlights the premium textures of the materials, and conveys an upscale, curated aesthetic.
Festive and Playful Arrangements
For birthdays, holidays, and children’s gifts, you can embrace vibrant colors, mixed patterns, and playful textures to create an exciting, tactile presentation.
Combine two contrasting wrapping paper patterns, such as a bold polka-dot print and a classic stripe, ensuring they share at least one common accent color to maintain visual harmony. Apply these scraps in overlapping diagonal bands across the lower half of the bag to create a sense of movement.
To add physical texture, pleat your ribbon before securing it to the bag. Apply a strip of double-sided tape along the edge of your paper scraps, then press a solid-colored grosgrain ribbon onto the tape, folding the ribbon back on itself every 2 cm to create a beautiful ruffled or pleated border.
You can also incorporate an interactive element by fashioning a scrap-paper pocket on the front of the bag. Cut a rectangular scrap, fold the bottom and side edges inward by 5 mm to create tabs, apply double-sided tape to these tabs, and press the pocket firmly onto the bag. Slide a small handwritten note, a custom gift tag, or a sprig of fresh herbs inside the pocket for a delightful surprise.
Final Checks and Protecting Your Decorated Paper Bags
Before placing a gift inside your newly decorated paper bag, take a few moments to verify its structural integrity and protect your handiwork from environmental factors.
Adhesive and Structural Verification
Gently run your fingers along the edges of all applied wrapping paper scraps and ribbon bands. Press down firmly on any corners or edges that show signs of lifting, applying an extra touch of double-sided tape or a tiny glue dot if necessary. Pay close attention to the areas near the bag’s handles, as the physical tension of carrying the bag can cause poorly adhered decorations to peel away.
Snag Prevention and Edge Finishing
Examine your ribbon ends for any loose threads or fraying fibers, trimming them cleanly with sharp scissors. Ensure that any sharp cardstock corners or paper edges are smoothed down or tucked neatly under ribbon bands. This prevents the decorated elements from catching on the recipient’s clothing or getting damaged during transit.
Climate and Moisture Protection
Singapore’s tropical climate features high relative humidity, which can soften water-based adhesives and cause paper fibers to sag or warp over time. To protect your decorated bags, always work in an air-conditioned environment to help adhesives dry and cure properly. For valuable or highly detailed presentations, consider applying a light, even mist of an archival clear protective matte sealant spray. Always perform this step in a well-ventilated outdoor area, and test the spray on a scrap piece of paper first to ensure it does not discolor the ink or dissolve your adhesive. When transporting your decorated bag outdoors, place it inside a larger, reusable waterproof tote bag to shield it from sudden tropical downpours.
Proper Storage Guidelines
If you are preparing your decorated paper bags in advance, store them flat in a cool, dry drawer away from direct sunlight, which can fade vibrant paper inks. If your bag features dimensional elements—such as 3D bows, pleated ribbons, or delicate paper pockets—lightly stuff the interior of the bag with clean, acid-free tissue paper. This helps the bag maintain its shape and prevents your custom decorations from being crushed or creased before the gifting event.
Frequently Asked Questions (FAQ)
How do I prevent cut ribbon ends from fraying?
To prevent woven ribbons like grosgrain or satin from fraying, apply a tiny drop of clear nail polish or specialized fabric sealant along the cut edge. For synthetic ribbons made of polyester or nylon, you can carefully pass the cut edge near a small flame (such as a lighter or match) for a fraction of a second to melt and seal the fibers. Always perform a safety test on a scrap piece of ribbon first, work in a well-ventilated area away from flammable materials, and keep water nearby. Alternatively, cut your ribbon ends at a sharp 45-degree angle or in an inverted ‘V’ shape using very sharp fabric shears, which naturally minimizes visible fraying without the need for heat or sealants.
Can I reuse decorated paper bags for future gifts?
Yes, decorated paper bags can easily be reused with thoughtful planning. If you use low-tack double-sided tape or removable glue dots, the recipient can gently peel off the decorations without tearing the base paper bag. You can also design the bag with a removable central tag or a slip-in scrap pocket rather than gluing elements directly to the bag body, allowing the base bag to be repurposed for a different occasion. Advise the recipient to gently untie ribbons from the handles rather than cutting them, preserving both the ribbon and the paper handles for future use.
Community discussion
Share your experience or ask a question. Comments are reviewed before publication.