
Transforming a plain non-woven bag into a beautiful, personalized gift bag is an eco-friendly, creative, and cost-effective way to present gifts. Non-woven polypropylene bags are durable, reusable, and provide an excellent canvas for paints, markers, ribbons, and fabric embellishments. By selecting the right adhesives and techniques, you can easily craft a custom package that elevates any gift.
This guide provides step-by-step instructions on how to prepare, decorate, and finish a plain non-woven bag. Whether you are preparing for a birthday, a festive holiday, or a corporate event, these practical customization methods will help you achieve a polished, professional look using common crafting supplies.
Preparing Your Non-Woven Bag and Crafting Supplies
Selecting the right base bag is the first step toward a successful decorating project. Non-woven bags are typically made from spunbond polypropylene, a lightweight yet strong synthetic material. When choosing a bag, check its weight capacity and material thickness, which is often measured in grams per square meter (GSM). A bag with a higher GSM (such as 80 GSM or above) offers a sturdier structure that can support heavier embellishments without sagging or tearing.
Products mentioned in this guide
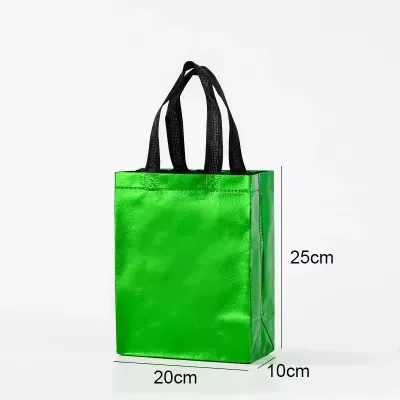
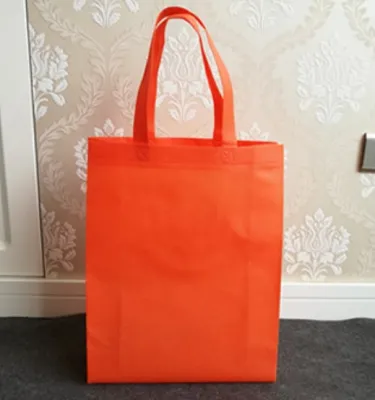
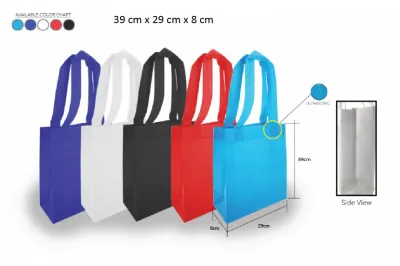
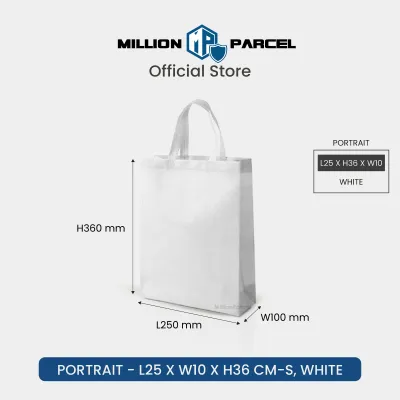
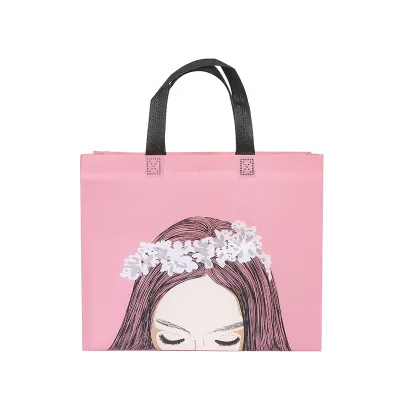
Prices are valid at publication and may change. Please refer to the product page for the latest price.
Examine the surface texture of the bag before planning your design. Some non-woven bags have a distinct cross-hatched texture, while others are relatively smooth. Textured surfaces require thicker paint applications and stronger adhesives to ensure complete coverage and a secure bond, whereas smoother surfaces are ideal for detailed drawing and fine-line lettering.
Gathering compatible decorating materials is essential to prevent damage to the bag’s synthetic fibers. Opt for flexible acrylic paints, fabric markers, and low-temperature adhesives. Avoid high-temperature hot glue guns, as the intense heat can easily melt or warp the polypropylene material, ruining both the bag and your design.
Before you begin crafting, prepare a clean, flat workspace to protect your surfaces from accidental spills. Lay down a protective layer of newspaper, butcher paper, or a silicone craft mat. Always insert a thick piece of cardstock or cardboard inside the bag before decorating; this simple step prevents paint, ink, or glue from bleeding through to the opposite side of the bag.
Step-by-Step Techniques for Decorating the Bag
Before applying any decorative elements, assess the thickness of your bag to determine which techniques are most suitable. Thinner bags require a delicate touch, lighter embellishments, and minimal moisture to prevent warping. Sturdier bags can handle heavier layers of paint, dense fabric attachments, and more complex layering techniques.

Organizing your tools and materials in the order of application will help you maintain a smooth, efficient workflow. Start with background coloring and large stenciled designs, allow them to dry, and then proceed to fine-line detailing, lettering, and physical embellishments.
Painting and Stenciling Designs
To apply vibrant colors and patterns to a non-woven bag, choose fabric-safe acrylics or multi-surface acrylic paints. These paints contain flexible binders that allow the dried design to bend and flex along with the bag’s movement, preventing the paint from cracking or peeling over time.
Using stencils and masking tape is an excellent way to achieve clean, professional edges on a textured surface. Secure your stencil to the bag using low-tack painter’s tape to avoid pulling or fraying the non-woven fibers when removing it. Use a dense foam sponge or a stencil brush to apply the paint, using a gentle dabbing motion rather than a sweeping brush stroke to prevent paint from seeping under the stencil.
Apply the paint in thin, even layers rather than one thick coat. Allowing adequate drying time—typically 20 to 30 minutes depending on local humidity—between layers ensures a solid, vibrant finish without smudging. Once the final layer is dry to the touch, carefully peel away the stencil and tape to reveal your design.
Adding Embellishments and Textures
Physical decorations like ribbons, lace, buttons, beads, or paper cutouts add a delightful tactile dimension to your gift bag. To attach these items securely, use a low-temperature hot glue gun or a specialized high-tack craft glue. These adhesives provide a strong bond on synthetic fibers without causing the bag material to warp or melt.
When planning your embellishments, avoid excessively heavy items that might compromise the bag’s structural integrity. Heavy wooden shapes, thick metal charms, or large glass beads can pull on the fabric, causing the bag to sag or the handles to stretch out of shape. Stick to lightweight materials like felt, fabric flowers, sequins, and lightweight plastic or wooden buttons.
If you want to attach a slightly heavier decoration, reinforce the attachment point from the inside of the bag. Glue a small patch of stiff felt or thick cardstock directly behind the embellishment on the interior wall of the bag. This simple reinforcement distributes the weight across a larger surface area, preventing the non-woven material from tearing.
Personalizing with Markers and Transfers
For custom text, names, or intricate hand-drawn illustrations, select permanent markers, paint pens, or fabric markers. Before writing on the front of the bag, test your markers on a small, inconspicuous area, such as the inside bottom flap, to ensure the ink does not bleed or feather along the synthetic fibers.
If you plan to use heat-transfer vinyl (HTV) or iron-on transfers, exercise extreme caution. Because non-woven polypropylene has a low melting point, standard iron temperatures can easily destroy the bag. If you choose to use heat transfers, set your iron or heat press to a low setting, place a protective sheet of parchment paper or a thin cotton cloth over the design, and apply light pressure for only a few seconds at a time. Alternatively, use self-adhesive vinyl or rub-on transfers, which require no heat at all.
To ensure your lettering is straight and centered, use a light pencil to sketch guidelines on the bag before inking. Once your permanent marker or paint pen design is completely dry, gently erase any visible pencil marks using a soft vinyl eraser, taking care not to scrub too hard against the textured fabric.
Finishing Touches and Gift Presentation
To elevate the overall gifting experience, pay close attention to how you present the interior of the bag. Line the inside with coordinating tissue paper, shredded paper filler, or a custom-cut cardstock base insert. Placing a piece of stiff cardstock at the bottom of the bag helps it maintain its shape, stand upright, and distribute the weight of the gift evenly.
Enhance the exterior presentation by adding coordinating handles, gift tags, or closure ribbons. You can wrap the existing handles in satin ribbon, tie a decorative bow at the base of one handle, or attach a personalized, handwritten gift tag. For a secure closure, use a hole punch to make two small holes near the top rim of the bag, thread a ribbon through, and tie it into a neat bow.
Before placing your gift inside, perform a final inspection of the decorated bag. Check for any loose embellishments, stray glue strings, or damp paint patches. Ensure all adhesives have fully cured—typically 24 hours for specialized fabric glues—to prevent the gift wrapping or the gift itself from accidentally sticking to the interior or exterior of the bag.
Care and Maintenance of Decorated Non-Woven Bags
To ensure the recipient can reuse your beautifully customized bag, share a few simple care tips with them. Advise them to spot-clean the bag using a damp, soft cloth and mild soap if it becomes dirty. Avoid scrubbing the painted or glued areas directly, as excessive friction and moisture can loosen the adhesive bonds or damage the acrylic paint.
Store the decorated bag flat or lightly stuffed with clean tissue paper in a cool, dry place away from direct sunlight. Prolonged exposure to direct sunlight can cause the vibrant paint colors to fade and can weaken the polypropylene fibers over time, making the bag brittle.
Regularly inspect the bag for signs of structural wear, especially if it is being reused frequently. Look for fraying handles, splitting side seams, or peeling embellishments. If the structural integrity of the bag is compromised, it should be retired from carrying heavy items, though it can still be kept as a cherished keepsake.
Frequently Asked Questions (FAQ)
Can I wash a decorated non-woven bag in a washing machine?
No, you should not wash a decorated non-woven bag in a washing machine. The mechanical agitation, warm water, and harsh laundry detergents will break down the non-woven polypropylene fibers, causing the bag to lose its shape, pill, or tear. Furthermore, machine washing will dissolve craft glues and cause painted designs to peel or crack. Instead, stick to gentle spot cleaning with a damp cloth and allow the bag to air dry completely.
What is the best adhesive for attaching heavy items to a non-woven bag?
The most reliable adhesive for attaching decorations to a non-woven bag is a low-temperature hot glue or a flexible, high-tack fabric glue. Low-temperature hot glue provides an almost instant, strong bond that adheres well to the textured surface of polypropylene without melting the material. For slightly heavier items, always test the adhesive on a hidden scrap piece first, and reinforce the inside of the bag with a patch of cardstock or felt to distribute the weight safely.

Community discussion
Share your experience or ask a question. Comments are reviewed before publication.