
A plain paper gift bag is a blank canvas. Whether it is a simple brown kraft bag or a basic matte white shopper, these affordable carriers can easily be elevated into bespoke, high-end packaging. By utilizing leftover wrapping paper scraps and coordinating ribbons, you can design a personalized presentation that rivals luxury boutique packaging. This approach is highly cost-effective—allowing you to transform a basic bag costing under S$1.00 into a stunning custom creation—while representing a thoughtful, sustainable way to reuse beautiful paper offcuts.
To successfully transform a plain gift bag, you must understand how different materials interact. The weight of your wrapping paper, the texture of your ribbon, and the specific adhesive you select all play crucial roles in the durability and final aesthetic of the bag. A mismatch of materials can lead to unsightly paper warping, peeling edges, or handle failure under the weight of a gift. By mastering a few fundamental paper-crafting and ribbon-styling techniques, you can ensure your handmade gift bag looks flawlessly professional and remains structurally sound.
Materials and Tools You Will Need
Before starting your project, gather the appropriate materials and tools to ensure a smooth crafting process. The foundation is the plain paper gift bag itself. These bags are typically made from kraft paper or cardstock, with weights ranging from lightweight 120 gsm paper to sturdier 200 gsm cardstock. The thickness of the bag determines how much weight it can carry and what types of decorations it can support without sagging. For the decorative layers, collect wrapping paper scraps or full sheets in coordinating colors and patterns. High-quality matte, gloss, or textured handmade papers all offer distinct visual and tactile finishes. You will also need a selection of ribbons, such as double-sided polyester satin, textured grosgrain, sheer organza, or plush velvet, in widths ranging from 15mm to 38mm.
Products mentioned in this guide
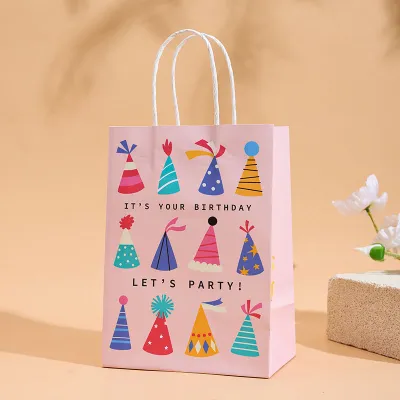
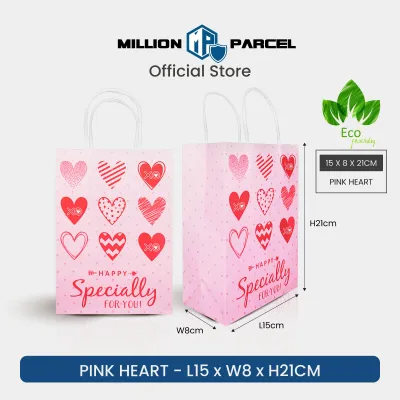


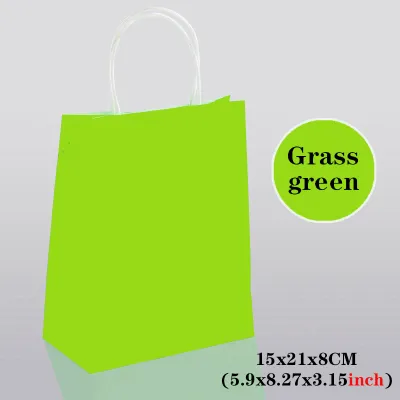

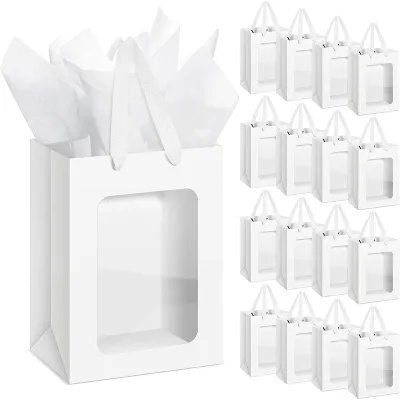
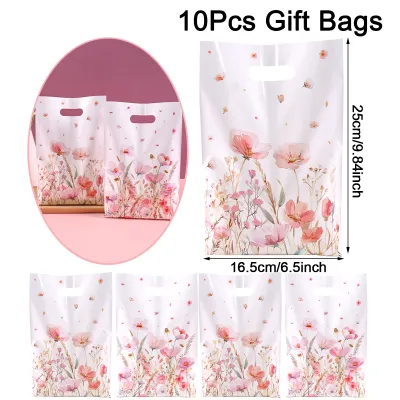
Prices are valid at publication and may change. Please refer to the product page for the latest price.
The choice of adhesive is critical to preventing paper warping and ensuring a long-lasting bond. For flat paper-on-paper applications, a high-quality, acid-free glue stick with low moisture content is ideal because it minimizes paper expansion and subsequent wrinkling. For securing edges, borders, and clean flat sheets, double-sided tape provides an instant, dry bond with zero risk of warping. For heavier elements, such as thick cardstock cut-outs, ribbon ends, or three-dimensional paper flowers, a thick tacky craft glue is necessary. Avoid standard liquid school glue, as its high water content will quickly wrinkle thin wrapping paper and compromise the bag’s structural integrity.
Precision tools are essential for achieving clean, professional-looking edges. A pair of sharp craft scissors is necessary for general cutting, while a precision craft knife paired with a metal ruler and a self-healing cutting mat allows for incredibly straight lines and intricate detail work. Always use a cutting mat and cut away from yourself when using sharp blades to prevent injury. For optional finishing touches, keep a standard single hole punch on hand to modify handle placement, a bone folder to create crisp, sharp creases in folded paper accents, and decorative edge scissors to add scalloped or pinked borders to your paper layers.
Preparing the Gift Bag Surface
Proper surface preparation is the secret to a professional finish. Begin by thoroughly inspecting your plain gift bag. Ensure it is completely free of dust, oils, and moisture, which can prevent adhesives from bonding correctly. If your bag has a glossy or laminated coating, standard water-based craft glues will not adhere effectively because the surface is non-porous. In such cases, you must rely on high-tack double-sided tape or specialized solvent-free adhesives. If you are using a standard matte kraft or uncoated paper bag, most adhesives will bond easily, but you must still apply them carefully to avoid oversaturation.

Next, lay the bag completely flat on your work surface. Use a bone folder or the edge of a clean fingernail to sharpen the existing side and bottom creases. Sharp, well-defined creases ensure the bag retains its crisp, boxy structure once opened. If you plan to alter the shape of the bag—such as folding down the top edge to create a shorter, wider profile—measure and mark the new fold line with a pencil and metal ruler, then use the bone folder to score and fold the paper cleanly. Always work on the bag while it is flat, but be careful not to apply permanent adhesive across any of the expanding gussets or bottom folds, as this will prevent the bag from opening.
Finally, assess the weight of the gift you plan to place inside the bag. If the gift is heavy, you must reinforce the bag’s base and handle attachment points before adding any external decorations. Cut a piece of thick chipboard or heavy cardstock to the exact dimensions of the bag’s bottom panel and slide it inside to act as a supportive base insert. This prevents the bottom of the bag from sagging or tearing under load. If the existing handles feel flimsy, apply a small amount of tacky craft glue or heavy-duty tape to reinforce the areas where the handles are glued inside the top rim, ensuring they can support the weight of your gift.
Techniques for Adding Wrapping Paper Accents
Wrapping paper is an incredibly versatile medium for customizing a plain gift bag. By applying different cutting, folding, and layering techniques, you can completely change the character of the bag’s exterior. Whether you want to cover the entire face of the bag with a bold pattern or add subtle, artistic details, these paper-accenting methods will help you achieve a polished look.
Creating Paper Cut-Outs and Appliqués
Fussy cutting is a popular technique that involves carefully cutting out individual motifs, patterns, or illustrations from a sheet of wrapping paper. Look for wrapping papers that feature distinct, well-defined designs, such as large floral blooms, geometric shapes, holiday characters, or botanical illustrations. Using sharp precision scissors or a craft knife on a cutting mat, slowly cut around the outer edges of the chosen motif. To make the design pop, you can leave a tiny, consistent border of the background paper around the shape, or cut exactly along the lines for a seamless silhouette.
Once your paper cut-outs are prepared, plan their arrangement on the flat face of the gift bag. For a completely flat, seamless look, apply a thin, even layer of glue stick or strips of double-sided tape to the entire back of the cut-out, paying special attention to any delicate, thin edges. Press the cut-out firmly onto the bag, smoothing it from the center outward with a clean cloth or bone folder to eliminate air bubbles. If you want to create depth and visual interest, use double-sided foam tape or adhesive foam dots instead of flat tape. By lifting the cut-out 1 to 2 millimeters off the surface of the bag, you create a beautiful three-dimensional shadow effect that instantly elevates the presentation.
Adding an Inner Lining or Folded Cuff
An inner lining adds an unexpected touch of luxury that delights the recipient when they open the gift. To create a lining, measure the width of the bag’s interior panels and the depth from the top rim to the bottom fold. Cut two pieces of wrapping paper that are approximately 5 millimeters narrower than the panel width and 1 centimeter shorter than the depth. Apply double-sided tape along the top edge of the wrapping paper pieces. Carefully slide each piece into the bag, aligning the top edge of the paper just below the bag’s inner rim, and press firmly to secure. This conceals the plain interior of the bag and provides a beautiful contrast when looking inside.
Alternatively, you can create a decorative folded cuff around the top rim of the bag. Cut a strip of wrapping paper that is long enough to wrap around the entire perimeter of the bag’s top opening, with a width equal to twice your desired cuff height plus an extra 2 centimeters for folding. Fold the strip in half lengthwise and crease it sharply using a bone folder. Slip this folded sleeve over the top edge of the bag, so that half of the paper sits on the outside and the other half folds into the interior. Secure the cuff in place using double-sided tape along both the inner and outer rims. A folded cuff not only adds a stylish, contrasting border but also reinforces the top edge of the bag where handles are attached.
Crafting Paper Flowers or Bows
You can transform flat wrapping paper into striking three-dimensional embellishments, such as paper flowers or custom bows, to replace plastic store-bought bows. To make a simple accordion-folded paper flower, cut a strip of wrapping paper measuring approximately 6 centimeters wide by 30 centimeters long. Starting at one short end, fold the paper back and forth in 1-centimeter increments, creating a tight accordion pleat along the entire length of the strip. Use a bone folder to ensure each crease is sharp and clean.
Once the entire strip is folded, pinch the accordion pleat in the exact center and secure it tightly with a small piece of thin wire, thread, or a staple. Cut the exposed ends of the folded paper into rounded curves or sharp points to define the shape of the petals. Gently fan out the pleats on both sides to form a circular wheel, and use double-sided tape to join the meeting edges together. Gently fluff the paper layers to give the flower volume. To finish, use tacky craft glue to attach a contrasting paper circle, a decorative button, or a small bead to the center of the flower, then mount the completed flower onto the front of your gift bag.
Techniques for Styling with Ribbon
Ribbon is the ultimate finishing touch that adds texture, color, and structural sophistication to a decorated gift bag. From replacing standard handles to tying elaborate bows, incorporating high-quality ribbon can turn a basic paper carrier into a keepsake-quality gift presentation.
Upgrading or Replacing the Handles
Many plain paper gift bags come with cheap paper twist or thin cord handles that can detract from your custom design. Replacing these with high-quality ribbon instantly elevates the bag’s aesthetic and improves its hand-feel. Begin by carefully cutting away the old handles from the inside of the bag, taking care not to tear the surrounding paper. If the bag does not have existing holes, or if you want to change their position, mark the desired placement for your new handles using a pencil and ruler, ensuring they are centered and level.
Before punching the new holes, reinforce the inner rim of the bag to prevent the ribbon from tearing through the paper under the weight of the gift. Cut small squares of thick cardstock or chipboard (approximately 2.5 centimeters square) and glue them to the inside of the bag directly behind your pencil marks. Once the glue is dry, use a single hole punch to punch through both the bag and the reinforcing cardstock. Thread a length of wide satin or grosgrain ribbon (typically 15mm to 25mm wide) through the holes from the outside of the bag to the inside. Tie a secure double knot on the inside of the bag. For maximum security, slide a small cardboard washer or a flat plastic washer onto the ribbon end before tying the knot, ensuring the knot cannot pull through the hole.
Tying Decorative Bows and Wraps
A classic way to style a gift bag with ribbon is to create a secure wrap around the body of the bag. Cut a length of wide ribbon (such as 38mm grosgrain or satin) that is long enough to wrap completely around the bag horizontally or vertically, plus enough extra length to tie a generous bow. Wrap the ribbon around the bag, ensuring it sits flat and straight. To prevent the ribbon from sliding down or shifting during transport, apply a small strip of double-sided tape to the back of the bag and press the ribbon firmly into it. Bring the ribbon ends to the front of the bag and tie a classic, symmetrical bow. Trim the ribbon tails at a sharp 45-degree angle or cut a decorative V-shape (swallowtail) into the ends to prevent fraying and add a professional finish.
If you prefer a more elaborate decoration, you can craft a separate multi-loop bow and attach it to the bag. To make a multi-loop bow, take a long length of ribbon and make a series of figure-eight loops in your hand, holding the center tightly between your thumb and forefinger. Once you have created four to six loops on each side, wrap a short piece of floral wire or a pipe cleaner tightly around the center of the loops and twist it secure. Hide the wire by wrapping a short piece of matching ribbon around the center and securing it with tacky glue. Fluff and arrange the loops to create a full, rounded bow, then use the remaining wire ends or a dab of tacky craft glue to secure the bow to the base of the bag’s handle or directly onto the front face of the bag.
Creating Ribbon Flowers and Accents
Ribbon can also be manipulated into delicate floral accents to add texture and elegance to your gift bag design. To create a simple looped ribbon rosette, cut a length of 15mm satin or organza ribbon. Fold the ribbon into a series of small, overlapping loops, securing each loop at the base with a small dot of tacky craft glue or a quick stitch. Arrange five or six loops in a circle to form the petals of a flower, and press them onto a small circular cardstock backing. Once the glue has set, attach a pearl bead, a rhinestone, or a decorative brad to the center of the rosette to hide the joints.
When working with synthetic ribbons like polyester satin, organza, or grosgrain, the cut ends will naturally fray over time, which can make your hard work look messy. To prevent this, you can carefully seal the cut edges using heat. Hold the cut end of the ribbon approximately 1 to 2 centimeters away from a small flame, such as a lighter or a candle, for just a fraction of a second. The heat will cause the synthetic fibers to melt slightly and fuse together, creating a clean, durable edge that will never fray. Always perform this step with extreme caution, in a well-ventilated room, away from any flammable materials, and keep a bowl of water nearby for safety. Never allow children to perform heat-sealing without close adult supervision.
Combining Paper and Ribbon for a Finished Look
To achieve a truly cohesive and professional presentation, you must carefully balance your paper and ribbon elements. The key to successful design is color coordination and visual harmony. If you are using a highly patterned wrapping paper for your appliqués or cuffs, choose a solid, understated ribbon in a color that matches one of the secondary or accent tones in the paper pattern. This ties the design together without creating visual chaos. Conversely, if your wrapping paper accent is a simple, neutral kraft or solid color, you can opt for a bold, patterned, or textured ribbon to serve as the main focal point. Avoid overcrowding the bag; leaving some of the plain bag surface exposed (often referred to as negative space) allows your custom decorations to stand out. Use the rule of thirds to place your primary accent—such as a large paper flower or a dramatic ribbon bow—slightly off-center, which is naturally more pleasing to the eye than a perfectly centered design.
Once your design is complete, perform a thorough quality check to ensure all elements are securely attached. Inspect all paper edges and corners to confirm they are glued down flat and will not catch on objects during transit. Check that any double-sided tape is completely hidden from view and that no excess liquid glue has squeezed out from beneath your appliqués. If you used tacky craft glue or liquid adhesives, allow the bag to sit undisturbed in a dry area for at least 1 to 2 hours. In warm, humid climates like Singapore’s, drying times for liquid adhesives can be significantly longer, so it is best to allow ample time for the glue to cure completely before handling or gifting.
Before placing a gift inside, conduct a gentle structural integrity test. Open the decorated bag fully and lift it by the handles. Give it a very light, gentle shake to ensure that the handle knots are secure, the base remains flat and supportive, and none of your 3D paper or ribbon accents show signs of peeling or lifting. This quick verification step ensures that your beautifully customized gift bag will survive the journey to the recipient and deliver a flawless, memorable presentation.
Frequently Asked Questions (FAQ)
What is the best adhesive for attaching wrapping paper to a gift bag?
The best adhesive depends on the thickness of your wrapping paper and the finish of your gift bag. For lightweight wrapping paper, an acid-free glue stick with low moisture content is highly recommended; it provides a smooth, thin layer of adhesive that prevents the paper from wrinkling, bubbling, or warping. For medium to heavy-weight wrapping paper, or when you need to secure straight borders and clean edges, double-sided tape is the ideal choice because it offers an instant, dry, and flat bond with zero risk of moisture damage. If you are attaching heavy cardstock accents, ribbon ends, or three-dimensional paper flowers, a thick tacky craft glue is best, but it must be applied sparingly to avoid bleed-through. You should avoid standard liquid school glue entirely, as its high water content will quickly saturate thin wrapping paper, causing it to warp, wrinkle, and tear. When working with glossy or laminated bags, always opt for high-tack double-sided tape, as water-based glues cannot bond effectively to non-porous surfaces.
How do I prevent ribbon handles from tearing the gift bag?
To prevent ribbon handles from tearing through your paper gift bag, you must reinforce the holes and distribute the weight of the gift evenly. Before punching holes for the ribbon, glue a small square of thick cardstock, chipboard, or heavy kraft paper (about 2.5 centimeters square) to the inside of the bag’s rim directly behind where the holes will be located. Once the glue is dry, punch your holes through both layers of paper. When threading your ribbon, do not rely solely on a simple knot to hold it in place. Instead, slide a small cardboard washer (a small square of cardstock with a hole punched in the center) or a flat plastic washer onto the ribbon end on the inside of the bag before tying a thick double knot. This washer distributes the downward pulling force of the gift’s weight across a much larger surface area of the bag’s rim, preventing the ribbon knot from tearing through the hole. Additionally, placing a stiff cardstock insert at the bottom of the bag helps distribute the gift’s weight across the entire base, reducing the strain on the handles.

Community discussion
Share your experience or ask a question. Comments are reviewed before publication.