
Transforming a plain door gift bag into an elegant, event-ready presentation requires a thoughtful combination of high-quality ribbons, well-placed embellishments, and the right dry adhesives. By selecting materials that complement the bag’s paper weight and texture, you can create a secure, visually balanced design that elevates the gifting experience. Whether preparing for a wedding, a corporate gathering, or a festive celebration, mastering simple tying, layering, and structural balancing techniques ensures your custom creations look professional and remain sturdy throughout the event.
Choosing the Right Materials and Tools for Your Door Gift Bag
Selecting the appropriate base bag is the first step toward a successful decoration project. Plain paper bags generally come in two finishes: uncoated kraft paper and coated or laminated paper. Uncoated kraft paper has a textured, matte surface that pairs beautifully with rustic elements like burlap or twine, but its porous nature means it can absorb liquid glues, leading to unsightly warping. Coated paper bags offer a sleek, modern look but have a smooth surface that can cause standard craft glues to slide off. For these glossy or matte-laminated surfaces, high-tack double-sided tape or pressure-sensitive glue dots are highly recommended.
When choosing ribbons, consider how the fabric’s texture and weight align with your event’s theme. Satin ribbons provide a classic, high-gloss shine that is perfect for formal occasions, though their slippery texture requires tight, secure knots. Grosgrain ribbons feature a ribbed texture that offers excellent grip, making them ideal for creating structured, crisp bows that hold their shape over time. Organza ribbons are sheer and lightweight, adding soft volume without overpowering smaller bags, while natural burlap or jute twine brings an organic, tactile feel to rustic themes. Always verify the bag’s dimensions and paper weight to ensure the ribbon width fits the scale of the bag.
Products mentioned in this guide
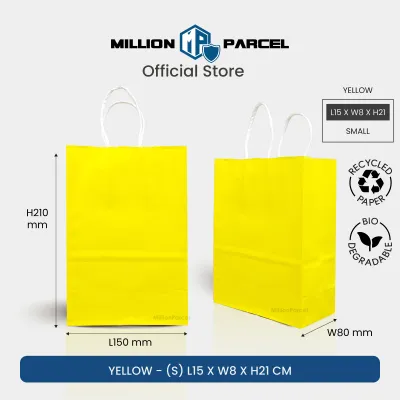
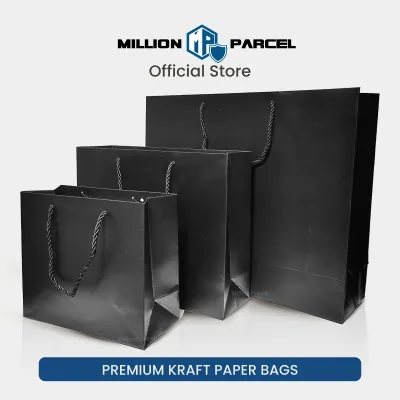
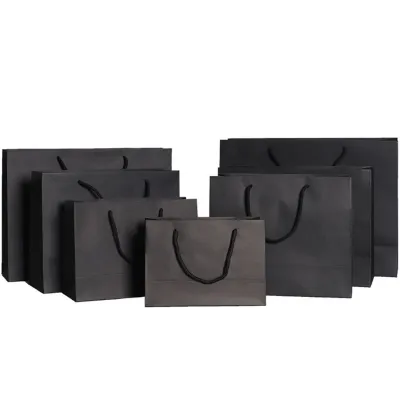
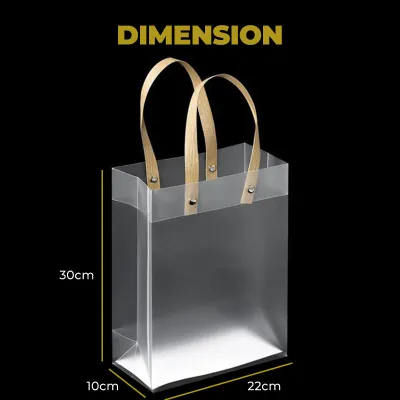
Prices are valid at publication and may change. Please refer to the product page for the latest price.
To secure these decorations without damaging the bag’s structure, assemble a toolkit of dry fastening tools. High-tack double-sided tape is excellent for flat ribbon bands, while glue dots provide instant, mess-free adhesion for dimensional embellishments. A standard single-hole punch (typically 6mm) is invaluable for threading ribbons directly through the bag’s collar. Because adhesive performance, bleed resistance, and bonding strength depend on the exact combination of paper coating and glue type, always perform a quick test on a spare bag or the bottom surface to verify compatibility before assembling the entire batch.
Step-by-Step Techniques for Tying and Attaching Ribbons
To attach a classic bow to a standard bag with handles, start by estimating the required ribbon length. A reliable rule of thumb is to cut a length that is approximately three times the width of the bag’s front panel. Thread the ribbon through the base of the existing handles, pull it taut, and tie a secure square knot at the center. This initial knot prevents the ribbon from slipping while you form the loops. Create two even loops, cross them, and pull them tight to form a balanced bow, then trim the ribbon ends at a clean 45-degree angle or a swallowtail cut to prevent fraying.

For handleless bags, such as pinch-bottom or envelope-style bags, the wrap-and-tuck technique offers a clean, minimalist aesthetic. Measure a length of ribbon sufficient to wrap entirely around the body of the bag with a 3 cm overlap. Apply a strip of high-tack double-sided tape horizontally across the front or back of the bag, press the ribbon firmly onto the tape, and wrap the ends around to the opposite side. Secure the overlapping ends with another piece of tape, and conceal the seam under a decorative sticker, gift tag, or wax seal to create a seamless, professional band.
If you want to thread ribbon directly through the bag’s surface, use a hole punch to create clean insertion points. Position the punch approximately 1.5 cm to 2 cm below the top folded edge of the bag to ensure there is enough paper margin to support the weight of the gift. Carefully punch two parallel holes spaced evenly apart. If the paper begins to tear or show stress lines during this process, stop immediately. You can reinforce the inside of the bag with a small piece of clear packing tape or a cardstock washer before threading the ribbon through from the inside out to tie your bow.
Layering Embellishments, Tags, and Personalized Touches
Layering decorative elements adds depth and visual interest to a plain door gift bag, but it must be done systematically to avoid a cluttered appearance. Start by attaching your gift tags, which serve as the primary focal point for personalization. You can hang tags elegantly by threading natural twine or metallic wire through the tag’s eyelet and looping it around the ribbon knot. Alternatively, use mini wooden clothespins to clip the tag directly to the top rim of the bag, ensuring the text remains fully legible and accessible to the recipient.
Once the tag is positioned, you can introduce flat and dimensional embellishments to build texture. Apply flat elements, such as custom stickers, die-cut paper shapes, or stamped designs, directly to the bag’s surface as a base layer. Next, use dimensional items like small faux pearls, wooden shapes, or metal charms to create focal points. Apply a strong glue dot to the back of the dimensional item and press it firmly onto the flat base. This layering technique creates a professional, multi-dimensional look while keeping the decorations securely attached.
As you add embellishments, always monitor the bag’s center of gravity to ensure it remains stable. Heavy decorations placed too high on the bag or concentrated entirely on one side can cause the bag to tip over when set on a flat surface. Distribute the visual and physical weight evenly across the lower two-thirds of the bag’s front panel. If you are using heavier charms or thick wooden tags, balance the weight by placing lightweight filler material inside the bag to keep the base firmly planted.
Adapting Your Door Gift Bag Design for Different Events
Tailoring your design to the specific occasion ensures your door gift bags complement the overall event styling. For weddings and formal galas, focus on a refined, minimalist aesthetic. Use high-GSM textured paper bags in neutral tones like ivory, champagne, or soft blush. Pair them with wide satin ribbons in coordinating shades, and add a single, elegant embellishment such as a subtle pearl accent or a wax seal. Keep the gift tags simple with clean, elegant typography or minimalist calligraphy on heavy cardstock.
For birthdays, baby showers, and casual parties, embrace vibrant colors and playful textures. Opt for bright grosgrain ribbons in bold primary colors or cheerful pastels, and tie them into large, bouncy bows. You can incorporate fun, dimensional embellishments like colorful acrylic charms, patterned die-cuts, or whimsical stickers. To add an extra layer of excitement, tuck sheets of colorful tissue paper inside the bag, allowing the edges to peek out from the top in soft, decorative folds.
For corporate events or festive gatherings in Singapore, the design should balance professionalism with local charm. Incorporate custom-printed tags featuring clean corporate branding or festive greetings, paired with subtle gold or silver metallic foil accents that catch the light. To align with modern, eco-conscious preferences, integrate natural elements such as dried lavender sprigs, eucalyptus leaves, or pressed botanicals tucked neatly under a neat band of jute twine. This sophisticated, organic style is highly versatile and leaves a lasting, positive impression on clients and guests alike.
Common Decorating Mistakes and How to Avoid Them
One of the most common mistakes when decorating door gift bags is overloading the structure with heavy embellishments. While large wooden cutouts, heavy metal charms, and thick layers of ribbon look impressive, they can easily cause the paper handles to tear or the bottom of the bag to blow out once the actual door gift is placed inside. Always match the weight of your decorations to the carrying capacity of the bag, keeping the overall presentation lightweight and functional.
Another frequent error is using liquid craft glue or hot glue on thin paper bags. Liquid glues contain water, which quickly saturates thin paper fibers, causing the bag to warp, wrinkle, or show unsightly wet spots that remain visible even after drying. Hot glue can also melt delicate synthetic ribbons or create bulky, uneven lumps beneath flat decorations. To maintain a pristine, professional finish, rely on dry adhesives such as high-tack double-sided tape, adhesive runners, or pressure-sensitive glue dots.
Finally, avoid the frustration of cutting your ribbons too short during the initial preparation phase. It is incredibly difficult to tie a neat, symmetrical bow with a ribbon that barely meets around the handles, often resulting in tight, messy knots. Always cut your ribbon slightly longer than your initial estimate, leaving at least 10 to 15 cm of extra length for easy handling. Once the bow is tied securely and adjusted to your liking, you can easily trim the excess ends to the perfect length using sharp fabric scissors.
Frequently Asked Questions (FAQ)
How do I keep a decorated door gift bag standing upright?
To keep your decorated bag stable, focus on proper weight distribution and internal structure. Place lightweight filler materials, such as crinkle-cut paper or folded tissue paper, at the bottom of the bag to create a solid, supportive base. Avoid placing heavy dimensional embellishments near the top rim or exclusively on one side of the bag, as this shifts the center of gravity upward and causes the bag to tip over easily when placed on a table.
Can I reuse ribbons and embellishments from previous events?
Yes, many decorative elements can be salvaged and repurposed if handled carefully. To reuse ribbons, untie any knots gently using a blunt needle or tweezers to avoid snagging or fraying the delicate fabric fibers. For hard embellishments like acrylic charms, plastic tags, or metal clips, gently peel away any old glue dots or rub off adhesive residue using a microfiber cloth dampened with a tiny drop of rubbing alcohol, taking care not to touch any printed ink designs.

Community discussion
Share your experience or ask a question. Comments are reviewed before publication.