
Tying a neat, elegant bow with thin ribbon is a simple way to elevate any gift, turning a basic package into a thoughtfully presented gesture. While wide ribbons rely on their inherent stiffness to hold shape, thin ribbons—typically measuring between 3 millimeters and 10 millimeters in width—require a delicate touch, precise tension, and specific handling techniques to look their best. The challenge with narrow materials lies in their tendency to slip, twist, or collapse under too much pressure. By mastering a few fundamental hand movements and selecting the right materials, you can create crisp, symmetrical bows that remain secure and look highly professional.
Whether you are wrapping a small jewelry box, securing a delicate stationery bundle, or adding a finishing touch to a festive gift, the approach remains the same. Success depends on understanding how different ribbon textures behave and how to control the ribbon at each stage of the knotting process. This guide covers everything from preparing your workspace and tools to executing the perfect classic bow, exploring advanced styling variations, and troubleshooting common issues like slipping and wrinkling.
Preparing Your Thin Ribbon and Tools
Before you begin tying, selecting the appropriate ribbon material is crucial because different textures directly affect how well a knot holds. Satin ribbon is highly popular for its lustrous, smooth finish, but its slick surface makes it prone to slipping during the tying process. Grosgrain ribbon, characterized by its ribbed texture, offers excellent friction and grip, making it much easier to tie securely without the knot sliding loose. Organza ribbon is sheer and lightweight, providing a delicate, airy look, but its edges can fray easily if handled roughly. Cotton ribbon or baker’s twine offers a matte, high-friction surface that holds knots exceptionally well, making them ideal for rustic or minimalist presentations.
Products mentioned in this guide
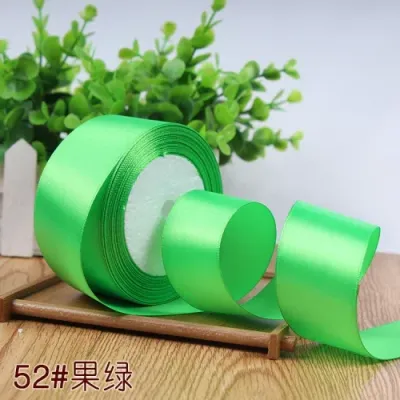
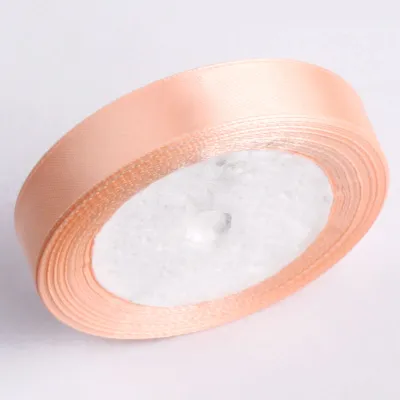
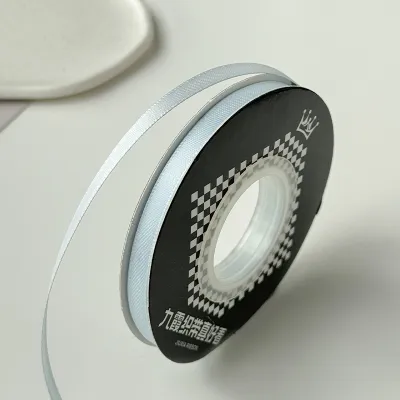
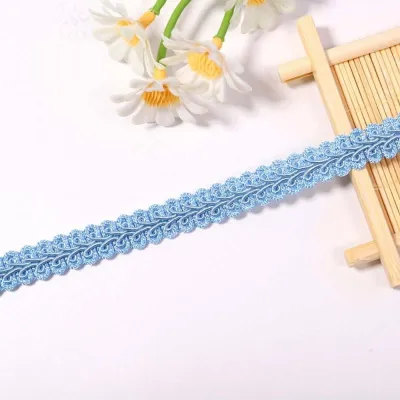
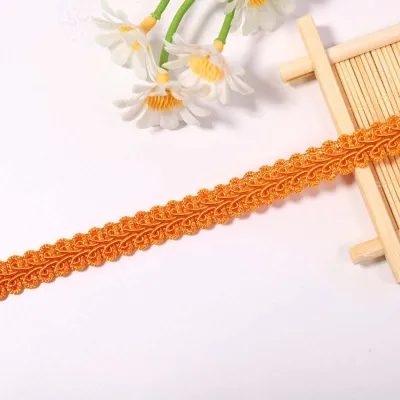
Prices are valid at publication and may change. Please refer to the product page for the latest price.
Having the right tools on hand will make the process much smoother and prevent damage to your materials. A pair of sharp fabric scissors is essential; dull household scissors will chew through thin ribbon, leaving frayed, messy edges that ruin the clean look of your gift. You may also want to keep a few small craft clips or paperclips nearby to hold the ribbon in place while you adjust the loops. For particularly slippery ribbons, having a sheet of small, acid-free double-sided adhesive dots can help secure the knot to the wrapping paper without being visible.
Measuring the correct length of ribbon before cutting prevents waste and ensures your bow is proportional to the gift. A common mistake is cutting the ribbon too short, which forces you to struggle with tiny ends, resulting in a tight, bulky knot. To find the ideal length for a standard wrap, wrap the ribbon around the gift box once horizontally and once vertically, then add an extra 35 to 40 centimeters to accommodate the loops and tails. A helpful formula is to multiply the sum of the box’s length and width by two, add four times the height, and then add 35 centimeters.
Step-by-Step Guide to the Classic Elegant Bow
To tie a classic, symmetrical bow with thin ribbon, start by laying the ribbon flat across the top of your wrapped gift box. Bring the two ends together and cross them over to form a basic half-knot, pulling it snug against the surface of the box. It is vital to maintain consistent tension at this stage; if the base knot is too loose, the entire bow will slide around, but if it is too tight, it may crease the wrapping paper or buckle the box. Keep your index finger pressed firmly on the center of this initial cross-knot to hold the tension while you prepare the first loop.

Next, create your first loop—often referred to as the “bunny ear”—with one side of the ribbon. Pinch the base of this loop securely between your thumb and forefinger right at the center knot. Take the other free strand of ribbon and wrap it around the front of the loop you are holding. This wrapping motion creates a small circular opening at the base of the knot. Use your index finger to gently push the middle section of the free strand through this opening, forming a second loop.
As you push the ribbon through, ensure you do not pull the entire strand through, which would result in a knot rather than a loop. The key to working with thin ribbon is maintaining a tight pinch on the center point throughout this transition. Because the ribbon is narrow, the loops can easily become uneven or twist as they are formed. Keep your eyes on the symmetry of the loops as they emerge from the center knot.
To tighten and secure the bow, gently pull both loops outward in opposite directions. Do not pull too quickly or with excessive force, as this can cause the thin ribbon to distort or the knot to twist. Instead, use a gradual, alternating pulling motion: pull the loops slightly, then gently tug the tails to adjust the size of the loops, and then pull the loops again to tighten the knot. Continue this adjustment until the loops are of equal size and the tails are pointing downward in a balanced, elegant drape.
Advanced Techniques for Professional Finishes
Once you have mastered the basic classic bow, you can experiment with advanced techniques to add depth and sophistication to your gift wrapping. One highly effective method is creating a double-layered bow using two contrasting or complementary thin ribbons. For example, you can pair a matte cotton ribbon with a metallic thin ribbon, holding both strands together as if they were a single piece of ribbon. Tie the bow using the classic method described above; the resulting double loops and tails will create a rich, textured look that stands out beautifully against simple wrapping paper.
Styling the tails of your bow is another way to achieve a professional, polished finish. Instead of leaving the ends straight, use your sharp fabric scissors to cut them at a clean 45-degree angle. This diagonal cut not only looks elegant but also helps prevent the woven edges of the ribbon from unraveling. For synthetic ribbons like polyester satin, you can create soft, delicate curls by gently rolling the tails around a pencil, holding them in place for a few seconds, and then releasing them. Avoid using the blade of a scissor to curl thin ribbon, as the intense friction can easily stretch, warp, or snap the delicate fibers.
You can also explore asymmetrical or multi-loop designs to suit different gift shapes. For long, rectangular boxes, placing the bow off-center—closer to one of the corners—creates a modern, dynamic aesthetic. To make a multi-loop bow, loop the thin ribbon back and forth in your hand three or four times to create a stack of loops, then tie a separate, short piece of ribbon tightly around the middle to secure them. Gently fan out the loops to create a delicate, pom-pom style bow that adds a whimsical touch to smaller packages.
Troubleshooting Slipping and Wrinkling
Working with thin ribbon can sometimes be frustrating due to its tendency to slip out of place or wrinkle easily. If you find that your knots are constantly sliding loose, especially when using slippery satin or organza, try tying a secure double-knot at the base before forming your loops. If the ribbon still slides, you can apply a tiny, acid-free double-sided adhesive dot directly onto the wrapping paper beneath the center knot. This anchors the ribbon firmly in place, allowing you to tie the loops with perfect tension without worrying about the base shifting.
Wrinkles and twists can quickly ruin the clean lines of an elegant bow. If your ribbon becomes creased during the tying process, avoid pulling it back and forth through the knot, as this friction will only worsen the wrinkles and may damage the delicate fibers. Instead, untie the bow completely and smooth the ribbon flat with your fingers. For stubborn creases in satin or grosgrain ribbon, you can run the ribbon through a hair straightener set to its lowest heat setting, or place the ribbon under a heavy book for a few hours to restore its smooth texture.
It is also important to recognize when a piece of thin ribbon is too damaged to salvage. Because thin ribbons have fewer structural fibers than wider options, they can easily stretch out of shape, fray along the edges, or develop permanent creases that cannot be smoothed out. If you notice visible fiber separation, severe fraying, or a loss of elasticity, it is best to discard that section and cut a fresh piece of ribbon. Using damaged ribbon will make it nearly impossible to achieve a neat, professional finish.
Final Adjustments and Securing the Bow
The final step in creating an elegant bow is fluffing and shaping it to ensure it maintains its volume and symmetry. Slide your index fingers inside the loops of the finished bow and gently pull them outward and upward. This action opens up the loops, giving them a rounded, three-dimensional shape rather than letting them lie flat against the box. Gently tug on the tails to ensure they drape naturally and do not twist awkwardly beneath the loops.
If the gift will be transported, handled frequently, or placed in a gift bag, you should take extra steps to secure the bow so it does not come undone. A small drop of clear, acid-free craft glue or a tiny adhesive dot placed discreetly under the loops or the center knot will keep the bow perfectly positioned. This is particularly useful for gifts that need to travel, ensuring that the recipient receives a package that looks just as pristine as when you finished wrapping it.
Before presenting your gift, perform a quick visual checklist to verify the overall neatness of your work. Check that the loops are perfectly balanced in size and that the tails are cut to a proportional length—ideally, the tails should not extend past the edges of the gift box. Ensure the center knot is tight, neat, and free of any twisted or folded edges. Taking a few extra moments to refine these small details makes a significant difference in the final presentation.
Frequently Asked Questions (FAQ)
How do I keep thin ribbon from twisting while tying?
To keep thin ribbon from twisting, focus on maintaining flat contact between the ribbon and your fingers throughout the tying process. Avoid pulling the ribbon from awkward angles; instead, guide it smoothly and keep it parallel to the surface of the box. Before you pull the final knot tight, take a moment to manually untwist any sections of the loops or tails, smoothing them flat with your thumb and forefinger so they lie perfectly flush.
Can I use thin ribbon on heavy or large gift boxes?
Yes, you can use thin ribbon on larger or heavier gift boxes, but you must consider the visual balance and structural security. A single strand of thin ribbon can look visually lost on a large surface, so it is often best to wrap the ribbon around the box multiple times to create a multi-band effect. If the box is heavy and requires secure handling, do not rely on the thin ribbon to hold the weight; instead, secure the box packaging with heavy-duty packing tape first, and use the thin ribbon purely as a delicate decorative accent.

Community discussion
Share your experience or ask a question. Comments are reviewed before publication.