
Presenting a gift in an organza pouch is an elegant way to elevate simple items into memorable keepsakes. However, simply dropping an item into a pouch and pulling the strings often results in a bunched, uneven, and unpolished look. Achieving a professional finish requires a deliberate approach to sizing, fabric alignment, tension control, and final styling.
By mastering a few simple physical adjustments, you can transform a basic organza gift pouch into a beautifully structured package. This approach highlights the gift inside while maintaining a clean, high-end aesthetic suitable for any occasion, from wedding favors to corporate gifts.
Preparing Your Organza Pouch and Gift
Before placing any item inside, verify that the pouch dimensions are appropriate for the gift. An ideal fit leaves approximately two to three centimeters of clearance on either side of the item and at least three to five centimeters of space below the drawstring line. If the pouch is too small, the sheer fabric will stretch tightly over the gift, straining the delicate side seams and distorting the weave. Conversely, an oversized pouch leaves excess fabric that collapses limply, making the presentation look deflated.
Products mentioned in this guide
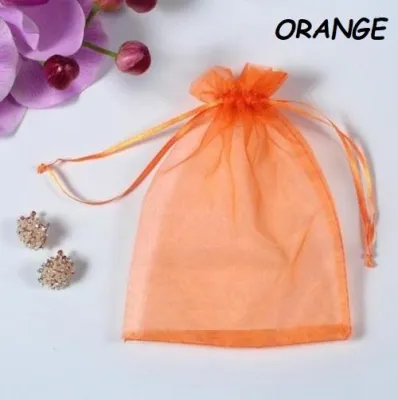
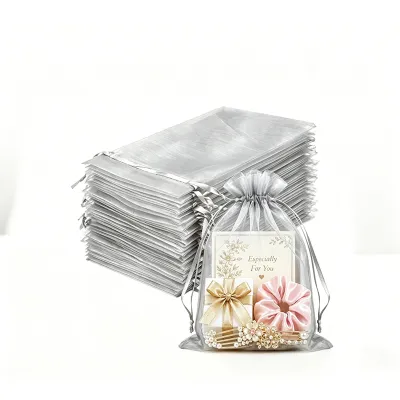
![[OKLIFE. SG]Organza Drawstring Bags Sheer Mesh Gift Pouches Wedding Candy Jewelry Packaging Favor Storage Sacks](https://img.lazcdn.com/g/p/4ec2ea54f3ce135da0aae5d25c03c166.jpg_400x400q80.jpg_.webp)
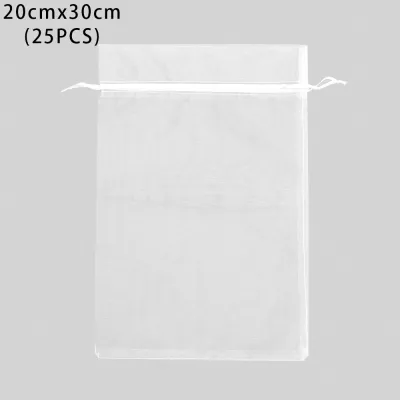
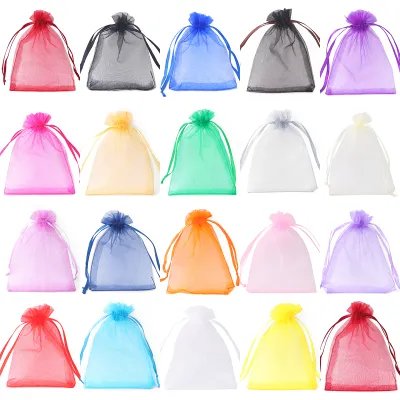
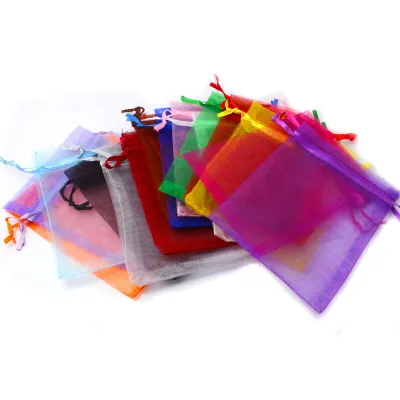
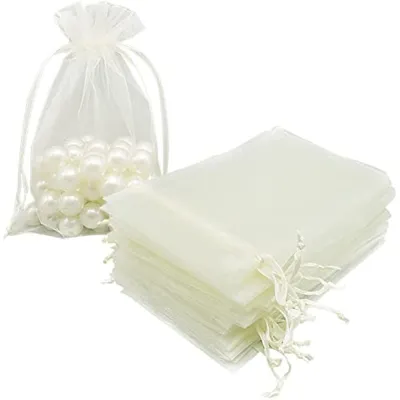
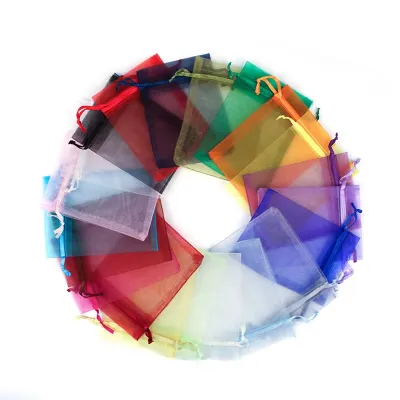
Prices are valid at publication and may change. Please refer to the product page for the latest price.
Once you have selected the correct size, lay the organza pouch flat on a clean, dry surface. Gently smooth out the fabric with your hands, ensuring the side seams are aligned straight and are not twisted. Organza is a lightweight, plain-weave fabric typically made from synthetic fibers like polyester or nylon, which can easily hold static or minor creases. Aligning the seams at this stage ensures that when the pouch is filled, it expands symmetrically.
Carefully insert the gift, guiding it down to the very bottom of the pouch. Position the item so its weight is evenly distributed across the base. For flat items, ensure they sit parallel to the bottom seam. For heavier or three-dimensional items, centering the base of the object directly in the middle of the pouch bottom creates a stable foundation, allowing the pouch to stand upright or lie flat without tilting awkwardly.
Step-by-Step Guide to Tying the Drawstrings
The secret to a neat, symmetrical closure lies in how you gather the fabric. Instead of pulling the drawstrings immediately, use your fingers to manually gather the organza fabric just below the drawstring channel. Pinch the fabric in small, even pleats from one side to the other. This manual gathering prevents the fabric from bunching up in one large, messy clump on one side while leaving the other side stretched flat.

Once the fabric is evenly pleated, grasp both drawstring ends. Pull them outward in opposite directions simultaneously with steady, gentle pressure. Pulling both sides at the same time ensures that the tension is distributed equally across the opening, preventing the pouch from warping or twisting. Avoid jerking or pulling too hard, as excessive force can snap the delicate satin or metallic cords commonly used as drawstrings, or tear the thin channel stitching.
With the drawstrings pulled taut and the pouch opening fully closed, you need to secure the tension. Tie a basic, flat half-knot right at the base of the gathers. Press your index finger gently against the center of this half-knot to hold the tension in place, then complete a secure square knot or a neat bow. Tying this initial flat knot close to the fabric prevents the pouch from loosening and ensures the ruffles remain upright and structured.
Styling Techniques for Different Gift Shapes
Arranging Flat or Rectangular Items
When wrapping flat items such as notebooks, small jewelry boxes, or custom stationery sets, the sheer nature of the organza gift pouch means every corner is visible. Center the flat item precisely within the pouch. Smooth the organza fabric flat against the front and back faces of the item, pulling any excess fabric toward the side seams.
Gather the fabric symmetrically at the top, directly above the flat upper edge of the gift. This creates a balanced, fan-like ruffle that frames the top of the item. Adjust the drawstrings so they sit flush against the flat top edge, preventing the pouch from sliding or shifting during transit. This structured alignment gives flat gifts a clean, geometric silhouette.
Wrapping Bulky or Irregular Items
Awkwardly shaped gifts, such as round cosmetic jars, rolled items, or handmade soaps, require a different approach to maintain a polished look. Always position the widest or heaviest part of the item at the very bottom of the pouch to establish a low center of gravity. This prevents the package from tipping over when placed on a table.
Cinch the drawstrings tightly just above the main bulge of the item. This distinct separation defines the shape of the gift while keeping it secure. Once tied, use your fingers to fluff and spread the top ruffle outward. A full, rounded ruffle visually balances the irregular contours below, drawing the eye upward and creating an intentional, elegant silhouette rather than a messy bundle.
Adding Finishing Touches for a Professional Look
Once the pouch is securely closed, the remaining drawstring length offers an excellent opportunity for decorative styling. Instead of leaving the strings hanging loose, tie them into a classic, symmetrical bow. Keep the loops of the bow relatively small and proportional to the size of the pouch. If the drawstrings are exceptionally long, you can wrap them around the neck of the pouch a second time before tying the final bow, which creates a thicker, more substantial collar.
After securing the bow, focus on the organza ruffles above the knot. Gently pull the outer edges of the ruffles upward and outward to create a full, elegant crown. Because organza has a naturally stiff texture, it holds its shape well when fluffed. Adjusting these ruffles ensures they stand upright rather than collapsing forward, giving the package a professional, voluminous finish.
To elevate the presentation further, consider attaching complementary accessories. You can slide a personalized paper gift tag, a small sprig of dried lavender, or a piece of rustic twine onto one of the drawstring loops before tightening the bow. When adding these elements, handle the organza gently to avoid snagging the delicate weave with sharp tag corners or rough twine fibers. These small additions add layers of texture and make the gift feel highly personalized.
Common Mistakes to Avoid When Using Organza Pouches
One of the most common mistakes is uneven fabric gathering. When the fabric is pulled hastily, it often bunches to one side, leaving gaps on the opposite side that expose the gift inside. Taking a few extra seconds to manually pleat the fabric before pulling the drawstrings completely eliminates this issue.
Another frequent error is ignoring tangled, twisted, or frayed drawstrings. Twisted ribbons look messy and can prevent the pouch from closing tightly. Before tying, run your fingers down the length of the drawstrings to flatten them out. If the ends of the ribbons are frayed, use a pair of sharp fabric scissors to trim them at a clean 45-degree angle to restore a crisp, professional edge.
Finally, avoid the temptation to overstuff the pouch. Forcing a large item into a small pouch strains the delicate side seams, causing the stitching to pull apart and ruin the clean lines of the organza. If the drawstrings cannot close fully without leaving a wide gap at the top, the pouch is too small. Opting for the next size up ensures the fabric drapes beautifully and the closure remains secure.
Frequently Asked Questions (FAQ)
Can I iron an organza gift pouch to remove wrinkles?
Yes, but you must proceed with extreme caution. Before applying any heat, check the packaging or manufacturer’s guidelines for specific material composition and heat restrictions. Because most modern organza pouches are made from synthetic fibers like polyester or nylon, they can easily melt or shrink under direct heat.
Set your iron to the lowest possible synthetic or silk setting. Always place a clean, dry cotton pressing cloth or a thin towel between the iron and the organza fabric to act as a protective barrier. Never let the bare iron touch the organza directly. If you notice any shrinking, warping, or unusual odor, stop immediately.
How do I clean an organza pouch if it gets stained?
If your organza pouch becomes stained, prompt and gentle spot cleaning is essential to preserve the delicate fabric. Begin by blotting any liquid spills immediately with a clean, dry microfiber cloth. Avoid rubbing or scrubbing the fabric, as this can easily fray the fine fibers, distort the weave, or spread the stain deeper into the material.
For minor stains on durable synthetic organza blends, mix a drop of mild liquid soap with cold water. Gently dab the stained area using a soft cloth dipped in the soapy water. Rinse by blotting with clean, cold water, then lay the pouch flat on a dry towel to air-dry. For severe stains or highly delicate silk organza, consult a professional dry cleaner to avoid ruining the fabric.

Community discussion
Share your experience or ask a question. Comments are reviewed before publication.