
Tying an organza gift bag so it looks polished requires a careful balance of tension, symmetry, and material selection. Because organza is a sheer, lightweight, and slippery synthetic fabric, standard knots often slip loose, and uneven gathers can make the presentation look rushed. By mastering a few simple hand movements, selecting the right complementary ribbons, and securing the built-in drawstrings with reliable knots, you can transform a basic sheer pouch into an elegant, high-end gift package. Whether you are preparing favors for a wedding in Singapore, packaging delicate jewelry, or assembling corporate gifts, a few deliberate adjustments will elevate your presentation.
Preparing Your Organza Gift Bag and Materials
Before you begin wrapping, verifying the proportions of your gift in relation to the organza bag is essential for achieving a balanced look. An organza bag that is stuffed too full will stretch the delicate fabric, distorting its shape and leaving insufficient material at the top to form an elegant ruffle. Ideally, the item inside should occupy no more than two-thirds of the bag’s total height. This leaves the top third of the pouch free to gather naturally, creating a full, dramatic header above the drawstring line.
Gathering the correct tools beforehand prevents unnecessary handling of the delicate fabric. You will need a pair of sharp fabric scissors to ensure clean cuts on any additional ribbons, preventing unsightly fraying. If you plan to layer ribbons, select complementary options such as double-faced satin, velvet, or fine wired-edge ribbons that coordinate with your color scheme. Having these materials laid out on a clean, flat workspace helps you maintain control over the slippery organza.
Products mentioned in this guide
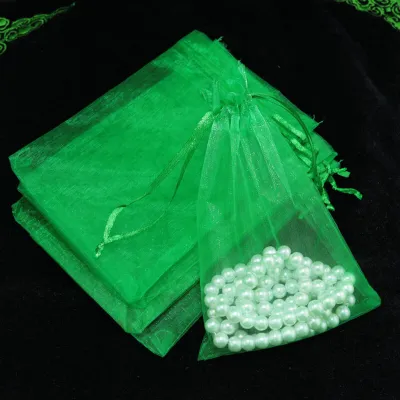
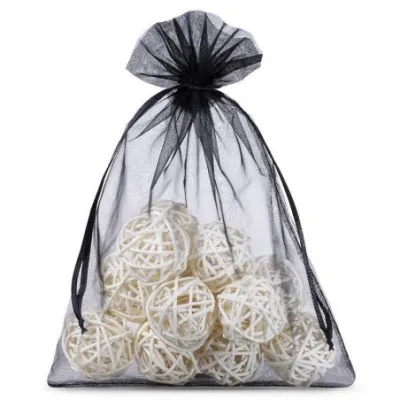
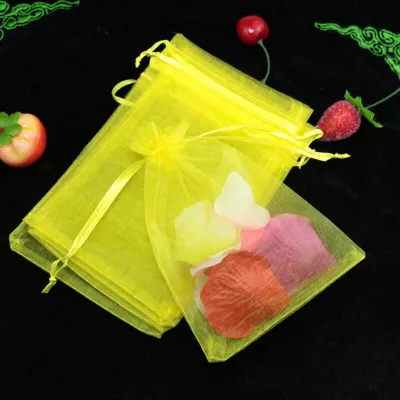
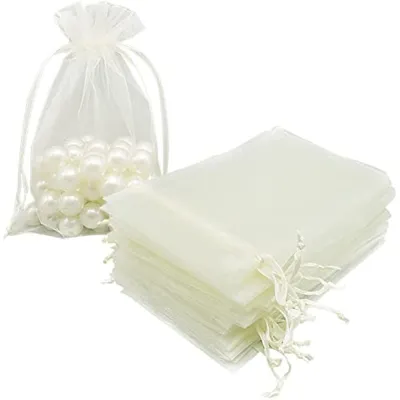
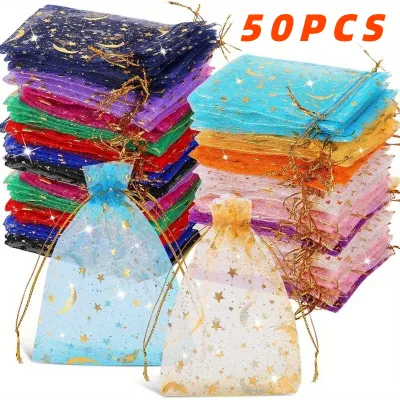
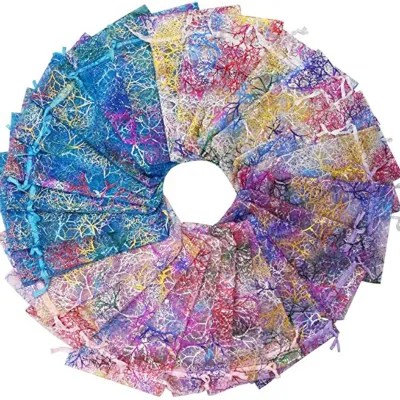
Prices are valid at publication and may change. Please refer to the product page for the latest price.
Organza is woven from synthetic filaments, typically polyester or nylon, which makes it highly susceptible to snagging on rough skin, jewelry, or uneven surfaces. Before handling the bags, wash and dry your hands, and remove any rings or bracelets that might catch on the sheer weave. Treat the fabric gently, avoiding sharp tugs or excessive pulling, which can warp the delicate grid of the weave or cause the side seams to split.
Step-by-Step Guide to Tying the Drawstring
To achieve a neat and reliable closure, start by smoothing out the organza bag on your workspace. Once your gift is centered at the bottom of the pouch, gently pull the two drawstring ribbons outward in opposite directions. Do not pull them to their absolute limit immediately; instead, use your fingers to guide and evenly distribute the fabric gathers along the drawstring channel. This ensures that the ruffles at the top of the bag are symmetrical and do not bunch up on one side.

Because organza ribbons are exceptionally smooth, a standard single knot will quickly loosen and slip under the tension of the gathered fabric. To counteract this slippery texture, execute a secure base knot such as a double overhand knot or a surgeon’s knot. To tie a surgeon’s knot, pass one end of the drawstring over and under the other twice—rather than just once as you would for a standard knot—before pulling it tight. This extra pass creates friction within the ribbon, holding the tension securely in place while you prepare to tie the final bow.
As you tighten the base knot, pay close attention to the tension and the positioning of the ruffles. The knot should sit flush against the gathered fabric channel, centering itself evenly between the two sides of the bag. Adjust the ruffles manually by gently pulling the top edges of the fabric upward and outward, ensuring a balanced, fan-like flare above the knot. Once the tension is correct and the gathers are symmetrical, complete the closure with a neat, classic bow, pulling the loops tight to lock the knot in place.
Elevating the Look with Ribbons and Bows
While the built-in drawstrings are functional, layering an additional decorative ribbon over the closure adds visual depth and a luxurious weight to the presentation. When selecting a secondary ribbon, look for materials that offer a distinct contrast to the sheer, airy texture of organza. A rich, opaque double-faced satin ribbon or a plush velvet ribbon creates a beautiful interplay of light and texture. For larger bags, a narrow wired-edge ribbon can be shaped into structured, dramatic loops that hold their form during transport.
To attach the decorative ribbon, cut a length that is roughly three times the width of the gathered bag. Lay the decorative ribbon flat beneath the gathered drawstring channel, centering it directly over the functional base knot you tied earlier. Bring the ends up and tie a simple, firm knot over the drawstring. By placing this decorative knot directly on top of the functional one, you can completely conceal the utilitarian drawstrings within the new, elegant ribbon structure.
From this base, you can form several styles of bows depending on the occasion. For a classic look, tie a traditional bow, ensuring the loops and tails are of equal length, then trim the tails at a clean 45-degree angle or cut a classic V-shape into the ends. For a modern, minimalist aesthetic, tie a simple trailing knot, allowing long, elegant lengths of satin ribbon to drape down the front of the bag. If you are preparing multiple gifts, keeping a consistent ribbon length and bow style ensures a cohesive, professional display.
Adding Personalized Decorative Touches
Customizing your organza gift bag with secondary embellishments is an excellent way to tailor the presentation to specific events, such as weddings, seasonal holidays, or corporate gatherings. Lightweight additions like dried florals, custom cardstock tags, or delicate charms add a layer of thoughtfulness without weighing down the sheer fabric. For a classic touch, a small sprig of dried lavender or baby’s breath tucked into the ribbon knot brings a natural, organic element to the gift.
When attaching these decorations, prioritize gentle methods that preserve the integrity of the organza fabric. Avoid pinning items directly through the sheer weave, as safety pins or straight pins will leave permanent holes or cause runs in the delicate material. Instead, thread custom tags or charms directly onto the decorative ribbon before tying the final bow. If you wish to use a wax seal, cast the seal separately on a silicone mat, apply a small dab of fabric-safe adhesive to the back, and press it gently onto the ribbon knot rather than directly onto the organza.
Adapting your color palette and embellishment style to the specific occasion helps create a memorable experience for the recipient. For a wedding in Singapore, soft pastel organza bags paired with cream satin ribbons and personalized monogram tags offer a timeless, romantic feel. For corporate gifting, matching the ribbon color to your brand’s palette and attaching a clean, debossed cardstock tag keeps the presentation professional and polished.
Troubleshooting Common Organza Bag Issues
Even with careful handling, the delicate nature of organza can occasionally present challenges during the assembly process. A common issue is a drawstring ribbon that becomes stuck, twisted, or bunched inside the fabric channel. If this occurs, do not yank the ribbon, as this can tear the thin casing. Instead, gently massage the fabric channel with your fingertips, smoothing out the bunched organza and slowly guiding the ribbon back into its flat, correct position.
Uneven gathers or a lopsided bag opening can make an otherwise beautiful gift look untidy. To correct this, hold the bag by its base and use your fingers to slide the gathered fabric along the drawstring casing, distributing the ruffles evenly from left to right. If the bag opening still appears crooked, loosen the base knot slightly, adjust the tension on each side of the drawstring, and retighten the knot while keeping the fabric centered.
Fraying ribbon ends are another frequent problem that detracts from a polished look. To manage minor fraying on synthetic organza or satin ribbons, you can apply a tiny amount of clear fray check solution to the cut edges. Alternatively, you can use a careful heat-sealing technique: hold the freshly cut ribbon end near—but not directly in—a small flame for a fraction of a second. The heat will melt the synthetic fibers slightly, sealing the edge and preventing future unraveling. Always perform this step in a well-ventilated area and away from flammable materials.
Frequently Asked Questions (FAQ)
Can I use a hair straightener or iron on an organza gift bag?
Yes, you can remove wrinkles from an organza gift bag using a hair straightener or a household iron, but you must proceed with extreme caution. Because organza is typically made from synthetic fibers like polyester or nylon, high heat will instantly melt or scorch the fabric. Always check the manufacturer’s packaging or care label for specific heat tolerances before applying any heat source. If no instructions are available, set your iron or hair straightener to its lowest possible heat setting. Always place a clean, white cotton pressing cloth or a piece of parchment paper between the organza and the heat source to protect the delicate fibers from direct contact.
How do I keep the drawstring from slipping undone?
To prevent smooth organza drawstrings from loosening over time or during transport, you can upgrade your base knot to a secure double knot or a surgeon’s knot, which provides extra friction. Another effective method is to slide a small, decorative tension bead onto the drawstrings before tying, pushing it tight against the gathered fabric to lock the tension in place. If the gift bag is intended for a single-use presentation and does not need to be opened and closed repeatedly, you can apply a tiny drop of clear fabric glue to the hidden underside of the knot. This permanently secures the knot without affecting the external appearance of the bow.

Community discussion
Share your experience or ask a question. Comments are reviewed before publication.