
A beautifully tied ribbon bow is the ultimate finishing touch that elevates a gift from simple to extraordinary. Whether preparing a present for a wedding, a birthday, or a festive celebration, a neat, symmetrical bow signals thoughtfulness and care before the recipient even opens the box. Achieving that crisp, boutique-quality look does not require professional training; instead, it relies on understanding ribbon mechanics, maintaining consistent tension, and following a structured tying sequence.
To create a classic bow that sits flat and remains secure, you must coordinate your choice of material with the physical dimensions of your gift. By mastering a few fundamental hand movements and learning how to troubleshoot common tension mistakes, you can consistently produce flawless bows that withstand handling and transit.
Choosing the Right Ribbon and Tools for Your Gift
Selecting the appropriate ribbon material is the first step toward achieving a structurally sound bow. Different textiles behave uniquely under tension, directly affecting how well your knot holds and how your loops drape.
Products mentioned in this guide
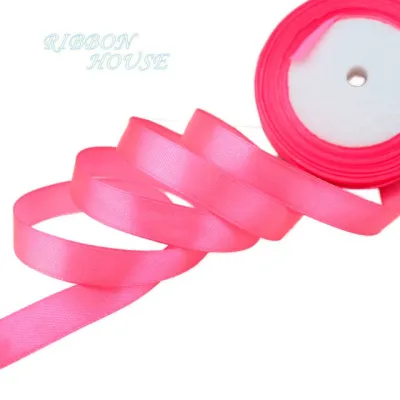
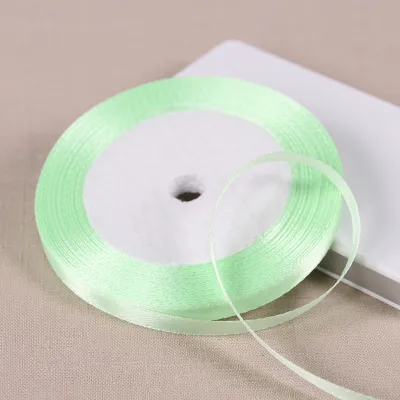
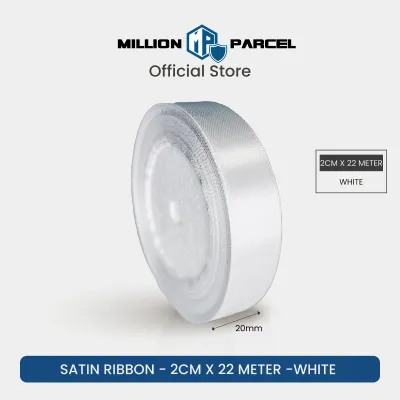
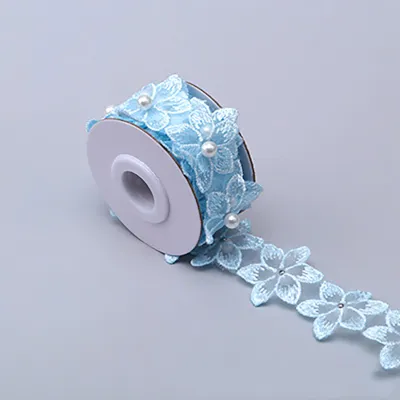
Prices are valid at publication and may change. Please refer to the product page for the latest price.
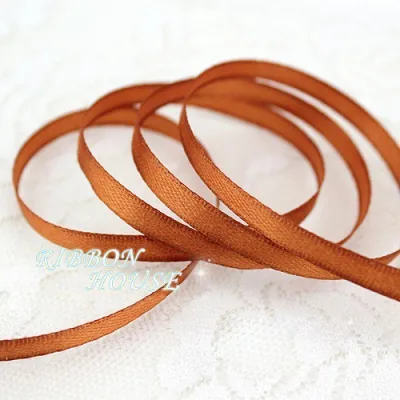
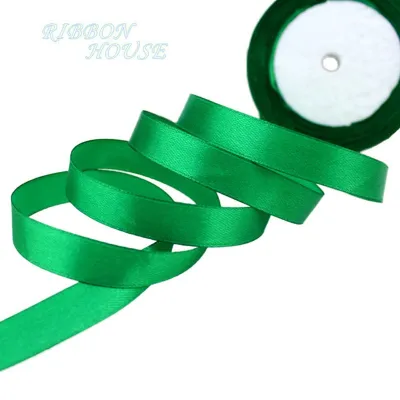
- Satin Ribbon: Known for its luxurious sheen and smooth texture, satin is highly popular for elegant gift wrapping. Double-faced satin features a polished finish on both sides, making it exceptionally forgiving for beginners as you do not have to worry about hiding a dull underside. However, its silk-like surface has very low friction, meaning knots can slip easily if not tied tightly or secured with an adhesive aid.
- Grosgrain Ribbon: This ribbon is characterized by its distinct ribbed texture and woven matte finish. The ridges create substantial friction, allowing the knot to lock firmly into place once tightened. Grosgrain offers excellent structural integrity, making it ideal for creating crisp, upright loops that hold their shape over time.
- Cotton and Linen Ribbons: These materials provide a rustic, organic aesthetic. They are highly tactile, easy to manipulate, and hold knots securely due to their natural surface texture. They are particularly suited for minimalist wrapping styles using kraft paper.
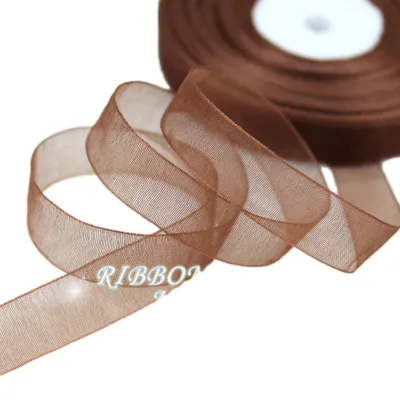
- Organza Ribbon: Sheer and lightweight, organza adds a delicate, airy feel. Because it is highly springy, it can be difficult to compress into a tight, flat center knot, often requiring a double-knot or a wire tie to keep it secure.
The width of your ribbon must be proportionate to the size of your gift box to maintain visual balance. A ribbon that is too narrow for a large box can look sparse and unfinished, while an excessively wide ribbon can overwhelm a small package.
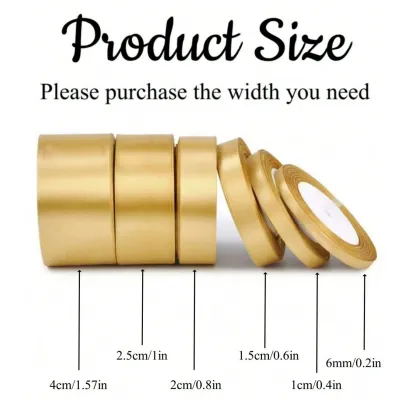
- Small Gift Boxes (e.g., jewellery, perfume): Use ribbons with a width between 6mm and 10mm.
- Medium Gift Boxes (e.g., books, shirts, cosmetic sets): Opt for ribbon widths between 15mm and 25mm.
- Large Gift Boxes or Hampers: Choose substantial ribbons ranging from 38mm to 50mm in width.
Before you begin wrapping, assemble a few essential tools to ensure a clean, professional finish. You will need a pair of dedicated fabric scissors; standard household or paper scissors often crush or chew through textile fibres, leaving frayed, unsightly edges. Keep a roll of high-quality double-sided tape or clear glue dots nearby. In Singapore’s warm and humid climate, standard paper adhesives can lose their tackiness quickly, so selecting a high-bond, moisture-resistant double-sided tape is recommended to secure the ribbon to the box and prevent the center knot from shifting during transit.
Step-by-Step: Tying the Classic Ribbon Bow
While many people attempt to tie a bow directly onto a wrapped box, tying the bow in your hands before securing it to the package offers far greater control over the symmetry of the loops and the tension of the central knot. This hand-tied method allows you to manipulate the ribbon freely without fighting the friction of the box’s corners or risking tearing the wrapping paper.

The absolute key to a professional-looking bow is keeping the ribbon completely flat and untwisted throughout the entire process. Every twist introduced in the early stages will compound as you tighten the knot, resulting in distorted loops and tails that point in awkward directions. Work on a clean, flat surface, and take your time with each step to verify that the ribbon remains smooth.
Step 1: Measuring and Crossing the Ribbon
Begin by estimating the length of ribbon required for your bow. A reliable baseline is to measure the width of your gift box and multiply that number by four, then add an additional 30 to 45 centimetres to account for the loops and trailing tails. If you plan to wrap the ribbon entirely around the box before tying the bow, you will need to add the height and length dimensions of the box to this calculation. It is always safer to cut your ribbon slightly longer than necessary, as trimming excess length at the end is simple, whereas correcting a ribbon that is too short is impossible.
Once your ribbon is cut, lay it flat across your work surface. Take the two ends of the ribbon and cross them over each other to form a clean “X” shape. Ensure that the point where the ribbons intersect is centered relative to the overall length.
Take the top strand of the “X” and tuck it under the bottom strand, pulling it through the loop to create a basic overhand knot. Pull both ends horizontally in opposite directions to create firm, even tension at the center. This foundation must sit completely flat against your work surface or the top of the box. If you are tying directly on a box, this is the stage where you should ensure the ribbon is snug against the packaging, leaving equal lengths of ribbon trailing on both the left and right sides.
Step 2: Creating the First Loop and Tail
With your foundation knot secured, you will now form the first half of the bow structure. Take the left strand of the ribbon and fold it back on itself to create a single loop, often referred to as the “bunny ear.” The remaining unlooped portion of this strand will form your first tail, so ensure you leave a sufficient length trailing downward.
Use the thumb and forefinger of your non-dominant hand to firmly pinch the base of this loop right where it meets the central foundation knot. This pinching action is critical; it locks the loop’s size in place and prevents the ribbon from slipping or unraveling while you prepare the second half of the bow.
If you are using single-faced satin or any ribbon with a distinct “right” and “wrong” side, check the orientation of the loop now. The shiny, finished side of the ribbon must face outward on the loop. If the matte underside is visible, gently twist the ribbon at the very base of the pinch to flip the correct side outward, ensuring the twist remains hidden within the central knot you are about to form.
Step 3: Forming the Second Loop and Securing the Knot
Take the right strand of the ribbon with your dominant hand. Bring it forward and wrap it completely over the front of the pinched base of your first loop, moving from top to bottom. This wrap will form the neat, flat band that sits directly in the center of your finished bow.
As you wrap the ribbon around the base, you will naturally create a small circular gap or tunnel behind the first loop, just above the foundation knot. Fold the middle section of the right strand to create a second loop, and push this folded loop through the gap from front to back. Do not push the entire tail through; only push the folded loop portion through to form the second “ear” of your bow.
To secure the knot, slide your index fingers inside both loops and hold the tails with your remaining fingers. Pull the two loops gently but firmly in opposite directions, away from the center. To ensure the knot sits perfectly flat and centered without distorting the shape of the loops, alternate between pulling the loops and gently pulling the tails. This gradual, coordinated tightening allows the fabric to settle smoothly into the knot without bunching or twisting.
Pro Tips for Symmetrical Loops and Clean Tails
Once your classic bow is tied, it will likely require minor adjustments to transition from a basic knot to a polished, professional masterpiece. Professional gift wrappers rely on specific refinement techniques to achieve perfect symmetry and clean, sharp lines.
Adjusting Loop Sizes Before pulling the central knot completely tight, you can easily adjust the size of your loops. To make a loop smaller, gently pull its corresponding tail downward. To make a loop larger, hold the central knot and pull the outer edge of the loop outward. Work incrementally, adjusting one side and then the other, until both loops are identical in size and proportioned beautifully to the gift box.
Cutting Professional Tails The way you trim the ends of your ribbon can dramatically alter the overall aesthetic of your gift. Never cut ribbon ends straight across, as this looks unfinished and encourages fraying. Instead, use one of these three classic cuts:
- The Diagonal Cut: Hold your fabric scissors at a sharp 45-degree angle to the ribbon and make a single, swift cut. This clean, modern angle is highly versatile and works well with almost all ribbon widths.
- The V-Cut (Swallowtail): Fold the end of the ribbon in half vertically (along its length). Position your scissors at the folded edge, pointing upward at a 45-degree angle toward the outer wire or fabric edge, and cut. When you unfold the ribbon, you will have a perfect, symmetrical "V" shape.
- The Inverted V-Cut: Follow the same folding method as the V-cut, but position your scissors at the outer edge, cutting upward toward the folded center. This creates a pointed tail, which adds a traditional, regal touch to holiday gifts.
Securing the Center Knot If you are working with slippery materials like satin or organza, the bow may slide around the box or the knot may slowly loosen over time. To prevent this, lift the finished bow slightly and place a small piece of high-tack double-sided tape or a clear glue dot directly onto the wrapping paper beneath the central knot. Press the knot firmly down onto the adhesive. This anchors the entire ribbon structure in place, keeping it perfectly centered and preventing the loops from drooping.
Fluffing the Loops To give your bow a luxurious, three-dimensional appearance, finish by fluffing the loops. Insert your fingers inside each loop and gently pull the top and bottom edges of the ribbon fabric outward. This expands the loop, hiding any minor internal twists and giving the bow a plump, rounded volume. For non-wired ribbons, this step adds a soft, elegant drape; for wired ribbons, it allows you to sculpt the loops into perfect, hollow spheres.
Troubleshooting Common Ribbon Bow Mistakes
Even with careful execution, ribbon can behave unpredictably. Understanding how to diagnose and correct common mistakes will save you time and prevent you from wasting expensive materials.
Twisted Loops If one of your loops is twisted or showing the dull underside of the ribbon, do not untie the entire bow. Instead, trace the twist back to the central knot. Gently wiggle the loop to loosen the knot slightly, then use your fingers to untwist the ribbon fabric right at the entry point of the knot. Once the ribbon is lying flat and the shiny side is facing outward, pull the loops tight again to lock the corrected orientation in place.
Bulky or Uneven Center Knot A bulky, messy center knot usually occurs when too much ribbon fabric is crammed into the central wrap, or if the ribbon twisted during Step 3. If the knot looks uneven, try using a flat tool like a dull butter knife or your fingernail to smooth out the folded fabric within the central band. If the knot remains thick and distorted, it is best to accept that the initial tension was uneven. Untie the bow completely, smooth out the ribbon, and restart, paying close attention to keeping the wrapping strand flat as it goes around the pinched base.
Uneven Tails Attempting to cut your ribbon to the exact final length before tying the bow almost always results in uneven tails, as one side of the ribbon is naturally consumed more than the other during the knotting process. To avoid this, always leave your tails slightly longer than desired during the tying phase. Once the central knot is fully tightened and the loops are perfectly sized, align the two tails side-by-side, measure them against each other, and make your final cuts. This ensures perfect symmetry every time.
When to Stop and Restart Ribbon can only withstand a limited amount of friction and tension. If you have untied and retied the same section of ribbon multiple times, the material may become heavily creased, limp, or frayed along the edges. This is especially true for delicate satin or metallic ribbons. If the ribbon loses its structural integrity, it will no longer hold crisp loops or a tight knot. When this happens, cut a fresh piece of ribbon; attempting to salvage damaged material will only result in a frustrated wrapping experience and a subpar final presentation.
Frequently Asked Questions (FAQ)
How much ribbon do I need to tie a standard bow?
To tie a classic bow directly onto a gift box, a reliable rule of thumb is to calculate three to four times the width of your box, then add an additional 30 to 45 centimetres (12 to 18 inches) to accommodate the loops and tails. If you plan to wrap the ribbon around all four sides of the box in a cross-pattern before tying, you will need to measure the complete perimeter of the box (length, width, and depth) and add 60 centimetres. Wider ribbons require more length to form proportioned loops, so always lean toward cutting a slightly longer piece to avoid running out of material mid-tie.
How do I keep the ribbon from fraying at the ends?
To prevent ribbon ends from fraying, always use sharp, dedicated fabric scissors, as dull blades crush the woven fibres and accelerate unraveling. For synthetic ribbons like polyester satin, nylon, or organza, you can seal the edges using heat. Carefully pass the freshly cut ribbon tail near—but not directly into—the flame of a lighter for a fraction of a second; the heat will melt the synthetic fibres, creating a tiny, invisible plastic bead that locks the edge.
- Safety Warning: Always perform heat-sealing in a well-ventilated area, clear of flammable wrapping paper, gift boxes, or solvents. Keep blades and open flames out of reach of children.
- Alternative for Natural Fibres: Natural fibres like cotton, linen, or silk will not melt under heat and will burn instead. For these materials, apply a tiny dab of clear fabric glue or specialized fray-check liquid along the cut edge to secure the threads.
Can I use wired ribbon for a classic bow?
While wired ribbon is excellent for holding complex shapes, its internal wire makes the central knot of a classic bow very bulky, stiff, and difficult to tie flat. Wired ribbon is generally better suited for structural, multi-loop bows where the loops are stacked and secured with a wire tie rather than hand-knotted. If you choose to use wired ribbon for a classic hand-tied bow, ensure you make larger loops to balance the thick center knot, keep your tension slightly looser during the knotting phase, and avoid pulling the tails too aggressively to prevent the wire from kinking or snapping.

Community discussion
Share your experience or ask a question. Comments are reviewed before publication.