
Embroidery is a deeply satisfying craft, but struggling to get your thread through the eye of a needle can quickly halt your creative momentum. For beginners, this initial step can feel like a test of patience, especially when working with multi-stranded embroidery floss that tends to split or bend. Fortunately, mastering this skill is not about having sharp eyesight or steady hands; it is entirely about technique, preparation, and using the right tools. By learning a few reliable methods, you can transition from setup to stitching in seconds, keeping your focus on the joy of creating.
Understanding how your materials interact is the first step toward frustration-free threading. Embroidery floss consists of multiple individual strands twisted together, which gives your stitches beautiful texture but also makes the thread prone to spreading apart when pushed through a small opening. Learning how to prepare your materials and choosing the right threading technique for your specific project will save you time and preserve your materials.
Preparing Your Thread and Needle
Before attempting to thread your needle, preparing your materials makes the process significantly easier. The relationship between your needle, thread, and fabric determines how easily you can thread the needle and how smoothly your stitches will glide. Choosing mismatched tools is one of the most common reasons beginners experience split threads and hand fatigue.
Products mentioned in this guide
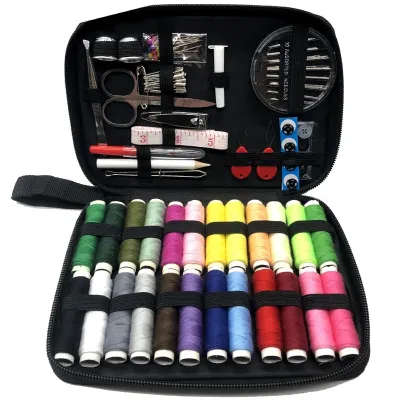
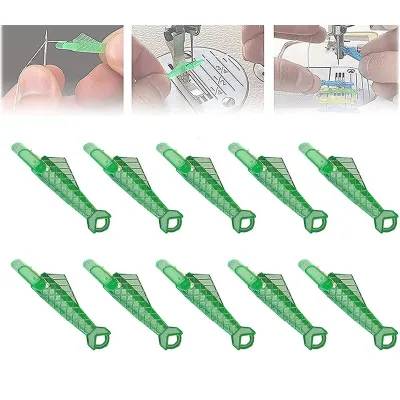
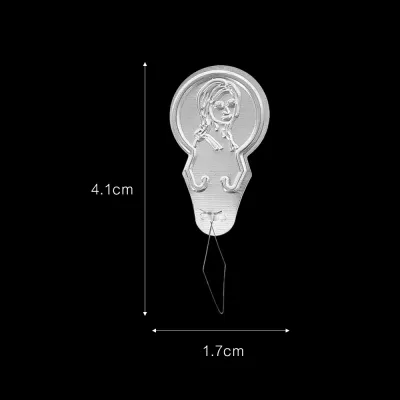
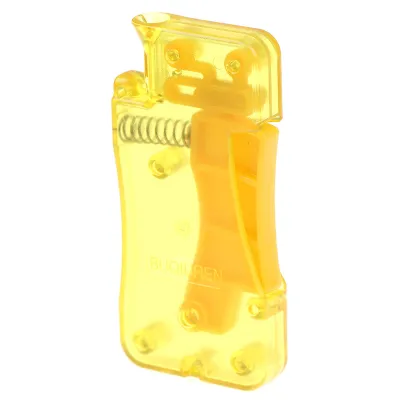
Prices are valid at publication and may change. Please refer to the product page for the latest price.
Embroidery needles, often called crewel needles, feature a medium-to-long eye designed to accommodate multiple strands of floss. When selecting a needle, match the size of the needle eye to the thickness of the thread. If the eye is too small, forcing the thread through will strip or shred the fibers, weakening your thread. Conversely, if the eye is excessively large, it will create unnecessarily large holes in your fabric.
The length of your thread also plays a critical role in how well it behaves. A common beginner mistake is cutting a very long piece of floss to avoid having to re-thread frequently. However, long strands are highly susceptible to twisting, knotting, and fraying as they repeatedly pass through the fabric. The ideal length for a single piece of embroidery floss is roughly the distance from your fingertips to your elbow, which is generally between 45 and 50 centimeters.
Before starting, inspect your needle for manufacturing defects. Run your fingertip gently over the eye of the needle to check for tiny metal burrs or sharp edges. High-quality needles have smooth, polished eyes that allow the thread to pass through without catching. If you feel any rough spots, discard that needle, as those microscopic imperfections will repeatedly slice through your embroidery floss, causing it to fray and break mid-stitch.
Step-by-Step Guide to Threading the Needle
Once your materials are prepped, you can choose between two primary approaches to get your thread through the needle eye: hand threading or using a mechanical aid. Both methods are highly effective, and knowing how to do both allows you to adapt to different stitching situations.

Hand threading relies on finger tension and precise positioning, making it a quick and convenient option when working with standard needle sizes. Mechanical aids, such as wire or metal needle threaders, are excellent when working with very fine needles, thick wool threads, or when low lighting makes manual threading difficult.
The Pinch and Push Method (Hand Threading)
The pinch and push method is the classic hand-threading technique used by experienced stitchers worldwide. Instead of trying to aim a floppy, loose thread end through a tiny hole, this method uses your fingers to compress the fibers into a solid, controllable point.
To begin, use a sharp pair of embroidery scissors to trim the end of your thread. Make the cut at a clean, 45-degree angle rather than straight across. This angled cut creates a natural point at the tip of the thread, making it much easier to guide into the needle eye. Avoid using dull household scissors, as they will crush the fibers and cause the thread to spread out immediately.
Next, hold the thread between the thumb and index finger of your non-dominant hand. Pull the thread down into your fingers until only a tiny fraction of a millimeter of the tip is visible above your skin. By pinching the thread this tightly, you prevent the individual strands from separating or bending when they make contact with the needle.
Now, instead of trying to push the thread into the needle, bring the needle to the thread. Hold the needle in your dominant hand and align the eye vertically with the tiny thread tip. Slowly push the eye of the needle down onto the pinched thread tip. As you feel the needle make contact, slightly release the pressure of your pinch, allowing the compressed thread to slide directly into the eye. Once a small loop of thread emerges on the other side of the eye, pull it through to secure it.
Using a Needle Threader Tool
If you are working with a very small needle eye or multiple strands of thick floss, a needle threader tool is an invaluable accessory. These simple tools eliminate the need for precise hand-eye coordination and protect your thread from fraying during the setup process.
To use a classic wire loop needle threader, hold the handle of the threader in your dominant hand and the needle in your other hand. Gently insert the flexible wire loop of the threader through the eye of the needle, moving from the front of the needle to the back. The wire loop is designed to compress easily, allowing it to pass through even very narrow openings.
Once the wire loop is fully through the needle eye, it will spring open on the other side, creating a large, easy-to-target opening. Take the end of your embroidery floss and pass it through this wire loop. You only need to thread a short tail of about two to three centimeters through the loop to keep it in place.
Finally, hold the needle securely and gently pull the handle of the needle threader back out of the needle eye. As the wire loop passes back through the eye, it will collapse and pull your embroidery thread along with it. Once the thread has been drawn through the eye, slide the wire threader off the end of the thread, leaving your needle successfully threaded and ready for action.
Troubleshooting Common Threading Frustrations
Even with the correct technique, you may occasionally encounter difficulties when threading your needle. Understanding how to troubleshoot these minor issues will keep your embroidery sessions relaxing and productive.
If your thread repeatedly frays, splits, or flattens as you attempt to thread it, stop trying to force the damaged end through the needle. Every failed attempt crushes the fibers further, making subsequent tries even more difficult. Simply take your scissors and cut off the damaged section, creating a fresh, clean, angled edge. Working with a freshly cut tip is often all it takes to solve the problem.
Poor lighting is another common obstacle that can make the needle eye difficult to see. Position a bright, direct light source over your workspace, or sit near a window to utilize natural daylight. If you are still struggling to see the eye, hold a piece of white paper or a light-colored fabric behind the needle to create a high-contrast background that clearly defines the shape of the opening.
If your thread is particularly soft or limp, you can temporarily stiffen the tip of the thread to give it more structural integrity. Running the very tip of the thread over a small block of natural beeswax will coat and bind the fibers together, creating a stiff point that slides easily through the eye. Alternatively, a tiny drop of moisture on your fingertips can help hold the fibers together, though beeswax is preferred as it does not leave residue on your fabric.
Securing the Thread to Start Embroidery
Once your needle is successfully threaded, you must secure the thread so that it does not pull through the fabric when you make your first stitch, while also ensuring the needle does not slip off the thread.
To prevent the needle from unthreading itself while you work, always leave an adequate tail of thread hanging through the eye. This tail should be approximately 8 to 10 centimeters long. As you stitch, maintain a light grip on both the needle and this tail with your fingers to keep the thread from sliding out of the eye during upward pulling motions.
For most standard embroidery projects, the simplest way to secure your thread is by tying a basic stopper knot at the long tail end of the floss. To make a clean knot, wrap the end of the thread around your index finger once, roll the loop off your finger using your thumb, and pull the resulting knot tight. This creates a small, secure knot that will sit flat against the back of your fabric, preventing the thread from pulling through.
If you are working on delicate fabrics or want a completely flat, professional finish without any knots on the back of your work, you can use the loop start method. This technique is ideal when you are working with an even number of strands, such as two. Cut a single strand of floss that is twice as long as your desired working length, fold it exactly in half, and thread the two cut ends through the needle eye. This leaves a natural loop at the long end of your thread. Bring your needle up through the fabric from the back, make your first small stitch downward, and pass your needle through the thread loop on the back of the fabric before pulling the stitch tight to anchor it securely without a knot.
Frequently Asked Questions (FAQ)
Should I use single or double thread for embroidery? (FAQ)
Whether you should use a single or double thread depends entirely on the desired texture, thickness, and style of your embroidery project. Using a single strand of embroidery floss allows for incredibly fine, detailed work, such as delicate floral petals or precise line work, but it requires more patience and provides less coverage. Doubling your thread—either by folding a single strand in half or using multiple strands together—creates thicker, more raised stitches that fill shapes quickly and add dramatic texture to your design. When you double your thread, ensure your needle eye is large enough to accommodate the extra thickness without causing friction, and adjust your fabric tension to prevent puckering.
Why does my embroidery floss keep twisting while threading? (FAQ)
Embroidery floss is made of multiple individual strands that are twisted together during manufacturing, and this structure holds a natural tension. When you cut a length of floss, this tension is released, which can cause the thread to twist, curl, or knot up as you try to handle it. To manage this natural twist before threading, hold your cut length of thread by one end and let it hang freely in the air for a few seconds, allowing the built-up rotational tension to spin out naturally. You can also gently stroke the thread between your thumb and index finger from top to bottom to align the fibers and smooth out any remaining twists before attempting to thread your needle.

Community discussion
Share your experience or ask a question. Comments are reviewed before publication.