
Threading a needle does not have to be a test of patience or a source of eye strain. By understanding how different thread fibers behave under tension and applying simple physical alignment techniques, you can guide thread through a needle eye on your very first attempt. Whether you are working on a quick garment repair, starting an intricate embroidery project, or teaching a beginner, mastering a few manual adjustments will save time and prevent frustration.
Many people struggle with threading because they attempt to push a limp, frayed thread end through a tiny, moving target. By shifting your approach from pushing the thread to bringing the needle to the thread, and by preparing your materials correctly, you can make the process seamless. This guide covers practical manual techniques, adaptive strategies for shaky hands or poor eyesight, and clever household hacks that require no specialized tools.
Preparing Your Needle and Thread for Success
Before attempting to thread a needle, it is essential to verify that your materials are compatible. The size of the needle eye must match the thickness of your thread. If you attempt to force a thick embroidery floss or heavy-duty button thread through a petite quilting needle, the fibers will bunch up, flatten, and inevitably fray. Check the manufacturer guidelines on your needle packaging to ensure the eye size is rated for the specific thread weight you are using.
Products mentioned in this guide
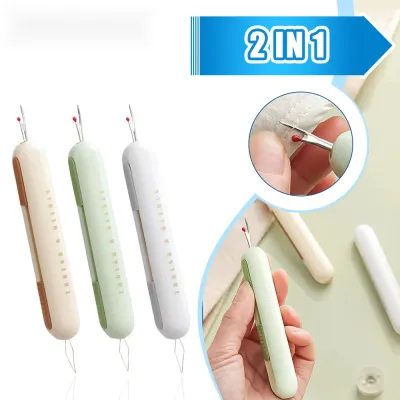
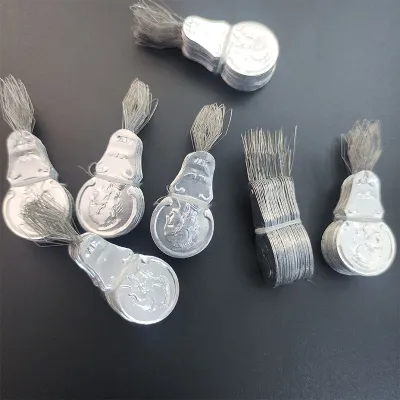
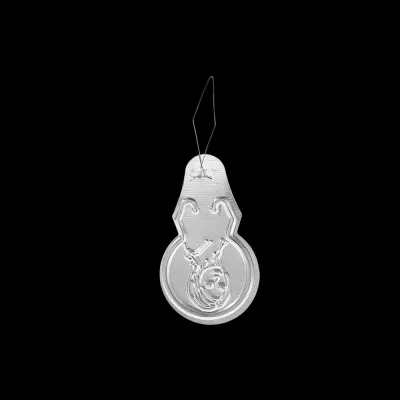
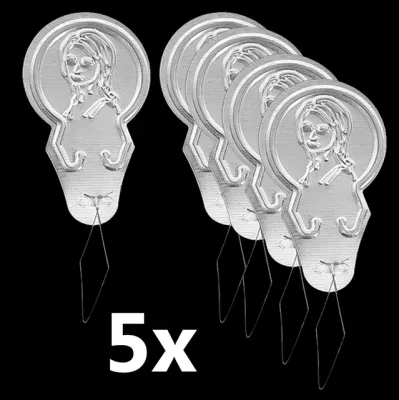
Prices are valid at publication and may change. Please refer to the product page for the latest price.
The way you cut your thread plays a critical role in how easily it passes through the needle eye. Never tear thread by hand or use dull household scissors, as this crushes the delicate fibers and creates a frayed, broom-like end. Instead, use a pair of sharp embroidery scissors or fabric shears to cut the thread at a clean, 45-degree angle. This diagonal cut creates a sharp, pointed tip that enters the needle eye much more smoothly than a flat, blunt end.
Your physical workspace also heavily influences your success. Proper illumination is critical for reducing eye strain and clearly seeing the tiny opening of the needle eye. Position an adjustable desk lamp so it shines directly onto your hands without casting shadows. Additionally, choose a background color that contrasts sharply with your thread. If you are working with light-colored thread, place a piece of dark paper or fabric on your work surface; for dark thread, use a white or cream-colored background to make the needle eye stand out.
Step-by-Step Manual Threading Techniques
The pinch-and-push method is one of the most reliable manual techniques because it eliminates the flexibility of the thread. Instead of holding the thread far from the end and trying to aim it, pinch the thread between your thumb and index finger. Leave only a tiny fraction of a millimeter of the thread tip exposed—just enough to see it. Hold the needle in your other hand and bring the needle eye directly to the pinched thread, pushing the eye onto the thread tip. Because the thread is held so closely, it cannot bend or fold as it enters the eye.

Another effective manual approach is the palm-rolling trick, which is particularly useful for multi-strand embroidery floss or loosely twisted threads. Lay the cut end of the thread flat across the palm of your hand. Hold the needle in your other hand with the eye facing downward, resting directly over the thread. Gently rub the needle eye back and forth against the thread on your palm in a small, circular motion. The friction will cause the fibers to bunch up and push through the eye, forming a small loop that you can easily grasp and pull through.
Moistening the thread tip is a classic technique to temporarily bind loose fibers together into a cohesive point. While many people instinctively use saliva, a clean, damp sponge or a touch of beeswax is a more hygienic and professional alternative. Lightly pull the cut end of the thread across the damp sponge or beeswax block. This action slicks down any stray fibers and temporarily stiffens the tip, making it much easier to guide through the needle eye without splitting.
Adaptive Tricks for Poor Eyesight and Shaky Hands
If you experience visual or motor challenges, simple adjustments to your environment can make handwork much more accessible. Setting up high-contrast visual aids is a highly effective way to make the needle eye visible. You can create a simple contrast card by taping a small square of black cardstock to one side of an index card and leaving the other side white. Hold this card directly behind your needle as you thread it to instantly define the boundaries of the needle eye.
Stabilizing your hands is key to overcoming tremors or shakiness. Avoid trying to thread a needle with your hands suspended in the air. Instead, sit at a sturdy table and rest both of your elbows firmly on the surface. Bring your hands together so that your wrists or the heels of your palms are touching. This physical connection anchors your hands, significantly reducing micro-tremors and allowing you to align the needle and thread with greater precision.
Evaluating magnification options can also transform your sewing experience. Simple reading glasses with a slightly higher magnification than your standard prescription can provide the necessary clarity for detailed tasks. For a hands-free solution, consider using clip-on magnifiers that attach directly to your existing eyewear, or invest in an adjustable desk lamp equipped with a built-in magnifying lens. These tools enlarge the needle eye, allowing you to focus on alignment without straining your eyes.
Using Household Items as a Needle Thread Insert Aid
When a commercial needle threader is not available, you can easily repurpose everyday household items to assist you. The paper fold method is an excellent technique that uses a small piece of paper as a rigid guide. Cut a very thin strip of lightweight paper, such as wrapping paper or notebook paper, about two inches long and narrow enough to fit through the needle eye. Fold the strip in half lengthwise, place your thread inside the fold, and slide the folded paper point through the needle eye. The stiff paper will easily pass through, carrying the thread along with it, after which you can simply pull the paper away.
A clean, dry toothbrush with stiff, straight bristles can also serve as a temporary threading aid. Lay your thread flat across the bristles of the toothbrush. Take your needle and press the eye down vertically onto the thread and bristles. The stiff bristles will push a small loop of the thread up through the needle eye. Once the loop emerges on the other side of the eye, you can easily grab it with your fingers or a pair of tweezers and pull the rest of the thread through.
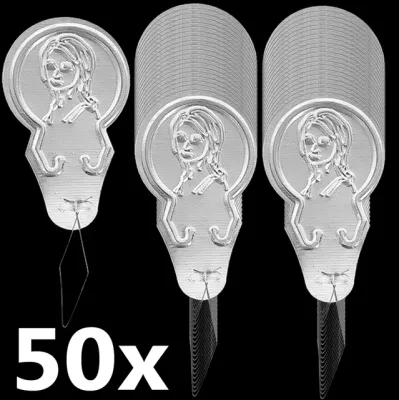
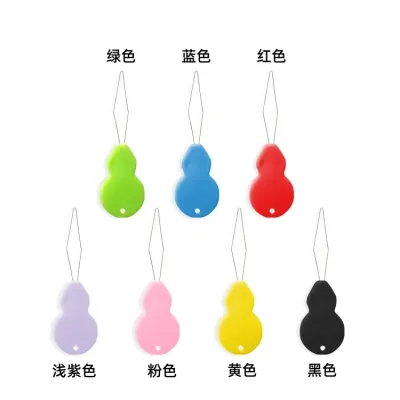
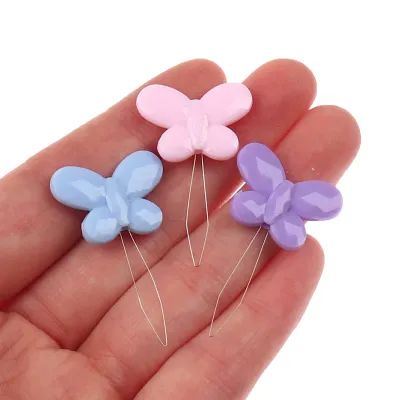
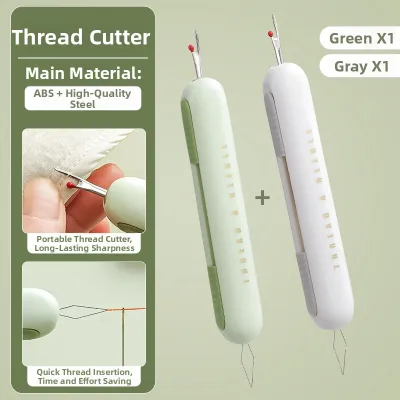
While these household hacks are highly effective for occasional sewing tasks, they have their limits. If you sew, quilt, or embroider frequently, these methods can become tedious. In such cases, purchasing a dedicated wire-loop needle threader or an automatic needle threading tool is a worthwhile investment. These tools are specifically designed to handle repetitive threading quickly and efficiently without damaging delicate needle eyes or fraying high-quality threads.
Troubleshooting Common Threading Frustrations
If you find yourself repeatedly failing to thread a needle, the tip of the thread has likely become soft, bent, or frayed from multiple attempts. Forcing a damaged thread end through a needle eye is nearly impossible and will only lead to further frustration. Take a moment to trim the end of the thread again with sharp scissors, removing the worn section entirely to start fresh with a stiff, clean, and angled point.
Sometimes the obstacle is not your technique, but the needle itself. Inexpensive or older needles can have manufacturing defects, such as tiny metal burrs inside the eye, or they may have accumulated dirt, lint, or rust over time. Inspect the needle eye under a bright light or magnifier. If you notice any obstructions, rough edges, or deformation that might catch the thread fibers, replace the needle immediately to prevent thread breakage and frustration.
If you continue to struggle despite using proper techniques and a clean needle, your thread and needle may simply be incompatible. Do not hesitate to abandon your current setup and make an adjustment. Switching to a needle with a larger eye or opting for a thinner, smoother thread can instantly resolve the issue. Matching your materials correctly ensures a smooth sewing experience and allows you to focus on your craft.
Frequently Asked Questions (FAQ)
Why does my thread keep fraying when I try to thread the needle?
Thread frays when its individual fibers are subjected to friction against the hard edges of the needle eye. This typically happens if the needle eye is too small for the thread thickness, if you are using dull scissors that crush the fibers during cutting, or if you repeatedly attempt to push a soft thread end through the eye. To prevent this, always use sharp shears for a clean cut and ensure your needle size matches your thread weight.
Is it better to wet the thread with water or saliva?
While saliva is a common quick fix, using a clean, damp sponge or a specialized thread conditioner is generally better for your materials. Saliva contains enzymes and bacteria that can break down natural fibers like cotton or silk over time, and it may leave stains on delicate fabrics. A tiny drop of water or a light swipe of beeswax binds the fibers just as effectively without risking damage or discoloration to your project.

Community discussion
Share your experience or ask a question. Comments are reviewed before publication.