
Selecting the correct needle for sewing is the foundation of clean, durable stitches and frustration-free sewing. To read a sewing needle size, look for the dual numbers on the packaging, such as 70/10 or 90/14, where the first number represents the metric size (blade diameter in hundredths of a millimeter) and the second represents the imperial size. Choosing the right needle requires matching the needle’s thickness and point type to the weight of your fabric and the thickness of your thread. A mismatched needle can lead to skipped stitches, broken threads, or permanently damaged fabric fibers. By understanding how these sizing systems work and performing simple manual tests, you can confidently select a suitable needle for any sewing project.
Understanding Sewing Needle Sizing Systems
Sewing needle packaging typically displays two numbers separated by a slash, representing two distinct sizing conventions. The first number is the metric sizing system, also known as the European system or Number Metric (Nm). This value represents the diameter of the needle blade measured in hundredths of a millimeter. For example, a needle labeled with a metric size of 80 has a blade diameter of exactly 0.8 millimeters. This system is highly standardized and offers a direct, physical measurement of the needle’s thickness, making it easy to understand how much physical space the needle will occupy as it penetrates the fabric.
The second number, usually following the slash, belongs to the imperial or Singer sizing system, which is common in historical sewing contexts. This system uses an arbitrary numbering scale, typically ranging from 8 to 20 for domestic sewing machines, where smaller numbers indicate finer needles and larger numbers indicate thicker needles. Modern needle manufacturers almost universally print both numbers on their packaging to ensure clarity across different regions. When you see a label like 90/14, you are looking at a needle that measures 0.9 millimeters in blade diameter (metric 90) and corresponds to a size 14 in the imperial system.
Products mentioned in this guide
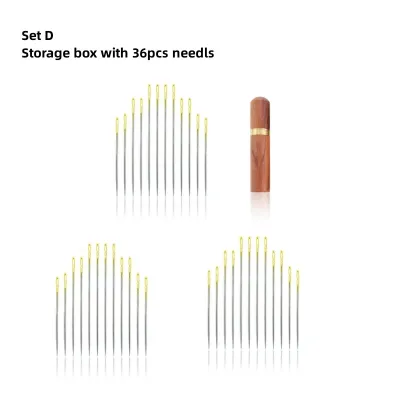
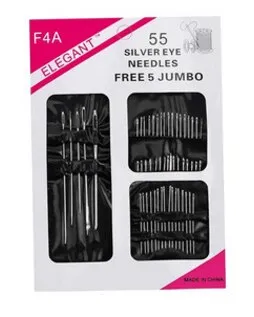
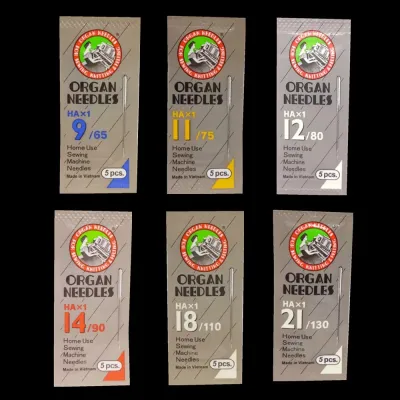
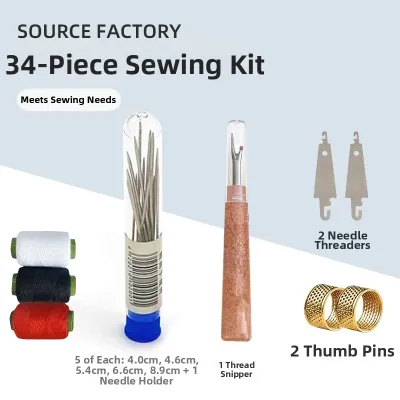
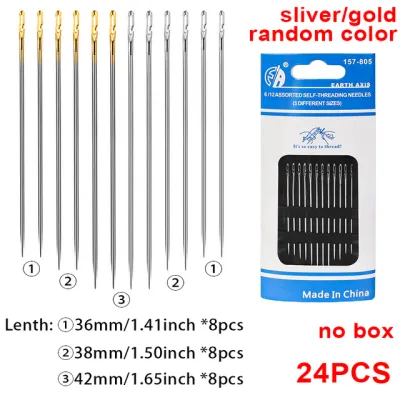
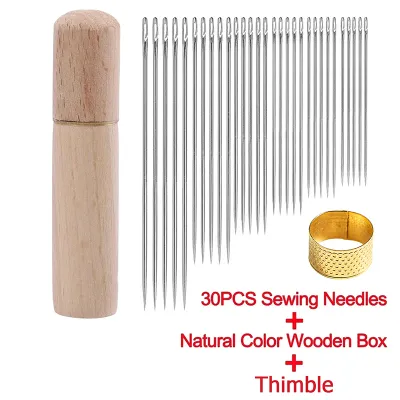
Prices are valid at publication and may change. Please refer to the product page for the latest price.
Matching Needle Size to Fabric Thickness
The fundamental rule of needle selection is that the weight and density of your fabric dictate the thickness of the needle blade. Lightweight, delicate fabrics require a thin needle with a low size number to prevent leaving visible holes or tearing the delicate weave. Conversely, heavy, dense fabrics require a thick, sturdy needle with a high size number to penetrate the material without bending or breaking. Matching these elements correctly ensures that the needle creates a hole just large enough for the thread to pass through without distorting the fabric structure.

To determine the weight of your fabric, observe its physical characteristics such as sheerness, thread count, and overall density. Very sheer fabrics like chiffon, organza, and lace are classified as lightweight and generally pair best with needle sizes ranging from 60/8 to 70/10. Medium-weight fabrics, including quilting cotton, linen, and lightweight wool, are highly versatile and typically require needle sizes from 80/12 to 90/14. Heavyweight materials like denim, canvas, upholstery fabrics, and heavy wool demand robust needles in the range of 100/16 to 110/18 to handle the intense resistance of the dense fibers.
Before starting any project, perform a quick penetration test on a scrap piece of your project fabric. Fold the scrap to replicate the exact number of layers you will be stitching, including any interfacing or seams. Sew a few test stitches and closely inspect the results for any signs of fabric damage, such as pulled threads, large puncture holes, or puckering around the stitch line. If you notice visible holes after the needle passes through, switch to a smaller needle size; if the needle struggles to pierce the layers or makes a loud thudding sound, transition to a larger, stronger size.
Matching Needle Size to Thread Weight
A successful stitch relies not only on how the needle interacts with the fabric, but also on how it accommodates the thread. The front of a sewing machine needle features a long groove designed to cradle the thread as it passes through the fabric, protecting it from friction. If the needle eye and groove are too small for the chosen thread, the thread will rub against the fabric and the needle itself, leading to shredding, snapping, or severe tension imbalances. If the eye is excessively large for a very fine thread, the thread may wobble, resulting in loose, uneven stitches.
You can perform a simple manual threading test to verify if your thread and needle are compatible before threading your machine. Take a loose needle and thread it by hand, holding a length of the thread vertically with the needle at the top. If the needle is sized correctly for the thread, it should slide smoothly down the thread under its own weight when you tilt the strand slightly. If the needle clings to the thread or fails to slide, the eye is too small, and you must select a larger needle size or a finer thread.
Adjusting your needle size is particularly important when moving away from standard all-purpose polyester threads. When working with heavy-duty threads, topstitching threads, or thick buttonhole twists, you must scale up your needle size to a 90/14 or 100/16 to ensure the eye is wide enough to prevent friction. When using delicate embroidery floss, metallic threads, or fine silk threads, you must select specialty needles with specially polished, enlarged eyes that prevent the delicate strands from stripping or breaking during high-speed stitching.
Diagnosing Stitching Problems: Signs of the Wrong Needle
Many common sewing machine frustrations that are initially blamed on mechanical failure are actually caused by using an incorrect or worn-out needle. Skipped stitches occur when the needle fails to form a loop with the bobbin thread beneath the needle plate, often because the needle is too small to penetrate the fabric cleanly or because it is slightly bent. Thread shredding and frequent breaks usually indicate that the needle eye is too small for the thread weight, causing the fibers to wear down and snap under tension.
Fabric puckering along the seam line is another classic sign of a mismatched needle, typically occurring when a needle that is too thick forces its way through a tightly woven fabric, distorting the surrounding threads. You should also listen closely to the sound of your sewing machine as you work. A distinct popping or thudding sound every time the needle penetrates the fabric is a clear warning that the needle is either too dull or too thick for the material, physically punching its way through rather than sliding between the fibers.
To resolve these issues systematically, establish a reliable troubleshooting sequence whenever your stitches look uneven or your machine struggles. First, stop sewing immediately and raise the needle bar to its highest position to prevent further damage to your fabric. Remove the needle and inspect it closely under good lighting, checking the tip for tiny burrs or a slight bend by rolling the flat side of the shank on a flat surface. If you detect any imperfections, or if the needle has been used for several hours, discard it and replace it with a fresh needle of the correct size and point type for your specific fabric and thread combination.
Selecting Specialty Needles for Specific Needlework
Beyond selecting the correct size, choosing the right needle point type is essential for achieving professional results on different types of textiles. Universal needles feature a slightly rounded profile that is sharp enough to pierce woven fabrics but rounded enough to handle some knits, making them a versatile choice for general sewing. However, knit fabrics like jersey, interlock, and ribbing require ballpoint or stretch needles, which feature a more rounded tip designed to slide between the knit loops rather than piercing and cutting the delicate yarns, preventing runs and holes.
For tightly woven fabrics like microfiber, silk, and synthetic polyesters, sharp or Microtex needles are an appropriate choice. These needles feature a very slim, acute point that easily penetrates dense weaves to produce straight, crisp stitches without puckering. Specialty needlework tasks also benefit from purpose-built needles; embroidery needles have a wider eye and a special groove to protect decorative threads, quilting needles feature a tapered point to glide through multiple layers and batting, and leather needles have a cutting point designed to slice through hide without tearing it.
Always consult your sewing machine’s instruction manual to verify compatibility before purchasing specialty needles. While most modern domestic sewing machines use standard flat-shank needles (often designated as 130/705 H), some older models, industrial machines, or specialized embroidery units may require specific shank shapes or lengths. Ensuring that your chosen needle matches both your machine’s specifications and your project’s material requirements will support smooth operation and beautiful, lasting stitches.
Frequently Asked Questions (FAQ)
How often should I replace my sewing needle?
You should generally replace your sewing needle after approximately six to eight hours of active sewing time, or at the start of every major new project. Physical signs of wear such as a dull point, a bent shaft, or tiny burrs along the eye require immediate replacement to protect your fabric from snags and runs. The abrasiveness of your fabric also plays a significant role; dense, synthetic, or heavily treated materials will wear down a needle’s sharp edge much faster than soft, natural fibers like cotton or linen.
Can I use the same needle size for both machine and hand sewing?
No, you cannot use the same sizing scale or needles interchangeably for both machine and hand sewing. Hand sewing needles use an entirely different sizing system where larger numbers actually indicate smaller, finer needles, which is the exact opposite of the machine needle sizing convention. Additionally, hand needles lack the flat shank, front groove, and specific eye configuration required to function safely and correctly in a sewing machine, so you must always check the packaging to ensure you are using the correct needle type for your method.
Community discussion
Share your experience or ask a question. Comments are reviewed before publication.