
Styling a transparent gift bag requires shifting your mindset from hiding a gift to curating an exhibition. Unlike traditional paper bags that conceal their contents, a clear bag puts every item, color, and texture on display. Achieving a polished, professional presentation relies on three core principles: structural stability, intentional layering, and a cohesive color palette. By treating the bag as a miniature display case, you can transform simple items into an elegant, cohesive visual experience.
To create a presentation that looks intentional rather than cluttered, you must carefully plan how each element interacts with the light and the bag’s clear walls. This guide walks you through selecting the right materials, arranging items for maximum visual impact, and applying professional finishing touches that elevate your gift-giving.
Choosing the Right Materials and Tools for Clear Gift Bags
The foundation of a stunning clear gift presentation is the bag itself. When selecting a transparent bag, prioritize material thickness and clarity. High-quality bags made from heavy-duty PVC or premium cast polypropylene (CPP) offer a crystal-clear view and maintain their shape under weight. Look for bags with a thickness of at least 1.5 to 2 mils to prevent unsightly creasing or stretching.
Products mentioned in this guide
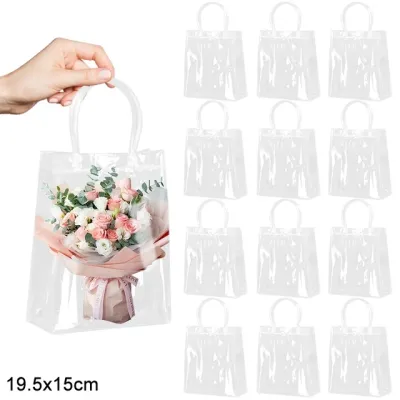
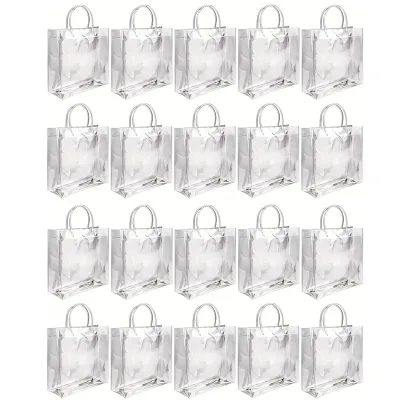
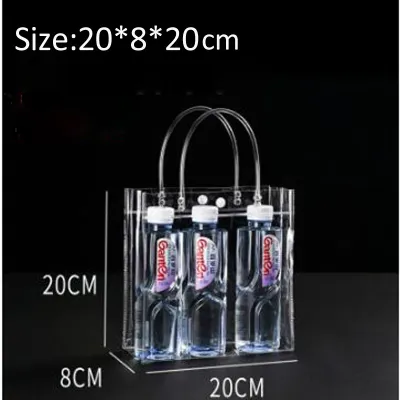
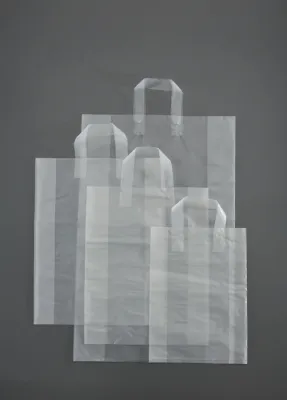
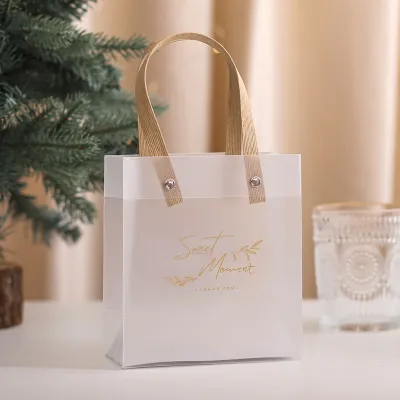
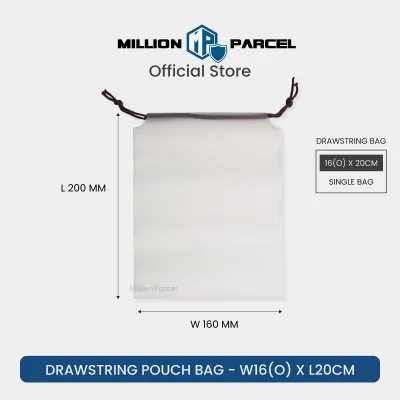
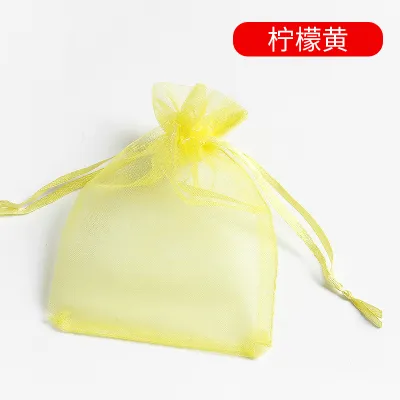
Prices are valid at publication and may change. Please refer to the product page for the latest price.
Examine the seams and handle attachments carefully. Reinforced heat-sealed edges and sturdy, integrated handles ensure the bag can safely carry its contents without risk of tearing. A flat, structured bottom is also essential, as it allows the bag to stand upright independently on flat surfaces.
Structural fillers and tissue paper are crucial for providing support and adding color without obscuring the gifts. Select high-density crinkle paper or wood shred that resists compression. Flimsy, lightweight shreds tend to flatten under the weight of the gifts, causing the items to sink and lose their alignment.
When choosing tissue paper, opt for acid-free sheets with a crisp, firm texture. This ensures the paper holds its shape when folded, pleated, or puffed, rather than collapsing into a limp mass at the bottom of the bag.
Your choice of ribbons, tags, and embellishments should complement the bag’s dimensions and the occasion. For larger bags, wide satin, velvet, or grosgrain ribbons create a dramatic, luxurious focal point. Smaller bags are better suited to delicate organza ribbons, baker’s twine, or metallic cords.
Select a color palette of two to three coordinating shades that match the items inside the bag. This creates a unified theme and prevents the final presentation from looking chaotic or visually overwhelming.
Layering and Arranging Contents for a Balanced Display
Arranging items inside a transparent bag requires a systematic approach to ensure everything remains visible and visually balanced. Begin by building a stable, level base using your chosen structural filler. Pack a generous layer of crinkle paper or shredded wood into the bottom of the bag, pressing down lightly to create a dense, supportive cushion.

This base layer serves two purposes: it prevents heavier items from sinking to the bottom and raises smaller items so they sit at an optimal viewing height. Without this foundation, items will shift and slide, ruining the clean lines of your presentation.
Once the base is established, arrange the gifts using a tiered, front-facing composition. Place the tallest, heaviest, and most structurally stable items at the very back of the bag to form a solid background. Position medium-sized items in the center, slightly overlapping the back layer to create depth.
Finally, place the smallest, most detailed, or visually appealing items at the front. Pay close attention to color contrast; avoid placing items of the same color directly next to or behind one another, as they will blend together and lose their individual definition.
Securing fragile, tall, or oddly shaped items is essential to maintain the arrangement during handling and transport. Nestle items closely together so they naturally support one another, using the surrounding filler to wedge them securely in place.
For top-heavy items like bottles or tall cosmetic containers, consider anchoring them to adjacent items. If you are gifting delicate items like glassware or ceramics, wrap them in clear bubble wrap or place them inside small, transparent gift boxes before arranging them in the bag to ensure safety without sacrificing visibility.
Folding and Placing Tissue Paper for Internal Accents
Tissue paper is a powerful tool for framing your gifts, adding texture, and concealing structural elements like the backs of packages or support fillers. Rather than simply crumpling the paper and stuffing it into the bag, use precise folding techniques to create a clean, professional look.
A classic accordion pleat or fan fold placed along the back wall of the bag provides a structured, elegant backdrop that highlights the gifts in front of it. Alternatively, the “puff” method works exceptionally well for framing the sides: pinch a sheet of tissue paper in the center, lift it to let the corners drape naturally, and tuck the pointed end into the bag, allowing the ruffled edges to spill gently over the rim.
Using contrasting or complementary tissue colors can dramatically enhance the visual depth of your presentation. For a sophisticated, modern aesthetic, layer a neutral base color like crisp white or warm cream with a vibrant accent color that matches the primary gift’s packaging.
If the gifts themselves are highly colorful, stick to neutral or pastel tissue paper to avoid visual competition. When layering multiple sheets, offset the corners slightly to create a fuller, more textured border around the edges of the bag.
You can also position lightweight internal accents within the tissue layers to add a touch of whimsy or elegance. Tuck dried botanicals, such as lavender sprigs, eucalyptus leaves, or pressed ferns, between the clear bag wall and the tissue paper so they are clearly visible.
For festive occasions, sprinkle a small amount of large-cut metallic confetti or paper stars into the front of the bag, allowing them to rest gently on the base filler. Keep these accents sparse to ensure they enhance the presentation rather than cluttering the view of the main gifts.
Adding Exterior Embellishments, Ribbons, and Bows
The exterior decorations of a transparent gift bag provide the final, polished touch that elevates the entire presentation. Tying a beautiful bow or ribbon cluster around the collar of the bag or at the base of the handles instantly draws the eye.
To create a professional-looking bow, use the multi-ribbon technique: combine a wide, structured ribbon (like a wired satin or grosgrain) with a thinner, contrasting ribbon (such as a metallic thread or sheer organza). Tie them together in a classic bow, pulling the loops tight and fluffing them to create volume. Trim the ribbon tails at a sharp 45-degree angle or cut a clean V-shape into the ends to prevent fraying and ensure a tidy finish.
Incorporating custom gift tags, charms, or natural elements adds a personalized, thoughtful dimension to the gift. Thread a high-quality cardstock gift tag onto the ribbon before securing the bow. You can write a personalized message on the tag using a fine-tip gel pen or metallic marker that matches the color scheme.
For an organic touch, tuck a small sprig of fresh rosemary, a pinecone, or a dried cinnamon stick behind the knot of the bow. These natural elements add texture and a pleasant subtle scent to the presentation.
When decorating the exterior, it is crucial to maintain a careful balance so you do not overwhelm the transparent design. The primary appeal of a clear gift bag is the beautiful arrangement inside, so avoid covering the front face of the bag with large stickers, oversized tags, or excessive ribbon wraps.
Keep the front clear and focus your decorative elements around the handles, the top rim, and the upper corners. This frames the contents beautifully while preserving the clean, modern aesthetic of the transparent packaging.
Troubleshooting Common Styling Mistakes for a Clean Finish
Even with high-quality materials, small styling errors can make a transparent gift bag look messy or unprofessional. One of the most common mistakes is overstuffing the bag. When too many items are packed inside, the plastic walls stretch, distort, and create unsightly reflections that obscure the gifts.
Overstuffing can also cause the heat-sealed seams to split or the handles to pull away from the bag. If your items are pressing tightly against the plastic or causing the bag to bulge, remove a few minor items or transition to a larger bag size to allow the contents room to breathe.
Another common issue is using wrinkled, low-quality, or overly opaque tissue paper. Because every detail is visible through the clear walls, crumpled or creased tissue paper immediately detracts from the polished look. Always use fresh, crisp sheets of tissue paper, and handle them gently to avoid creating accidental folds.
If a sheet becomes wrinkled during the styling process, discard it and start fresh. Additionally, avoid using tissue paper that is too thick or opaque if your goal is to showcase the gifts, as it can block light and make the interior of the bag look dark and uninviting.
Uneven weight distribution is a structural mistake that can cause the bag to tip over or strain the handles during transport. If the bag leans to one side, it indicates that the heavy items are not properly centered or supported.
To correct this, always place the heaviest items flat on the bottom of the bag, centered between the front and back walls. Fill any remaining empty spaces around the base with dense crinkle paper to lock the items in place and prevent them from shifting. Test the stability of the bag by lifting it by the handles and setting it down on a flat surface several times before gifting.
Frequently Asked Questions (FAQ)
How to Prevent Items From Sliding Inside a Clear Bag
To keep lightweight items from sliding or shifting out of alignment, use small, clear double-sided tape or removable glue dots. Apply a tiny dot of adhesive to the bottom or back of the item’s packaging and press it gently against the adjacent item or the back wall of the bag. Always test the adhesive on a small, inconspicuous corner of the packaging first to verify that it peels off cleanly without tearing the paper or leaving a sticky residue.
For heavier items, increase the density of your base filler. Pack the crinkle paper tightly around the base of each object, creating a custom pocket that locks the item in place and prevents lateral movement during transport.
How to Clean and Store Transparent Bags for Reuse
Maintaining the pristine clarity of transparent bags is essential for a polished presentation. Before styling, wipe down both the interior and exterior of the bag with a dry, lint-free microfiber cloth to remove fingerprints, dust, and static cling.
To store the bags for future use, lay them completely flat between sheets of clean, acid-free tissue paper to prevent scratches and dust accumulation. Alternatively, store them upright and lightly stuffed with clean tissue paper in a cool, dry place away from direct sunlight. Never fold or crease transparent PVC or polypropylene bags, as this can create permanent white crease lines that cannot be removed.

Community discussion
Share your experience or ask a question. Comments are reviewed before publication.