
A transparent gift bag offers a modern, sophisticated way to present a gift, turning the contents themselves into part of the visual design. Unlike traditional paper bags that hide the surprise, a clear bag showcases your thoughtfulness from the very first glance. Achieving a polished, professional look requires more than simply dropping an item inside; it demands a deliberate arrangement of structural fillers, complementary ribbons, and balanced proportions. By mastering a few simple styling techniques, you can transform a basic clear container into an elegant, curated gift package.
The key to success lies in treating the transparent bag as a miniature display window. Every element, from the texture of the base material to the drape of the bow, must work together to frame the main gift rather than clutter it. Whether you are preparing a corporate token, a festive holiday bundle, or a personalized birthday present, learning how to layer these elements ensures your gift remains secure, upright, and visually striking from every angle.
Selecting Filler and Ribbons for Clear Bags
Choosing the right filler is the foundation of a well-styled transparent bag, providing both structural support and a visual backdrop. Tissue paper is a classic choice that offers soft, billowy volume and a wide range of vibrant colors. When crumpled gently, it creates a cloud-like cushion that diffuses light beautifully through the clear plastic. For a more structured and modern aesthetic, crinkle-cut paper shredded from heavy cardstock provides excellent physical support for heavier items. Its interlocking zig-zag folds create a springy nest that keeps gifts from shifting during transit. If you prefer an organic or rustic presentation, wood wool (fine wood shavings) offers a textured, earthy base that pairs exceptionally well with artisanal soaps, candles, or gourmet jars.
Products mentioned in this guide
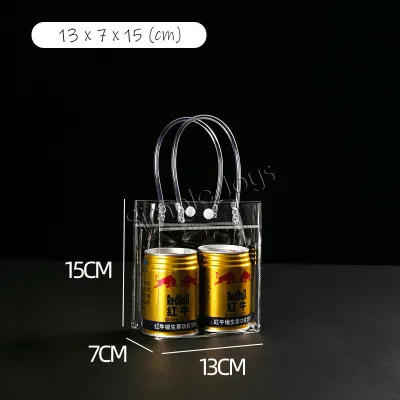
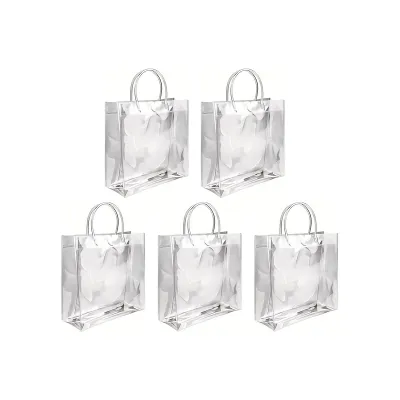
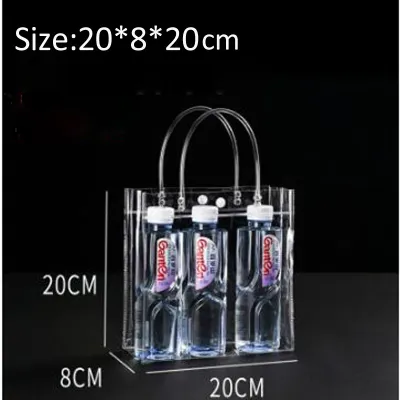
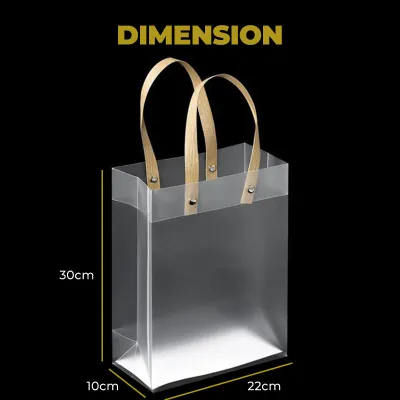
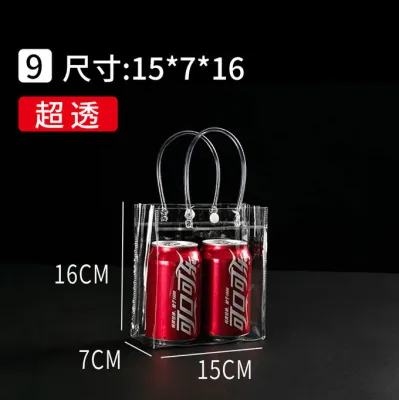
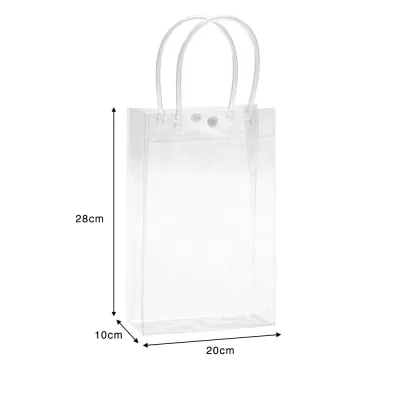
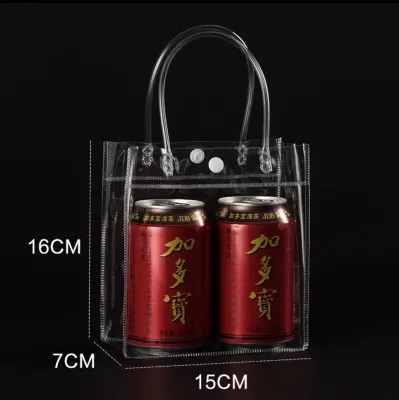
Prices are valid at publication and may change. Please refer to the product page for the latest price.
Color coordination is critical when working with transparent packaging because the filler, gift, and ribbon are all visible simultaneously. To avoid a chaotic appearance, limit your color palette to two or three coordinating shades that complement the gift itself. For instance, if the gift has gold accents, pairing a neutral cream crinkle-cut filler with a rich forest green ribbon creates an elegant, high-contrast frame. If you want the gift to be the absolute focal point, opt for a monochromatic scheme using white or translucent filler, which allows the product’s natural colors to stand out without distraction. In humid climates like Singapore, always verify that your colored tissue paper is bleed-resistant by testing a small damp scrap against a white sheet of paper before packing, ensuring no dye transfers onto your gift.
The ribbon you select must match both the scale of the bag and the style of its handles. For bags with soft rope or cotton handles, a wide, double-sided satin ribbon adds a luxurious drape and a subtle sheen. If the bag features rigid plastic or die-cut handles, a stiffer ribbon like grosgrain or a structured organza with wired edges is ideal, as it holds its shape and prevents the bow from drooping. Always check the width of the ribbon relative to the bag; a tiny bag looks overwhelmed by a wide ribbon, while a large tote requires a substantial ribbon width (typically 2.5 to 3.8 centimeters) to look balanced and intentional.
Step-by-Step Guide to Arranging the Filler and Gift
To begin the assembly, you must first construct a stable base layer of filler at the bottom of the bag. This step is crucial because it lifts the gift upward, ensuring it sits at an optimal viewing height rather than sinking invisibly to the bottom. If you are using tissue paper, take a single sheet, grasp it from the center, and twist it slightly to create a loose cone shape, then place it point-down into the bag. For crinkle-cut paper or wood wool, compress a generous handful slightly in your palms to form a dense, springy mattress about three to five centimeters deep. Press this base firmly into the corners of the bag to prevent the corners from collapsing under the weight of the gift.

Once the base is secure, position the gift centrally or at a slight, intentional angle. If the item has a clear front label or an attractive face, ensure this side faces directly forward. For multiple items, place the tallest and heaviest object at the back to act as an anchor, then layer smaller items in front or to the sides. If an item is top-heavy, gently press its base into the filler mattress to secure it, ensuring it does not lean forward against the front plastic, which can cause unsightly smudges or uneven pressure marks.
With the main gift in place, begin tucking additional filler around the sides and back to frame the item. Use small, loose pinches of crinkle-cut paper or folded strips of tissue paper to fill any empty voids. The goal is to create a neat border that holds the gift snugly in place without overstuffing the bag. Avoid packing the filler too tightly against the front panel; leaving a small, clear gap directly in front of the gift maintains excellent visibility and prevents the presentation from looking cluttered or claustrophobic.
Finally, lift the bag to eye level and check the sightlines from the front, sides, and back. Because a transparent bag is visible from all 360 degrees, you must ensure there are no exposed cardboard backings, messy barcodes, or structural supports showing through the sides. If you notice any gaps where the gift looks unstable or where the base layer has flattened, use a long, blunt tool—such as the clean end of a ruler or a wooden dowel—to gently nudge the filler into place and restore a balanced, symmetrical frame.
Tying and Securing Ribbons for a Finished Presentation
The ribbon is the crowning element of your transparent gift bag, serving both a functional purpose by securing the opening and an aesthetic one by adding a touch of sophistication. If your bag has pre-installed rope or ribbon handles, you can tie your decorative ribbon directly around the base of the handles where they meet the bag’s collar. For bags without handles or with simple fold-over tops, punch two neat holes near the top edge using a standard paper punch, thread your ribbon through from the back to the front, and tie a secure knot. This technique keeps the plastic from slipping and ensures the bag remains closed.
To tie a classic, symmetrical bow, start by making a simple overhand knot, pulling it snug but not so tight that it puckers the bag’s material. Create two equal-sized loops, cross them, and feed one loop through the central opening. As you pull the bow tight, adjust the loops and tails gradually to ensure they are proportional to the bag’s width. A good rule of thumb is that the span of the bow should not exceed two-thirds of the bag’s total width. If the ribbon is slippery, such as double-sided satin, tying a double-knot at the base before forming the loops will prevent the bow from unraveling over time.
Once the bow is perfectly shaped, pay close attention to the ribbon tails. Unfinished, frayed edges instantly cheapen an otherwise beautiful presentation. Use a pair of sharp fabric scissors to make a clean, diagonal cut at a 45-degree angle on each tail, or fold the ribbon in half vertically and cut upward at an angle to create a classic swallowtail (V-cut). When trimming ribbons with sharp scissors or sealing synthetic edges with a flame, always work on a stable, heat-resistant surface away from flammable fillers like wood wool. If you are using synthetic ribbons like polyester satin or organza, you can carefully pass the freshly cut edges near a small flame for a fraction of a second to melt and seal the fibers, preventing any future fraying.
Common Styling Mistakes and How to Fix Them
One of the most common visual flaws in transparent gift wrapping is crushed, lifeless tissue paper. If your tissue paper looks flat or wrinkled after being placed in the bag, do not pull the entire arrangement apart. Instead, gently insert your fingers into the top of the bag, grasp the exposed edges of the tissue paper, and pull them upward with a light, twisting motion. This action re-introduces air into the folds, instantly restoring its volume and creating a fluffy, professional border around the gift.
Another frequent issue is structural sagging, which occurs when a heavy gift is placed in a thin plastic bag without adequate support. If you observe the bottom of the bag bowing downward or the handles stretching under tension, you must reinforce the base. Cut a piece of thick, rigid cardboard or chipboard to the exact dimensions of the bag’s bottom, wrap it in matching wrapping paper or tissue, and slide it into the bottom of the bag before adding your filler. This simple insert distributes the weight evenly, preserving the bag’s clean, rectangular silhouette.
Visible adhesive marks, messy tape lines, or uneven cuts can easily ruin the clean aesthetic of a transparent bag. When securing items inside the bag, avoid using standard clear tape, which often turns cloudy or yellow and shows through the plastic. Instead, rely on double-sided glue dots placed strategically behind the opaque parts of the gift or filler. If you must use tape, ensure it is a high-quality matte finish invisible tape, and apply it only to the interior back panel where it is naturally shielded from view by the gift and filler.
Finally, filler often shifts during transport, leaving the gift tilted or buried by the time it reaches the recipient. To prevent this, always pack your base layer slightly denser than you think necessary, as it will naturally compress under the gift’s weight over time. If shifting does occur, do not shake the bag, as this will only cause smaller pieces of filler to settle further down. Instead, use a pair of long tweezers or a clean chopstick to gently lift the gift back to its central position and tuck fresh filler tightly around its base to lock it back into place.
Adapting the Design for Different Gifting Scenarios
The beauty of a transparent gift bag lies in its versatility; with minor adjustments to your materials, you can tailor the presentation to suit any occasion. For corporate events or formal business gifts, a minimalist approach works best. Skip the colorful crinkle-cut paper and instead use a single, perfectly folded sheet of thick, matte white tissue paper to line only the back of the bag. Pair this with a sleek, narrow grosgrain ribbon in a neutral tone like charcoal, navy, or cream, keeping the focus entirely on the high-quality corporate item inside.
For festive celebrations, holidays, or birthdays, embrace a more vibrant, layered aesthetic. You can combine two contrasting colors of tissue paper—such as metallic gold and deep crimson—by nesting them together before placing them in the bag. Add a textured ribbon, such as a glittering metallic cord or a wide plaid ribbon, to inject energy into the design. You can also layer multiple ribbons of different widths and textures, tying a thin satin ribbon over a wider burlap ribbon to create a rich, multi-dimensional bow.
To elevate the presentation even further, consider adding lightweight, secure accents to the exterior of the bag. A personalized gift tag made from heavy cardstock can be threaded onto the ribbon tail before tying the final bow. For a touch of natural beauty, tuck a small sprig of dried lavender, eucalyptus, or a single preserved flower stem behind the knot of the bow. Ensure these accents are lightweight and securely tied so they do not put extra strain on the bag’s handles or obscure the carefully arranged gift inside.
Frequently Asked Questions (FAQ)
Can I use a transparent bag for heavy or awkwardly shaped gifts?
Yes, you can use transparent bags for heavier or unusually shaped items, provided you take steps to reinforce the structure. Always check the bag’s material thickness (measured in mils or microns) and handle attachment points before packing. For heavy items, insert a rigid cardboard base cut to fit the bottom of the bag to distribute weight and prevent the plastic from stretching. Avoid hanging heavy bags solely by thin rope handles; instead, support the base when carrying. For awkwardly shaped gifts, use a dense nest of crinkle-cut paper or wood wool to fill the irregular gaps, which cradles the item and prevents it from tipping over or pressing sharply against the plastic sides.
How do I keep tissue paper from looking messy or crushed inside the bag?
To maintain the volume and neatness of tissue paper, avoid using a single, massive sheet stuffed into the bag. Instead, use multiple smaller sheets of high-quality, crisp tissue paper. Accordion-fold or gently scrunch each sheet individually from the center to create distinct, structured tufts. Anchor the bottom layers securely by pressing them into the corners of the bag, and ensure you leave at least five to ten centimeters of clearance at the top of the bag. This clearance prevents the ribbon closure or handles from compressing the delicate paper edges, keeping the top of the presentation looking airy, voluminous, and professionally styled.

Community discussion
Share your experience or ask a question. Comments are reviewed before publication.