
A rainbow gift bag is naturally vibrant, cheerful, and eye-catching, making it a popular choice for birthdays, baby showers, and festive celebrations. However, its multicolored design can easily look chaotic if paired with mismatched accessories. Elevating this bright canvas into a sophisticated, polished presentation requires a thoughtful approach to color, texture, and structural balance. By carefully selecting complementary ribbons, styling the handles, and layering subtle decorative accents, you can transform a simple paper bag into a memorable part of the gift itself.
Preparing Your Materials and Workspace
Before cutting any ribbon or applying adhesive, inspect the base material of your rainbow bag. Common options include rustic kraft paper, glossy coated paper, and non-woven fabric. Glossy coated paper resists light moisture but can easily peel or tear if you use high-tack adhesives, whereas uncoated kraft paper absorbs liquid glues quickly and may show dark spots. Non-woven fabric bags require tying or sewing methods rather than standard paper tapes, as adhesives rarely bond securely to synthetic fibers.
Next, examine the handle design and its reinforcement points. Rope handles threaded through metal eyelets can support heavier decorative accents, while flat paper handles pasted to the inside of the bag are prone to tearing under sudden tension. Look closely at the interior patch where the handles attach to verify if it is reinforced with extra cardboard. If the bag lacks this reinforcement, you will need to limit the weight of your ribbons and charms to prevent structural failure during transport.
Products mentioned in this guide
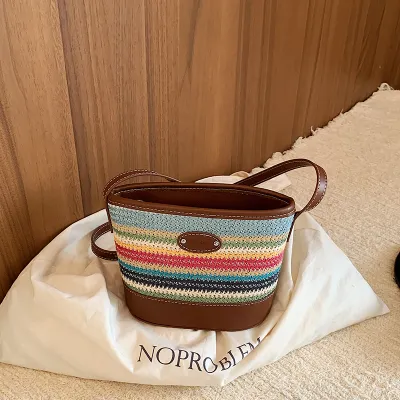
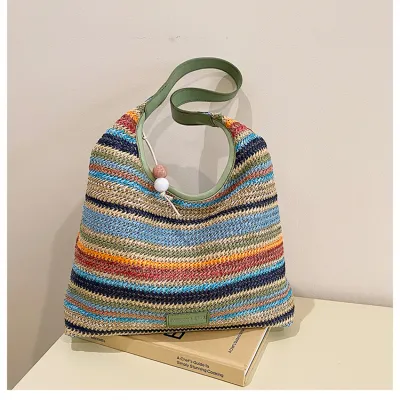
Prices are valid at publication and may change. Please refer to the product page for the latest price.
Prepare a clean, spacious, and flat workspace to prevent the bag from creasing or gathering dust while you style it. Gather your essential tools, including a pair of sharp fabric scissors dedicated to clean ribbon cuts, a roll of high-quality double-sided tape, and a ruler or measuring tape. Having these items within arm’s reach ensures you can work efficiently without leaving adhesive exposed to air for too long, which can weaken its bonding strength.
Selecting Ribbons That Complement Rainbow Patterns
The primary challenge when styling a rainbow bag is managing the visual energy of multiple bright colors. To create a balanced look, you can employ a grounding strategy by choosing a neutral ribbon. A crisp white, deep black, or natural kraft-toned ribbon acts as a visual anchor, giving the eye a place to rest amidst the colorful stripes. Alternatively, you can select a single dominant color from the bag’s rainbow pattern—such as a vibrant teal or a warm mustard yellow—and match your ribbon precisely to that shade to create a unified, intentional theme.

Texture contrast plays a vital role in elevating the overall presentation from ordinary to professional. If your rainbow bag features a smooth, high-gloss finish, pair it with a matte ribbon like grosgrain or a rustic cotton herringbone tape to break up the shine. Conversely, if you are working with a matte kraft paper bag, a luxurious satin ribbon with a subtle sheen will catch the light beautifully and add an elegant touch. For an organic, tactile feel, consider using a lightweight burlap or a linen ribbon, which softens the bright colors of the rainbow print.
Selecting the correct ribbon width is essential to maintain proper proportions. For small party favor bags, a narrow ribbon measuring between 6 mm and 15 mm is ideal, as it adds detail without overwhelming the bag’s compact silhouette. Medium-sized bags benefit from standard 25 mm ribbons, which are wide enough to form structured bows that hold their shape. If you are styling a large, oversized gift bag, choose a wide ribbon of 38 mm or more to ensure the decoration does not get lost against the expansive colorful background.
Before committing to a specific ribbon material, perform a quick compatibility check. Ensure the ribbon’s weight does not cause the bag’s paper to buckle or sag. Stiff, wire-edged ribbons are excellent for creating voluminous bows that retain their shape, but they can be too heavy for thin paper bags. Soft, un-wired ribbons drape more naturally but may require a tighter knot or a discreet adhesive anchor to stay in place.
Step-by-Step Ribbon Tying and Handle Styling
Creating a classic multi-loop bow is a reliable way to add a touch of luxury to your gift presentation. Start by measuring and cutting a length of ribbon approximately four times the width of your bag. Fold the ribbon back and forth to create four overlapping loops of equal size, holding the center tightly between your thumb and forefinger. Secure the center of the loops with a thin piece of wire or a small strip of matching ribbon, pulling it tight to create a neat, symmetrical pinch that makes the loops flare out beautifully.
Once your bow is constructed, you can attach it directly to the base of the bag’s handles. For bags with rope handles, wrap a separate, shorter piece of ribbon tightly around the base of one handle, tying a secure double knot. Position your multi-loop bow directly over this knot and secure it by tying the tails of the anchor ribbon around the bow’s center. This technique keeps the bow upright and prevents it from sliding down the handle when the bag is carried.
If you prefer a modern, minimalist aesthetic, consider an asymmetric side-tie instead of a traditional central bow. Thread a long piece of ribbon through one of the handle holes or loop it around a single handle strap on the far right or left side of the bag. Tie a simple, elegant half-bow or a neat square knot, allowing the long tails of the ribbon to drape gracefully down the side of the bag. This off-center placement draws attention to the clean lines of the bag while showcasing the rainbow pattern.
To ensure your styling remains intact during transit, use discreet anchoring methods. Apply a small square of double-sided tape underneath the knot of your ribbon or behind the center of your bow, pressing it firmly against the paper bag’s surface. This prevents the ribbon from sliding, twisting, or sagging under its own weight. When using tape on glossy bags, press gently to avoid leaving permanent residue or lifting the printed ink if you need to reposition the ribbon.
Layering Decorative Accents and Gift Tags
Adding secondary decorative elements is the key to transforming a standard gift bag into a personalized keepsake. When attaching a gift tag, avoid tying it directly into the main bow, as the text can easily become obscured by the ribbon loops. Instead, thread a thin piece of natural twine, metallic thread, or a narrow 3 mm ribbon through the tag’s eyelet. Loop this separate string around the handle base just behind the main bow, allowing the tag to hang slightly lower so it remains fully visible and easy to read.
To balance the vibrant, synthetic feel of bright rainbow colors, incorporate natural accents that introduce organic textures. A small sprig of dried lavender, a pressed eucalyptus leaf, or a simple wooden charm can be tucked behind the ribbon knot for a rustic, grounded look. These natural elements soften the high-contrast rainbow palette and add a sensory dimension to the gift presentation. Ensure any botanical elements are completely dry to prevent moisture from staining the paper bag.
While it is tempting to add multiple charms, stickers, and tags, restraint is crucial for maintaining a cohesive design. Limit your decorative accents to a maximum of two distinct types—such as one gift tag and one natural element. Mixing too many conflicting materials, like metallic plastic charms alongside rustic burlap and glossy stickers, creates visual clutter that detracts from both the rainbow pattern and the elegance of your hand-tied bow.
Evaluating Visual Balance and Security
Once all your decorative elements are in place, take a step back to evaluate the overall visual balance of the styled bag. Observe the bag from a distance of about one meter to ensure the decorations do not make the presentation look top-heavy or lopsided. If the bow appears too large for the bag’s proportions, trim the loops slightly or adjust the length of the hanging tails to restore harmony.
Next, perform a gentle structural test by lifting the bag by its handles. Observe how the paper behaves under tension and check if the added weight of the ribbons and accents causes the handles to pull away from the bag’s body. If you notice any sagging or peeling at the adhesive points, reinforce those areas immediately. Ensure that all knots are tight and that the double-sided tape is holding securely without lifting the bag’s printed surface.
Finish by making final, precise adjustments to the bow loops and tag placement. Fluff the ribbon loops to restore their volume, ensure the tails are cut at clean 45-degree angles or neat V-shapes to prevent fraying, and position the gift tag so the recipient’s name is clearly displayed. These small, meticulous touches demonstrate care and attention to detail, making the gift feel truly special before it is even opened.
Frequently Asked Questions (FAQ)
Can I use patterned ribbons with a rainbow gift bag?
Using highly patterned ribbons with a multicolored rainbow bag is generally not recommended, as it creates intense visual competition. The busy lines or shapes of a patterned ribbon will clash with the rainbow stripes, making the overall presentation look cluttered and disorganized. If you want to avoid solid colors, opt for a ribbon with a subtle, self-colored texture—such as a woven herringbone or a tone-on-tone stripe—which adds depth without introducing conflicting visual patterns.
How do I prevent heavy accents from tearing paper bag handles?
To protect delicate paper handles from tearing under the weight of heavy accents, distribute the load away from the handle straps. Instead of tying heavy charms or thick ribbons directly to the handles, thread them through the bag’s reinforced eyelets or anchor them to the main body of the bag using strong double-sided tape. Additionally, you can apply a strip of clear packing tape or a small piece of cardstock to the inside of the bag directly behind the handle attachment points to reinforce the paper and prevent tearing.

Community discussion
Share your experience or ask a question. Comments are reviewed before publication.