
Styling a gift pouch bag with ribbons and tags is an elegant, sustainable, and highly customizable way to elevate your gift presentation. Unlike traditional wrapping paper, a fabric or textured gift pouch bag offers a tactile experience that feels premium and thoughtful. By selecting complementary ribbon textures, balancing the weight of your gift tags, and mastering a few simple tying techniques, you can transform a plain drawstring pouch into a stunning, professional-looking package. Whether you are preparing favors for a wedding, wrapping delicate jewelry, or presenting a curated corporate gift, the right combination of materials and styling methods ensures your presentation leaves a lasting impression.
Gather Your Materials and Tools
Creating a polished look begins with selecting materials that work in harmony. The fabric of your gift pouch bag dictates the type of ribbon you should choose. For instance, heavy fabrics like velvet or thick canvas require substantial ribbons such as grosgrain or wide cotton cords to maintain visual balance and physical grip. Conversely, delicate pouches made of organza, silk, or sheer mesh pair beautifully with lightweight satin, chiffon, or thin metallic ribbons. Mixing mismatched weights—such as placing a heavy, wire-edged ribbon on a flimsy organza pouch—can cause the fabric to sag, distorting the overall shape of the presentation.
Gift tags must also be chosen with care, keeping both size and weight in mind. A tag that is too heavy will drag the drawstring downward, causing the pouch to hang awkwardly. Opt for lightweight cardstock (ideally between 200 to 300 gsm), handmade paper, or thin wooden tags that match the scale of the pouch. For a standard jewelry-sized pouch, a small, minimalist tag works best, while a larger canvas pouch can support a more substantial, decorative tag. Verify that the tag’s pre-punched hole is compatible with your ribbon width, which typically ranges from 1.5cm to 2.5cm for standard gift styling.
Products mentioned in this guide
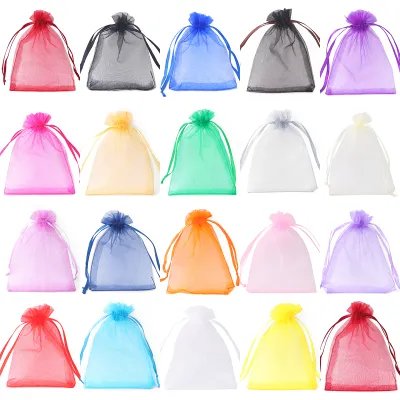
![💜[SG] - Fast Shipping | Waterproof Drawstring Pouch / Gift Bag / Christmas Birthday Goodie Bags / Small Door Gifts - Zyf](https://img.lazcdn.com/g/p/bc7a1432ac5f4e416b375b19f1e63721.png_400x400q80.png_.webp)
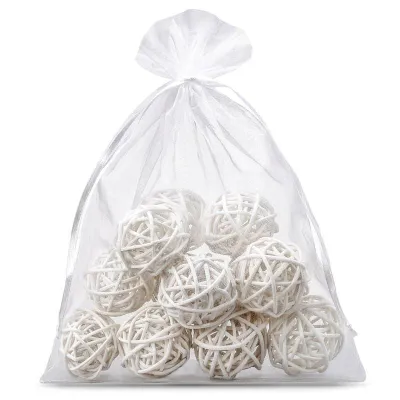
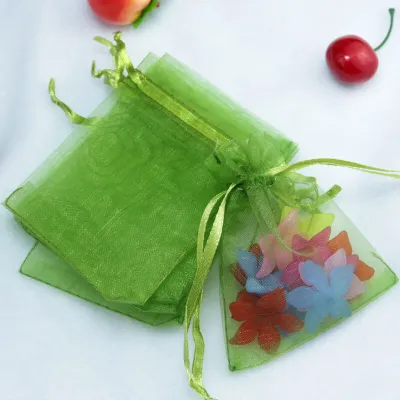
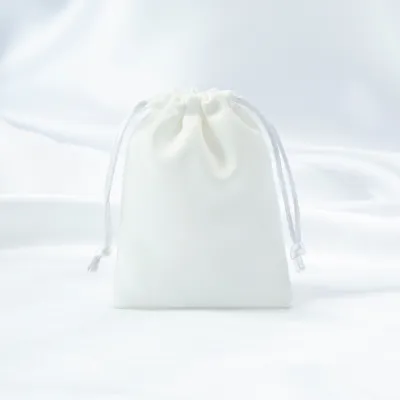
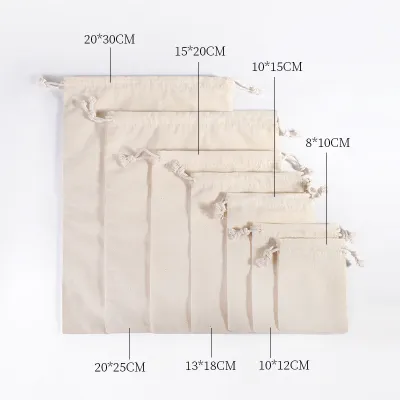
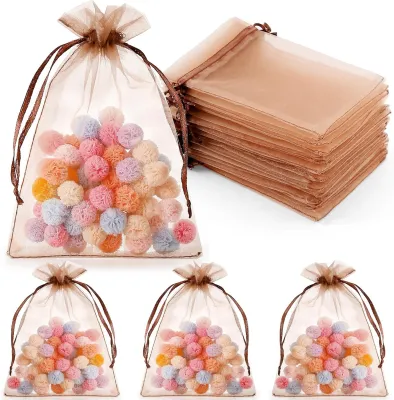
Prices are valid at publication and may change. Please refer to the product page for the latest price.
Before you begin styling, assemble your essential tools on a clean, flat workspace. You will need a pair of sharp fabric scissors to ensure clean, fray-free cuts on your ribbons. Standard household scissors often chew through delicate ribbon fibers, leaving unsightly frayed edges. Keep a roll of double-sided fabric tape nearby to secure loose ribbon ends or hold wrapped bands in place without messy liquid glues. If you plan to customize your own tags, a standard single-hole punch or a mini hole punch is invaluable for creating precise, clean holes. When handling sharp scissors or hole punches, always cut away from your body on a stable, flat surface, and keep fingers clear of the blades and punch mechanisms to ensure a safe crafting process.
Prepare the Gift Pouch Bag for Styling
A flawless presentation requires a pristine foundation. Before adding any decorative elements, inspect your gift pouch bag for wrinkles, creases, or stray threads. If the pouch is made of cotton, linen, or canvas, you can smooth out wrinkles using a low-heat iron or a handheld garment steamer. Always check the fabric care label inside the pouch first, especially for synthetic materials like polyester, nylon, or organza, which can melt or scorch easily under direct heat. If you are unsure of the fabric’s heat tolerance, place a clean, thin cotton pressing cloth over the pouch before ironing to protect the fibers.

Once the fabric is smooth, examine the drawstrings. Ensure they are aligned evenly on both sides of the pouch. If the ends of the drawstrings have started to fray, use your sharp scissors to trim them cleanly. For synthetic cords, you can gently pass the very tip of the cord near a flame for a split second to seal the edge, though this should be done with extreme caution and only on meltable synthetic fibers.
Next, place your gift inside the pouch. The way the pouch is filled directly affects how the fabric gathers at the top. Ensure the item sits flat and centered at the bottom of the bag. Squeeze the opening of the pouch together, pulling the drawstrings slowly and evenly to create symmetrical, uniform folds around the neck of the bag. This balanced gather provides a neat, stable anchor point for your ribbons and tags.
Step-by-Step Ribbon Tying Techniques
The method you use to tie your ribbon defines the overall aesthetic of your gift pouch bag. Before cutting your ribbon, it is essential to measure the required length to avoid wasting material or ending up with tails that are too short to tie properly. A good rule of thumb is to wrap the ribbon around the gathered neck of the pouch once, pull it to your desired tail length, and then add an extra fifteen to twenty centimeters to accommodate the loops of your chosen knot or bow.
When tying the ribbon around the drawstring area, maintaining proper tension control is critical. You want the ribbon to be tight enough to stay securely in place and hold the gathers together, but not so tight that it compresses the gift inside or snaps delicate drawstrings. If the pouch fabric is highly slippery, such as satin or silk, hold the first half of your knot firmly with one finger while forming the loops to prevent the tension from releasing before the knot is fully secured.
The Classic Bow
The classic bow is a timeless, symmetrical choice that brings a traditional, elegant feel to any gift pouch bag. To tie a perfect bow, start by wrapping your measured ribbon around the gathered neck of the pouch and tying a simple overhand knot. Create a loop with the left strand of the ribbon, keeping it neat and untwisted. Take the right strand, wrap it over and around the base of the left loop, and push it through the opening created at the bottom to form the second loop.
Pull both loops gently to tighten the bow, adjusting the size of the loops and the length of the tails until they are perfectly symmetrical. Once the bow is balanced, hold the center knot and pull the tails downward to ensure they drape elegantly. To finish, fold each ribbon tail in half vertically and cut at a forty-five-degree angle upward from the folded edge to the outer edge. This creates a clean, professional swallowtail finish that prevents the ribbon from fraying.
The Asymmetric Knot
For a modern, minimalist, or rustic presentation, the asymmetric knot offers a sleek and tailored alternative to the traditional bow. This style works exceptionally well with stiffer ribbons, such as heavy grosgrain, linen, or wired-edge ribbons that hold their shape without drooping. Start by wrapping the ribbon around the neck of the pouch, positioning the crossing point slightly off-center to either the left or the right side of the gathers.
Tie a tight, single overhand knot, ensuring the ribbon lies flat against the fabric of the pouch. Instead of forming loops, tie a second overhand knot directly over the first, creating a clean, square knot. Pull the ends firmly to secure the knot. Trim one tail significantly shorter than the other, cutting both ends at a sharp, clean angle. The contrast between the short, structured tail and the longer, elegant drape of the second tail creates a sophisticated, contemporary look.
The Wrapped Band
The wrapped band technique is an excellent way to add visual interest and a pop of contrasting color directly to the body of the gift pouch bag. This method works best on medium to large pouches that are filled with flat or structured items, such as books, flat jewelry boxes, or cosmetics. Avoid using this technique on very small, round, or overfilled pouches, as the ribbon will slip off the curved surface and distort the shape of the bag.
To create a wrapped band, cut a length of ribbon long enough to wrap around the circumference of the pouch body. Wrap the ribbon horizontally around the center of the pouch, ensuring it is straight and taut. Secure the overlapping ends at the back of the pouch using a small piece of double-sided fabric tape. Always test the double-sided tape on an inconspicuous inner seam of the pouch first to verify it peels off cleanly without leaving sticky residue or pulling fibers. This keeps the band discreetly in place without damaging the fabric. You can then tie your drawstrings normally at the top, creating a beautiful layered effect.
Attaching and Positioning Gift Tags
A gift tag is more than just a label; it is a key design element that completes the presentation of your gift pouch bag. To integrate a tag seamlessly, thread the tag’s hanging string or twine through the ribbon’s initial overhand knot or one of the bow loops before you make the final pull to tighten the bow. This anchors the tag directly to the center of your styling, preventing it from sliding around or falling off during transit.
Positioning is crucial for a polished look. The tag should always face outward, lying flat against the front of the pouch. Ensure it is not obscured by the loops or tails of your ribbon. If the tag hangs too low and drags on the surface, shorten the hanging string. If the pre-punched hole on your tag is too close to the edge, or if you are using a custom cardstock tag, use a mini hole punch to create a new, centered hole further down. This prevents the paper from tearing and keeps the tag hanging straight and secure.
Adding Final Touches and Accessories
Once your ribbon and tag are securely in place, you can elevate your gift pouch bag further with subtle, lightweight accessories. Adding a natural element, such as a small sprig of dried lavender, a tiny eucalyptus leaf, or a delicate dried flower, can bring a beautiful, organic touch to the presentation. Simply tuck the stem of the botanical element gently into the center knot of your ribbon or bow. Ensure the botanical is completely dry and free of moisture or oils that could stain the fabric of the pouch.
If you want to add a personal touch like a wax seal or a decorative sticker, apply it directly to the gift tag rather than the fabric of the pouch. Wax seals and adhesive stickers can leave a permanent, greasy residue or pull fibers from delicate fabrics like velvet or silk, ruining the pouch for future use. Applying these elements to the tag preserves the integrity of the bag while still delivering a premium, customized look.
When accessorizing, restraint is key to maintaining a sophisticated aesthetic. Limit your decorations to one or two carefully chosen elements—such as a classic bow paired with a single sprig of greenery and a simple tag. Overloading the pouch with multiple ribbons, charms, bells, and large botanicals will make the design look cluttered, messy, and unprofessional.
Common Mistakes to Avoid
Achieving a professional finish requires avoiding a few common styling pitfalls. One of the most frequent mistakes is using heavy, wire-edged ribbons on delicate, lightweight pouches like organza or fine silk. The heavy wire weighs down the soft fabric, causing the top of the pouch to collapse and lose its elegant shape. Save wire-edged ribbons for sturdy canvas, burlap, or thick velvet pouches, and stick to soft, fluid ribbons for delicate materials.
Another common error is pulling the ribbon or drawstrings too tightly. While you want the pouch to be securely closed, excessive tension can distort the fabric, create unsightly puckering, or even snap delicate drawstrings. If you feel resistance while pulling, stop and gently adjust the gathers by hand to distribute the tension evenly.
Finally, never use liquid craft glue or hot glue guns directly on the fabric of your gift pouch bag to secure ribbons or accessories. Liquid glues easily seep through fabric fibers, leaving permanent, stiff, and discolored stains on both the pouch and potentially the gift inside. Instead, always rely on fabric-safe double-sided tape for temporary holds, or simply secure your elements using clean, tight knots.
Frequently Asked Questions (FAQ)
Can I reuse the ribbons and tags for future gifts?
Yes, reusing ribbons and tags is an excellent, eco-friendly practice that extends the life of your wrapping materials. To preserve the shape of your ribbons, untie them gently rather than pulling or tugging at the knots, which can create deep, permanent creases or fray the edges. Once untied, smooth the ribbons out flat and store them rolled loosely around a cardboard tube or laid flat in a shallow drawer to prevent wrinkling. For gift tags, store them in a flat, dry container. In Singapore’s humid climate, store paper tags in an airtight container with a silica gel packet to prevent warping, bending, or moisture damage over time.
What type of ribbon works best for slippery fabric pouches?
Slippery fabrics like satin, silk, or polished polyester can make it difficult for ribbons to stay in place. To prevent slipping, opt for ribbons with a textured or matte finish, such as cotton herringbone, rustic twine, or grosgrain. The ribbed texture of grosgrain provides excellent friction, helping the knot grip the slippery pouch fabric securely. If you must use a slippery satin ribbon on a satin pouch, apply a tiny piece of double-sided fabric tape underneath the ribbon where it wraps around the neck of the pouch to lock it in place before tying your knot.

Community discussion
Share your experience or ask a question. Comments are reviewed before publication.