
Presenting a large gift in a gift bag requires more than just dropping the item inside and throwing a few sheets of paper on top. To achieve a professional, boutique-style presentation, you must build a structural foundation that supports the weight of the item while using tissue paper strategically to create volume, conceal the gift, and add visual elegance. By focusing on weight distribution, structural reinforcement, and layering techniques, you can transform a simple large gift bag into a stunning, secure presentation that stands upright and looks flawless from every angle.
Gather the Right Wrapping Supplies
When dealing with a large gift bag, structural integrity is your first priority. Look for bags made from heavyweight paperboard, typically ranging from 150 gsm to 210 gsm, which offers the stiffness required to hold its shape. Examine the handles closely; high-quality options feature woven cotton cords, wide grosgrain ribbons, or twisted paper handles that are secured with sturdy metal eyelets or reinforced interior glue patches rather than simple knots.
To estimate the amount of tissue paper needed, a good rule of thumb for an oversized bag is to prepare at least 8 to 12 standard sheets, usually measuring around 50 cm by 75 cm. Opt for premium tissue paper with a weight of 14 gsm to 18 gsm, which provides excellent loft and resists tearing when crumpled. You can mix solid colors with metallic or patterned sheets to add depth and visual interest to the opening.
Products mentioned in this guide
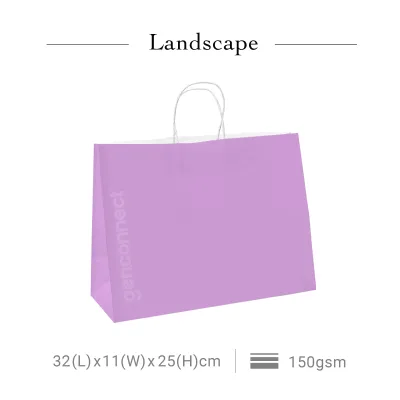
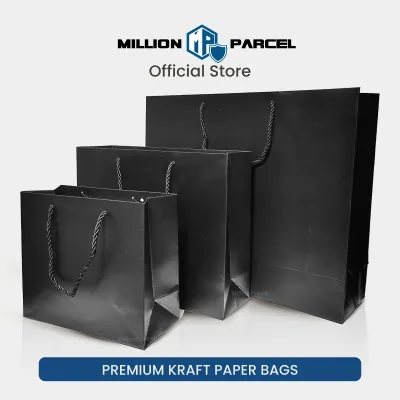
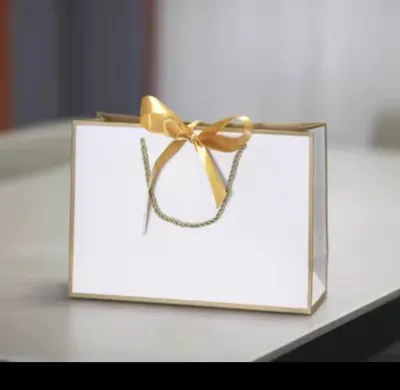
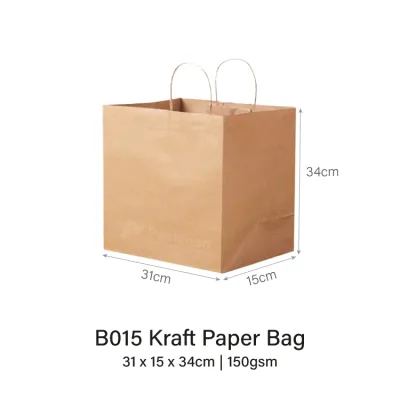
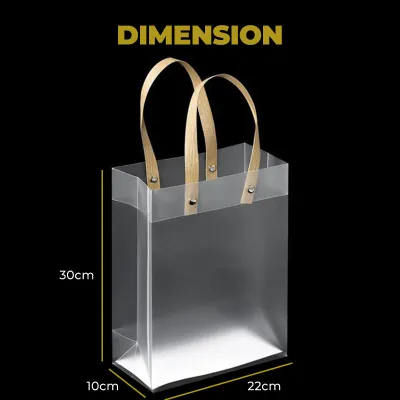
Prices are valid at publication and may change. Please refer to the product page for the latest price.
For embellishments, choose wide satin or organza ribbons that complement the bag’s design. A large bag can easily accommodate a substantial, multi-looped bow, but ensure the gift tag is kept to a moderate size. This prevents the tag from crowding the handles or dragging the bag’s opening downward, keeping the focus on the overall presentation.
Prepare the Bag Structure and the Gift
Before placing anything inside, open the bag fully and inspect the bottom seam. If your gift is heavy—such as a large ceramic vase, a set of books, or a household appliance—the standard paper bottom may sag or tear. You can easily reinforce this by cutting a piece of thick, corrugated cardboard to the exact dimensions of the bag’s base and sliding it inside to distribute the weight evenly across the bottom panel.

Next, prepare the gift itself to protect both the item and the packaging. If the item has sharp corners, protruding parts, or delicate surfaces, wrap it first in a layer of neutral tissue paper or place it inside a sturdy gift box. This prevents the item from puncturing the outer bag or tearing the decorative tissue paper during transport.
Test the weight distribution by placing the gift temporarily inside the bag and lifting it a few centimeters off the table. If the item is top-heavy or lopsided, it can cause the bag to tip over when set down. Adjust the orientation of the gift so the heaviest part rests flat against the reinforced bottom, keeping the center of gravity low and stable.
Build a Supportive Tissue Paper Base
A common mistake is placing the gift directly onto the hard bottom of the bag, which offers no shock absorption and can cause the bag to sag. Instead, you need to build a supportive cushion of tissue paper first. This cushion acts as a shock absorber and lifts the gift slightly so it sits at an appealing height within the bag.
Take three or four sheets of tissue paper and crumple them loosely into soft, pillowy shapes. Alternatively, you can pleat or accordion-fold them to create springy layers. Avoid squeezing the paper too tightly, as you want to retain maximum loft and volume to support the weight of the gift.
Arrange these crumpled sheets across the bottom of the bag, ensuring they form a flat, even foundation. This layer should completely conceal the cardboard base from view when looking down into the bag. This step is especially important in humid climates like Singapore, where high relative humidity can soften paper fibers over time; a well-constructed base helps the bag maintain its crisp, upright shape.
Position and Secure the Large Gift
Gently lower the prepared gift into the center of the bag, resting it squarely on your tissue paper foundation. Centering the item is crucial for maintaining the bag’s balance and preventing it from leaning to one side when carried. If you are gifting a premium item, such as a S$150 kitchen appliance or a delicate piece of home decor, keeping it centered ensures it remains protected from external bumps.
If the gift is tall and its top portion remains visible, orient it so its most attractive side faces forward. For items that do not fill the entire width of the bag, you will notice empty gaps on the sides. If left unfilled, the gift will slide around, potentially damaging the bag or ruining your carefully arranged presentation.
To prevent this, take additional sheets of tissue paper, fold them loosely, and tuck them snugly into the gaps around the sides of the gift. This acts as a bumper, keeping the item securely in place. Ensure the paper is packed firmly enough to prevent shifting, but not so tightly that it bulges the outer walls of the bag, which ruins its clean, rectangular silhouette.
Add Top Layers and Finishing Touches
The final step is the decorative top layer, which hides the gift completely and provides that signature boutique look. To achieve this, use the pinch-and-pull method. Lay a sheet of tissue paper flat on a clean surface, pinch it directly in the center, and give it a quick downward tug to create a cone-like shape with flared edges.
Insert the pointed end of the cone into the bag alongside the gift, allowing the fluffy, flared edges to bloom outward from the top opening. Repeat this with four to six sheets, arranging them around the perimeter of the opening so they overlap slightly and create a full, balanced dome of paper. You can alternate colors or use metallic sheets for every second cone to add a touch of luxury.
Once the tissue is arranged, attach your gift tag or a pre-made bow to the base of one of the handles. Ensure the ribbon tails hang neatly and do not get caught in the tissue paper. Lift the bag by its handles to verify that it hangs straight, the bottom remains flat, and the handles do not show signs of strain under the weight of the gift.
Common Mistakes to Avoid When Stuffing a Large Bag
One of the most frequent errors is overstuffing the bag with an item that is simply too large. If the gift forces the sides of the bag to bow outward or prevents the handles from meeting naturally, the paper is highly likely to tear at the seams. If the bag is straining, it is better to transition to a larger bag size or wrap the item in traditional wrapping paper instead.
Conversely, using too little tissue paper is equally problematic. Without adequate padding, the gift will slump to one side, exposing the item prematurely and making the presentation look unfinished. Always ensure you have enough sheets to fill the empty spaces and create a dense, supportive frame around the gift.
Finally, never ignore the base reinforcement for heavy items. A sagging bag bottom not only looks unprofessional but also concentrates all the stress on the center seam, which can suddenly split open. Taking two minutes to cut and insert a cardboard base support can save your gift from a damaging fall.
Frequently Asked Questions (FAQ)
How do I wrap an oddly shaped large gift for a bag?
Oddly shaped items, such as plush toys, sports equipment, or sculpted decor, can be difficult to stabilize. The most effective solution is to place the item inside a secondary, rectangular gift box first, which provides a clean, stable shape that fits perfectly into the bag. If a box is not available, wrap the irregular item in several layers of thick wrapping paper to smooth out the silhouette, and use extra crumpled tissue paper at the bottom and sides of the bag to lock it into place.
Can I reuse a large gift bag without it looking worn?
Reusing gift bags is an excellent, eco-friendly practice, but you must inspect the bag carefully first. Check the corners for scuffs, the handles for fraying, and the interior bottom for any structural weakening or moisture stains. To refresh a slightly worn bag, replace the old bottom insert with a fresh piece of clean cardboard, and use generous amounts of crisp, new tissue paper to draw attention away from minor exterior creases.

Community discussion
Share your experience or ask a question. Comments are reviewed before publication.