
Setting up your EZ-Link card (commonly searched as an ezilink card) is the gateway to navigating Singapore’s world-class public transport network. Whether you are a daily commuter boarding the MRT or a visitor exploring the city by bus, having a properly configured transit card saves time and ensures smooth journeys. This beginner’s guide provides a comprehensive, step-by-step breakdown of how to prepare, activate, register, and top up your card to maximize convenience and security.
By taking a few minutes to understand the setup process, you can avoid common pitfalls such as card read errors, failed transactions, or lost funds. Modern contactless transit systems offer a blend of physical and digital features designed to make commuting seamless, and mastering these tools will help you travel around the city with confidence.
Preparing to Use Your EZ-Link Card in Singapore
To start using this contactless transit system, you must gather a few basic components. First and foremost, you need a physical card. Alongside the card, you should have a compatible smartphone (either iOS or Android) with an active internet connection, as well as a valid email address or mobile phone number to complete the digital registration process.
Products mentioned in this guide
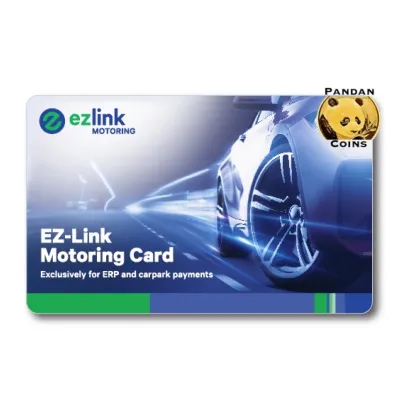
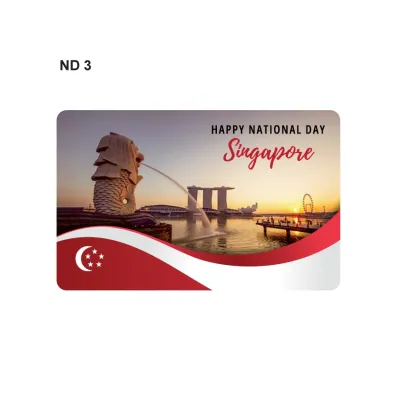

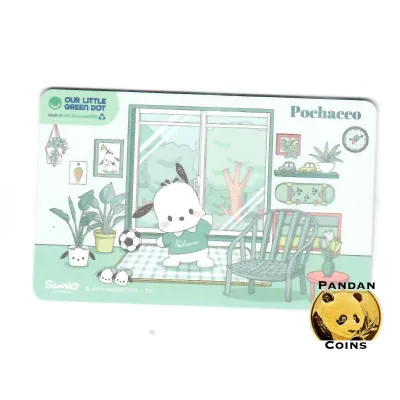
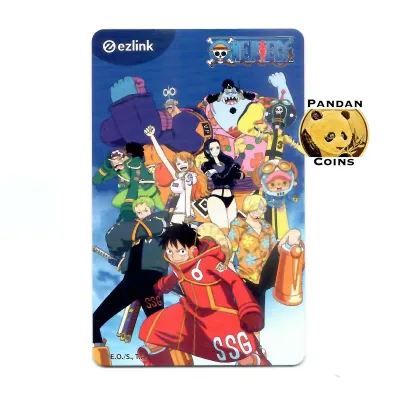
Prices are valid at publication and may change. Please refer to the product page for the latest price.
Acquiring your card from the right source is crucial for safety and reliability. You should only purchase your card from authorized physical locations, such as passenger service centres inside MRT stations, SimplyGo Ticket Offices, or authorized convenience stores like 7-Eleven and Cheers. Buying cards from unauthorized online marketplaces or unverified third-party sellers carries a high risk of acquiring counterfeit, expired, or previously used cards that may have blocked balances or physical defects.
While you can technically use a newly purchased card immediately for travel, there is a significant difference between simply holding an unregistered card and registering it. An unregistered card functions like cash; if you lose it, anyone who finds it can spend the remaining balance, and you have no way to recover those funds. Registering your card links the unique card number to your personal identity, unlocking essential security benefits such as the ability to block the card remotely and recover your stored value.
Step 1: Activating and Registering Your Card for Security
Activating a Newly Purchased Card
Most standard cards purchased directly from transit stations or authorized retail outlets are pre-activated. This means the internal chip is already programmed and ready to accept immediate top-ups and register transactions at transit gantries. You do not need to perform any complex technical steps to turn the card on; simply adding funds is enough to make it fully operational.

However, if you have purchased a special edition card, a collectible transit charm, or a themed gift set, the activation process may differ slightly. These unique items sometimes require you to present them at a passenger service centre for initial validation or check the packaging and purchase receipt for specific instructions. Always read the insert included with novelty transit items to ensure you do not miss a necessary step before attempting your first journey.
Before you even attempt to use or top up a new card, closely inspect its physical condition. The packaging should be completely sealed, showing no signs of tampering, cuts, or resealing. If you notice any physical anomalies or if the protective sleeve has been opened, do not use the card. Bring it back to the point of purchase or consult a transit service officer to verify its integrity.
Registering via the Official EZ-Link App
To register your card, you must first download the official mobile application onto your smartphone. It is vital to verify the developer’s name in the Apple App Store or Google Play Store to ensure you are downloading the genuine app created by EZ-Link Pte Ltd. Avoid downloading any third-party utility apps that claim to manage transit cards, as these could be phishing applications designed to steal your payment details or personal information.
Once the official app is installed, open it and follow the prompts to create a secure personal account. You will need to provide a valid email address and a local mobile phone number to complete the verification process. After setting up your profile, navigate to the card management section to link your physical card to your account.
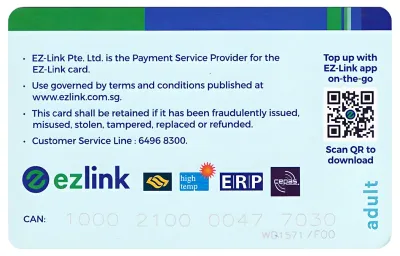
To add the card, locate the 16-digit Card Account Number (CAN) printed on the back of the physical card. The app allows you to either use your smartphone’s camera to scan the barcode on the back of the card or type the CAN manually. Once verified, the card will appear in your digital dashboard, showing its current balance and transaction history.
Registering your card provides invaluable peace of mind. If your card is lost or stolen, you can log into the app and initiate a block request, which prevents anyone else from using the remaining funds. Furthermore, you can apply for a refund of the leftover balance to be credited back to your bank account or a new card. While the app will guide you through this process, you should check the platform for current administrative conditions and processing timeframes, as these can vary.
Step 2: Choosing the Best Way to Top Up Your EZ-Link Card
Physical Top-Ups at Stations and Retailers
For commuters who prefer using physical payment terminals, Singapore’s transit network offers numerous convenient locations. The most common method is using General Ticketing Machines (GTMs) or SimplyGo Kiosks located at all MRT and LRT stations. To use these machines, place your card onto the designated reader tray, select the top-up option on the touch screen, choose your desired top-up amount, and complete the payment using cash, a local NETS card, or a credit/debit card.
Alternatively, you can top up your card at authorized convenience stores and retail outlets across the island, including 7-Eleven, Cheers, and select supermarket chains. Simply hand your card to the cashier at the counter and state the amount you wish to add. The cashier will process the transaction through their point-of-sale terminal, allowing you to pay using the store’s accepted payment methods.
Whenever you perform a physical top-up, make it a habit to verify the transaction before leaving the counter or machine. Look at the terminal screen to confirm that your card’s balance has updated correctly, or request a printed receipt as proof of the transaction. Additionally, keep in mind that some retail merchants may charge a small convenience fee for processing card top-ups, so always check for any displayed transaction fees at the point of sale.
Digital Top-Ups and Auto Top-Up via the App
If you prefer a completely cashless and contactless experience, you can manage your card’s funds directly from your smartphone. The official app allows you to perform manual digital top-ups at any time, eliminating the need to queue at physical machines. To do this, link a supported credit card, debit card, or digital payment account to your app profile, select the card you wish to top up, enter the amount, and authorize the payment.
For ultimate convenience, you can set up the Auto Top-Up feature, which ensures you never run out of funds at a transit gantry. This service automatically reloads your card using your linked payment method whenever the card balance falls below a specific threshold. Through the app, you can customize these settings by selecting your preferred low-balance trigger (such as S$5) and choosing a fixed reload amount (such as S$20 or S$30) from the available options.
While automated top-ups offer a seamless travel experience, they also require regular oversight to maintain financial security. Periodically monitor your linked payment methods within the app to ensure your billing information remains accurate and secure. If you decide to stop using a particular card, lose it, or if the card reaches its expiry date, remember to disable the Auto Top-Up feature immediately to prevent any unintended automatic charges to your bank account.
Step 3: Verifying Your Balance and Tapping Correctly
Monitoring your card’s balance is essential to avoid getting stuck at transit gantries or checkout counters. There are several ways to check your remaining funds quickly. The most common method is observing the display screen on the transit gantry or bus card reader when you tap out at the end of your journey. You can also view your real-time balance by placing your card on a GTM terminal, checking the official mobile app dashboard, or reviewing the printed receipt after making a purchase at an authorized convenience store.
Using your card correctly at physical readers ensures that transactions are processed smoothly without causing delays for other commuters. When passing through transit gantries or boarding buses, place your card flat against the designated reader surface. Avoid waving the card or tapping it at an odd angle, as this can disrupt the signal. Hold the card steady for a brief second until you hear the audible beep or see the green light confirm a successful tap. Pulling the card away too quickly can result in an incomplete transaction, which may lead to maximum fare charges or card errors on your next trip.
To maintain the physical integrity of your card, you must handle it with care. The card contains an internal RFID chip and a delicate copper antenna that runs along its perimeter. Keep the card away from strong magnetic fields, such as wireless charging pads, high-powered speakers, or strong magnets, which can corrupt the internal data. Additionally, avoid bending, twisting, punching holes in, or exposing the card to extreme heat, as physical damage to the internal antenna will render the card permanently unusable.
Troubleshooting Common Card and Top-Up Issues
Even with careful use, you may occasionally encounter technical difficulties with your transit card. If you see a “Card Error” or “Invalid Card” message on a transit gantry screen, do not panic. First, try tapping the card again on a different reader at the same station, as individual sensors can sometimes experience temporary glitches. If the error occurs across multiple gantries, inspect the card physically to see if it is dirty, greasy, or physically compromised.
Another common issue is a failed digital top-up where your bank account is charged but the card’s balance does not update. If this happens, always retain your digital transaction receipt or reference number. Open your banking app to confirm if the charge is pending or fully posted, and check the transaction history inside the official app. In many cases, pending transactions are automatically reversed within a few business days; however, if the balance remains incorrect, you should contact official customer support with your reference number to resolve the issue.
Knowing when to stop using a card is crucial for avoiding travel disruptions. If your card is physically cracked, deeply bent, or consistently rejected by multiple readers despite having a sufficient balance, it has likely suffered internal hardware damage. In this scenario, stop attempting to use the card. Visit a transit passenger service centre or a SimplyGo Ticket Office, where a customer service officer can assess the card’s condition, retrieve any remaining balance, and assist you with a replacement.
Frequently Asked Questions (FAQ)
Can I use my EZ-Link card for non-transit retail purchases?
Yes, your card can be used for retail payments at thousands of merchants across Singapore, including convenience stores, supermarkets, vending machines, and select hawker centres. However, retail acceptance depends entirely on whether the specific merchant displays the accepted payment logos at their checkout counter. Because terminal compatibility and network connections can vary, it is always wise to carry a backup payment method, such as cash or a debit card, in case a retailer’s reader is offline or does not support the card.
What should I do if my registered card is lost or damaged?
If your registered card is lost or damaged, you should immediately log into the official mobile app and use the card blocking feature. This action freezes your card, preventing unauthorized individuals from spending your remaining balance. Once the card is blocked, you can apply for a balance refund through the app or by visiting a designated service centre. Keep in mind that you must verify the current administrative fees, refund conditions, and processing times on the official platform at the time of your claim, as these policies are subject to updates.

Community discussion
Share your experience or ask a question. Comments are reviewed before publication.