
A well-structured classroom schedule board serves as the central visual anchor for your daily routines, helping students transition smoothly between subjects and manage their time effectively. Using magnetic letters for this display offers a tactile, highly adjustable, and reusable system that can adapt to sudden timetable changes. By carefully planning your layout, selecting high-contrast and compatible materials, and establishing interactive daily routines, you can create an engaging tool that supports student independence and executive functioning throughout the school year.
Planning the Layout and Visual Structure of Your Schedule Board
Before placing any magnets on the board, you must determine the physical layout and visual hierarchy to ensure the schedule is readable from every corner of the classroom. Start by measuring your available board space. A standard classroom display board typically requires a dedicated section of at least 60 centimeters by 90 centimeters to accommodate a full day of activities without looking cluttered. To ensure readability from the furthest student desk—which may be six meters away or more—the primary lettering should be at least 5 to 7 centimeters tall.
Divide your schedule board into distinct, logical zones to help students scan the information quickly. The top zone should feature a permanent, prominent header such as “DAILY ROUTINE” or “TODAY’S SCHEDULE.” Below the header, divide the space into three vertical columns: time blocks on the left, activity names in the center, and an interactive status column on the right. Keeping these zones consistent allows students to develop a habit of looking at specific areas of the board for specific information.
Products mentioned in this guide
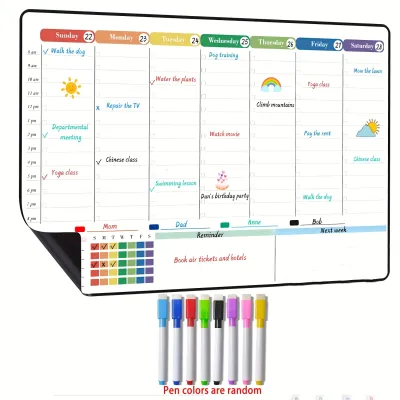
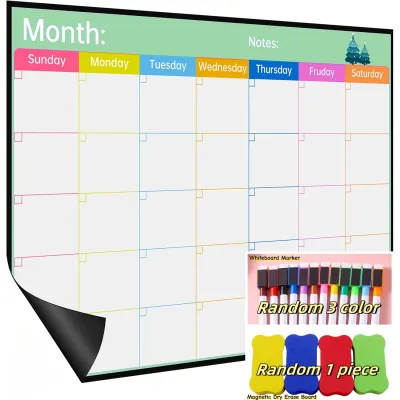
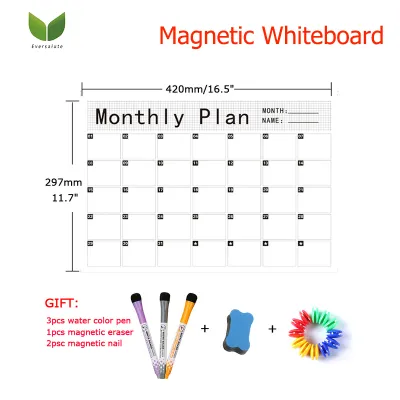
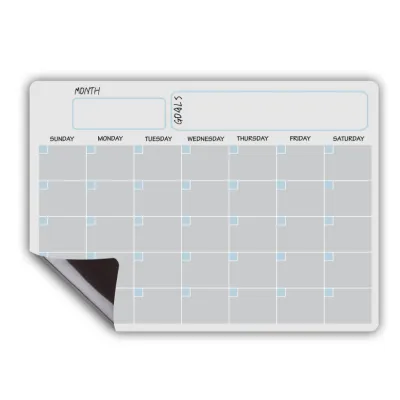
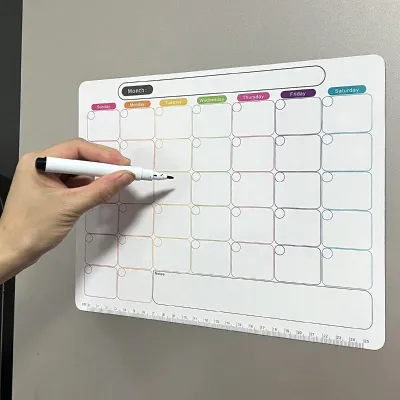
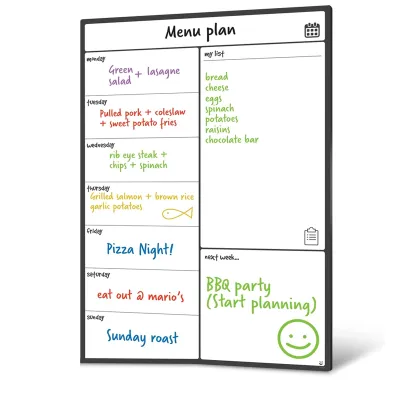
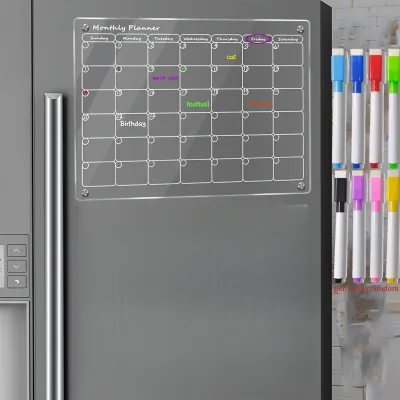
Prices are valid at publication and may change. Please refer to the product page for the latest price.
Physical accessibility is another critical factor when planning your layout. If you intend for students to interact with the board, mount or position it at their eye level. For primary school classrooms, the lower edge of the board should sit approximately 60 to 80 centimeters from the floor, allowing students to comfortably reach and move the magnetic components. If the board is purely for teacher updates, it can be positioned higher, but it must remain free from glare caused by windows or overhead lighting.
Color-coding is an excellent strategy to aid quick recognition, especially for early readers or English language learners. Assign specific colors to different subject categories, such as blue letters for mathematics, green for science, and red for language arts. Alternatively, you can use colored magnetic background strips behind white letters to differentiate between core academic subjects, transition periods, and special events like physical education or recess.
Selecting the Right Magnetic Letters and Board Materials
Choosing compatible materials is essential for a schedule board that functions reliably without slipping. Begin by evaluating the magnetic letters themselves. Opt for a clean, sans-serif font style that mimics standard school manuscript writing, as stylized or decorative fonts can confuse young readers. Ensure there is high contrast between the letters and the board surface; dark blue or black letters work best on a white steel board, while bright yellow or white letters are ideal for dark magnetic chalkboards.

Not all whiteboards are magnetic, so you must verify the construction of your board surface before purchasing materials. Standard whiteboards made of melamine or painted wood do not hold magnets. You need a steel-backed whiteboard, porcelain-on-steel board, or a magnetic glass board. To verify compatibility, perform a simple trial with a standard household magnet; if the magnet slides down or feels weak, the board lacks a sufficient steel backing to support heavy plastic magnetic letters.
In addition to the letters, gather supplementary stationery tools to complete your setup. Self-adhesive magnetic tape is incredibly useful for turning laminated paper cards, clock faces, or subject icons into custom magnets. High-quality dry-erase markers in contrasting colors allow you to write precise digital or analog times next to your magnetic subject headers. Keep a magnetic eraser nearby so you can quickly update times as the daily schedule shifts.
Safety is a primary consideration for any classroom material handled by children. Check product labels for non-toxic certifications, such as the AP non-toxic seal or compliance with regional safety standards like EN71 or ASTM D-4236. Ensure the magnets are securely embedded or molded into the plastic backing of the letters rather than glued on as small, separate pieces, which can pose a serious choking hazard if they detach.
Step-by-Step Assembly of the Daily Routine Display
To assemble your schedule board, start with a clean slate. Wipe down the board surface thoroughly using a dedicated whiteboard cleaner or a mild isopropyl alcohol solution to remove ghosting, dust, and oily residues. A clean surface maximizes the surface contact between the magnets and the steel backing, preventing the letters from sliding out of alignment over time.
Once the board is dry, affix your permanent structural elements. Spell out your main title at the top of the board using your largest magnetic letters. Use thin, black magnetic divider tape or draw clean dry-erase lines to separate your columns for times, activities, and status indicators. If you use dry-erase lines, draw them using a ruler to maintain a neat, professional appearance that models organization for your students.
Next, arrange your daily activity letters. Spell out each subject block clearly, ensuring consistent horizontal alignment and spacing between words. To keep your letters perfectly straight, place a magnetic ruler or a straight-edged strip of cardboard directly beneath the line you are spelling, using it as a physical guide. Remove the guide once the letters are securely positioned. Leave a small gap of about 5 centimeters between the time column and the activity column to keep the display uncluttered.
Finally, create a movable indicator to show the current progress of the school day. You can use a bright red magnetic arrow, a star, or a custom-made magnetic frame labeled “NOW” that slides down the board. This simple visual cue helps students instantly identify the current activity and mentally prepare for what comes next, reducing anxiety and off-task behavior during transitions.
Strategies for Student Engagement and Daily Interaction
To maximize the utility of your schedule board, integrate it directly into your daily classroom routines. Assign a rotating student job, such as “Schedule Manager” or “Timekeeper,” as part of your morning classroom duties. Under your supervision, this student can assist in setting up the day’s schedule, arranging the magnetic letters, and adjusting the time blocks during morning meetings.
Design interactive transitions that require students to refer to the board. Before moving to the next subject, gather the students’ attention and ask a volunteer to move the “NOW” indicator to the next scheduled block. Have the class read the magnetic letters aloud together. This physical and verbal reinforcement helps students take ownership of their day and teaches them how to budget their time.
When unexpected schedule changes occur—such as a sudden weather delay, an unscheduled assembly, or a change in specialist times—use the board as a teaching tool. Gather the students and physically swap the magnetic letters to reflect the new plan. This visual demonstration helps students process the change calmly, as they can see exactly how the rest of their day will unfold despite the disruption.
Use the schedule board as a visual anchor for time management throughout the day. Pair the board with a physical classroom timer. Point to the scheduled block on the board, set the timer for the remaining duration of that activity, and explain how the visual representation on the board matches the countdown on the timer. This practice builds a concrete understanding of time intervals and helps students pace themselves during independent work.
Cleaning, Storing, and Maintaining Magnetic Letters
Regular maintenance ensures your magnetic letters and schedule board remain clean, functional, and organized for years to come. Over time, dry-erase marker dust and oils from students’ hands can accumulate on the letters, making them look dingy and reducing their magnetic grip. Wipe the letters down periodically with a microfiber cloth slightly dampened with water or a mild soapy solution. Avoid soaking plastic magnetic letters in water, as moisture can seep into the seams and cause the internal magnets to rust or the adhesives to fail.
Inspect the magnetic backings of your letters at least once a term. Look for any signs of peeling, cracking, or weakened magnetic pull. If a letter is sliding down the board, check if the backing has accumulated dust; wiping both the back of the letter and the board surface often restores the grip. If the magnet itself has degraded, you can apply a small strip of self-adhesive magnetic tape to the back to extend its lifespan, or replace the letter entirely if it poses a safety risk.
When certain letters are not in use, store them in an organized system to prevent loss and damage. A clear, plastic craft organizer box with adjustable, compartmentalized dividers is ideal for this purpose. Sort your letters alphabetically or by color, and label each compartment clearly. This setup allows you to quickly locate the letters you need when updating the schedule board each morning, saving valuable prep time.
Avoid stacking heavy objects on top of your stored magnetic letters, as excessive pressure can warp the plastic shapes or demagnetize the flexible magnetic backings. Keep your storage containers away from extreme heat sources, such as classroom radiators or direct sunlight through a window, which can warp the plastic and degrade the adhesives holding the magnets in place. Proper storage preserves both the shape and the magnetic strength of your letters for future school terms.
Frequently Asked Questions (FAQ)
How can I keep magnetic letters from sliding or falling off?
If your magnetic letters are sliding down the board, first verify that your board has a steel backing and is not a non-magnetic melamine surface. Next, clean both the board surface and the back of the sliding letters with a damp microfiber cloth to remove any accumulated dry-erase dust or oils. If the letters still slide, the built-in magnets may be too weak; you can resolve this by applying a small strip of high-tack, self-adhesive magnetic tape directly over the existing backing to reinforce the grip.
What is the most organized way to store unused magnetic letters?
The most efficient way to store unused magnetic letters is in a clear, multi-compartment plastic utility box, such as a craft or tackle box. Label each compartment alphabetically so you can quickly retrieve specific letters during morning prep. Keep the storage container in a cool, dry place away from extreme heat and strong electronic magnetic fields, which can degrade the magnetic properties of the letters over time.

Community discussion
Share your experience or ask a question. Comments are reviewed before publication.