
Pairing the right acrylic yarn weight with the correct crochet hook size is the key to achieving the perfect balance of drape, structure, and stitch definition in your handmade projects. While every skein of acrylic yarn comes with a manufacturer’s recommended hook size on the label, this suggestion is merely a starting baseline. The ideal combination depends heavily on your personal stitching tension, the specific item you are making, and how you want the finished fabric to behave. Because acrylic is a synthetic fiber with unique elasticity and memory, choosing the wrong hook can quickly lead to a piece that is either too stiff to wear or too loose to hold its shape.
How to Read Yarn Labels for Weight and Hook Recommendations
To find the best starting point for your project, look closely at the paper band wrapped around your skein of acrylic yarn. This label contains essential technical specifications standardized by the Craft Yarn Council. The most prominent symbol is typically a small ball of yarn icon containing a number from 0 to 7, which represents the yarn weight category. Most standard acrylic yarns fall into category 3 (Light/DK), category 4 (Medium/Worsted), or category 5 (Bulky).
Near this weight symbol, you will find a graphic of a crochet hook paired with recommended measurements. This recommendation is usually presented in millimeters, alongside regional sizing systems such as US letters or numbers. For example, a category 4 worsted weight acrylic yarn will commonly recommend a hook size between 5.0 mm (US H-8) and 6.0 mm (US J-10). Understanding these conversions is helpful, but always rely on the metric millimeter measurement for the most precise accuracy across different brands.
Products mentioned in this guide
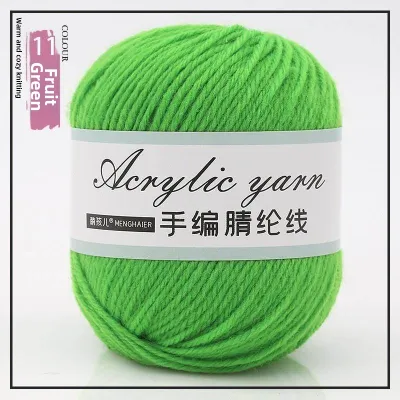
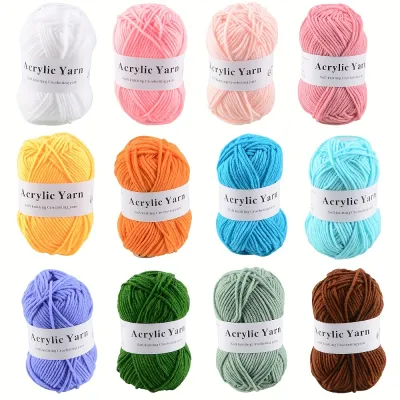
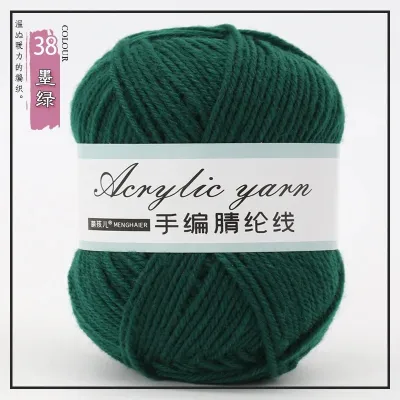
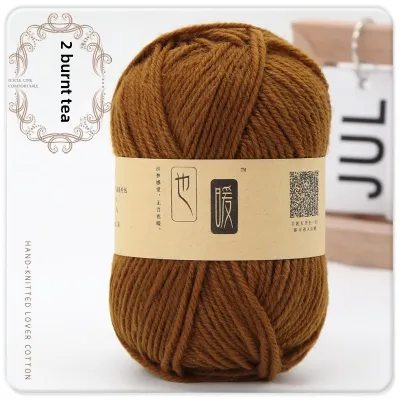
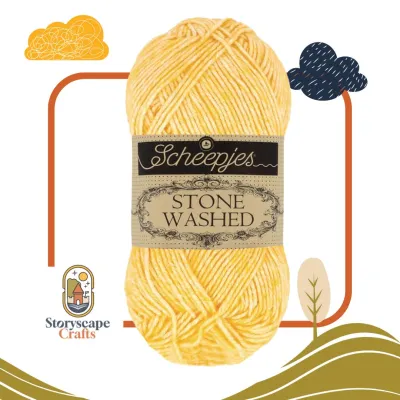
Prices are valid at publication and may change. Please refer to the product page for the latest price.
The label also features a gauge grid, which is a small square diagram showing how many stitches and rows a standard crocheter should achieve within a 10 by 10 centimeter area. This grid serves as the manufacturer’s baseline, calculated using a specific stitch—usually single crochet. It tells you exactly what density the manufacturer expected when designing the yarn’s recommended pairings.
However, you should treat these printed recommendations as a helpful suggestion rather than an absolute rule. Manufacturers calculate these numbers based on average tension and general fabric utility. If your personal stitching style is naturally very tight or exceptionally loose, or if your project requires a unique texture, you will need to deviate from the label’s suggestions to get the best results.
Adjusting Hook Sizes for Different Crochet Projects
The type of item you plan to create dictates whether you should stick to the yarn label’s recommended hook size or intentionally deviate from it. Different projects require vastly different structural properties, ranging from rigid and dense to soft and flowing.

When crocheting amigurumi, stuffed toys, or structured baskets, your primary goal is to create a dense, solid fabric that prevents the inner stuffing from showing through or escaping. If you use the recommended 5.0 mm hook for a worsted weight acrylic yarn, the resulting stitches will likely have small gaps. To prevent this, you should size down your hook by 1.0 mm to 1.5 mm, opting for a 3.5 mm or 3.75 mm hook instead. This adjustment forces the stitches to pack tightly together, creating a firm, durable structure that holds its shape even when stuffed firmly with polyester fiberfill.
Conversely, garments and wearables like sweaters, cardigans, and shawls require a soft, flexible drape that moves naturally with the body. Acrylic fibers can easily become stiff and heavy if stitched too tightly, resulting in a garment that feels rigid and uncomfortable. To avoid this, you should size up your hook by 0.5 mm to 1.0 mm past the label’s recommendation. Using a larger hook creates looser loops with more breathing room, allowing the synthetic fabric to flow beautifully and feel significantly softer against the skin. This is especially important for acrylic, which does not soften up naturally over time in the same way wool or cotton does.
For blankets, throws, and home decor items, you must strike a careful balance between stitch definition, yarn consumption, and fabric weight. A hook that is too small will make a large blanket incredibly heavy, stiff, and slow to complete, while consuming an excessive amount of yarn. A hook that is too large can make the blanket drafty, structurally weak, and prone to snagging on household objects. For these large-scale projects, starting with the exact hook size recommended on the label is usually the safest path to a cozy, balanced throw.
How to Crochet and Measure a Gauge Swatch
Before committing hours of work to your main project, you should always verify your yarn and hook combination by crocheting a gauge swatch. This simple step is the only reliable way to preview how your unique hand tension interacts with the specific acrylic yarn and hook you have selected.
To begin, chain enough stitches to create a swatch that is at least 15 centimeters wide, ensuring it is larger than the standard 10-centimeter measuring area. Work in the exact stitch pattern specified in your project instructions until the piece reaches approximately 15 centimeters in height. Once completed, cut the yarn, fasten off, and lay the swatch completely flat on a hard, even surface without stretching or pulling the fabric.
For acrylic yarn, it is highly recommended to gently steam block your swatch before measuring. Acrylic is thermoplastic, meaning it reacts to heat; a light application of steam from an iron held a few centimeters above the fabric (never touching the iron directly to the synthetic fibers, which will melt them) relaxes the stitches and reveals the true, permanent drape of the fabric.
To measure your gauge, place a rigid ruler or a dedicated metal gauge tool over the center of your swatch, keeping it away from the uneven edges. Count the number of individual stitches that fit precisely within a horizontal 10-centimeter window, including any fractional stitches. Next, turn your ruler vertically and count the number of completed rows within a 10-centimeter span.
Compare these counts to the gauge requirements listed in your project pattern. If your swatch has more stitches per 10 centimeters than the pattern calls for, your tension is tight or your hook is too small; you should switch to a larger hook size. If your swatch has fewer stitches, your tension is loose or your hook is too large; you should switch to a smaller hook size to achieve the correct dimensions.
Fixing Stiff, Loose, or Splitting Acrylic Fabric
If you notice structural or textural issues as your project progresses, your yarn and hook are likely poorly matched. Recognizing these common warning signs early allows you to make quick adjustments before completing too many rows.
Stiff, board-like fabric is a clear indication that your crochet hook is too small for the weight of your acrylic yarn. When the hook is too small, the yarn plies are compressed tightly together, leaving no air pockets within the stitches. This lack of space robs the fabric of its natural flexibility. To resolve this, switch to a hook that is 0.5 mm to 1.0 mm larger, which will instantly restore softness and movement to your work.
On the other hand, loose, holey, or flimsy fabric indicates that your hook is too large for the yarn weight. When the hook is oversized, the loops are too wide to support their own weight, causing the stitches to sag and look messy. This is particularly problematic for functional items that need to hold their shape. Sizing down your hook will bring the stitches closer together, creating a cleaner, more cohesive fabric.
Yarn splitting and fraying is another frequent issue when working with synthetic acrylic fibers, which are made of multiple plies twisted together. If your hook repeatedly catches on individual plies rather than pulling the entire strand through cleanly, evaluate your hook’s head design and material. Tapered hooks with rounded heads glide smoothly over fibers but can sometimes slip, while inline hooks with sharp lips grab the yarn securely but can split the plies if your entry angle is slightly off. Additionally, ensure your hook has a perfectly smooth finish, as cheap plastic or wooden hooks with rough seams can snag and fray synthetic fibers.
Frequently Asked Questions (FAQ)
Can I use a wooden or plastic hook instead of aluminum for acrylic yarn?
Yes, you can use wooden, plastic, or aluminum hooks, but each material interacts differently with synthetic acrylic fibers. Aluminum hooks are highly polished and offer the least friction, allowing acrylic yarn to glide effortlessly and quickly, though some crafters find this combination slightly slippery. Wooden and bamboo hooks have a natural surface texture that provides more grip, which is helpful if you struggle with loose tension but can cause annoying drag when paired with squeaky or tightly spun acrylics. Plastic hooks are lightweight and budget-friendly, but lower-quality plastic can generate static electricity, causing synthetic fibers to cling to the hook shaft. If you experience hand fatigue, look for hooks with ergonomic rubber or silicone handles, which provide a comfortable grip regardless of the hook’s core material.
What should I do if my acrylic yarn label is missing or faded?
If your yarn label is missing, you can easily estimate the yarn weight using the wraps per inch (WPI) method. Take a standard pencil or ruler and wrap the yarn around it snugly, ensuring the strands sit side-by-side without overlapping or stretching. Measure exactly one inch (2.5 centimeters) along the pencil and count the number of wraps within that space.
You can then match your count to standard weight categories:
- 12 to 15 wraps per inch: Sport weight (Category 3), pair with a 3.5 mm to 4.5 mm hook.
- 9 to 12 wraps per inch: Worsted weight (Category 4), pair with a 5.0 mm to 6.0 mm hook.
- 6 to 8 wraps per inch: Bulky weight (Category 5), pair with a 6.5 mm to 9.0 mm hook.
Does the crochet hook brand matter when working with acrylic yarn?
Yes, the brand of your crochet hook can significantly affect your stitching experience due to differences in hook anatomy and manufacturing tolerances. The two primary hook designs are inline hooks, which feature a uniform shaft width and a deep, sharply cut throat, and tapered hooks, which have a neck that narrows below a rounded head. Inline hooks excel at maintaining consistent stitch sizes, while tapered hooks allow for faster, smoother movements through acrylic loops. Furthermore, sizing standards can vary slightly between manufacturers, so it is always best to use the same brand of hook throughout a single project to ensure uniform tension.

Community discussion
Share your experience or ask a question. Comments are reviewed before publication.