
Wrapping a toy can be a delightful yet challenging task, especially when dealing with irregular shapes, sharp plastic corners, or heavy packaging. While traditional wrapping paper often rips or bunches around awkward angles, a high-quality gift bag offers a clean, sophisticated alternative. Achieving a polished, professional look requires more than simply dropping the toy into the bag. By selecting the right bag size, preparing the interior with structured cushioning, and mastering the art of tissue paper placement, you can transform a simple toy bag presentation into an exciting, elegant gift experience.
Preparing the Toy and Gift Bag
Before you begin wrapping, take a moment to evaluate the toy’s physical characteristics. Note its dimensions, weight, and any protruding or delicate components. A plush toy requires very different preparation compared to a heavy wooden board game or a plastic action figure with sharp, pointed packaging. Understanding these details helps you select the correct bag size and determine how much protective padding is necessary to keep the presentation intact.
Choosing the right gift bag is crucial for a neat finish. The bag should fit the toy snugly, leaving about three to five centimeters of clearance on all sides. If the bag is too small, the toy will stretch the paper, causing unsightly bulges or torn seams. Conversely, an oversized bag makes the gift look sparse, allowing the toy to slide around and potentially damage the decorative tissue paper. Look for bags made from thick, high-gsm (grams per square meter) paper, which maintains its structure far better than thin, flimsy alternatives.
Products mentioned in this guide
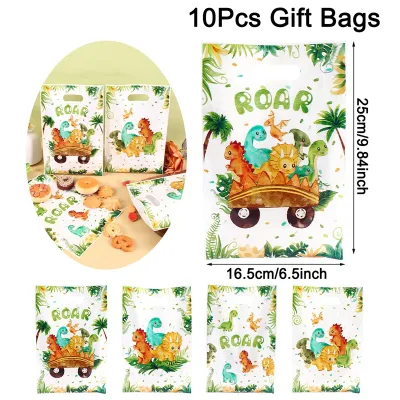
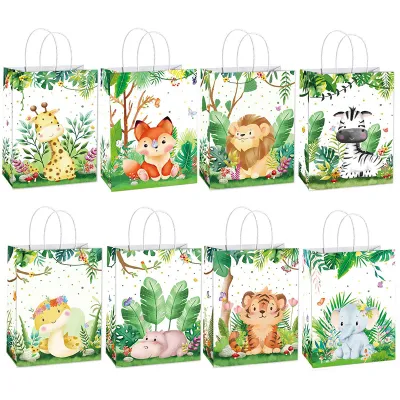
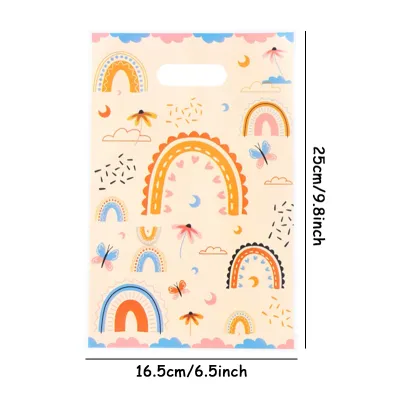
Prices are valid at publication and may change. Please refer to the product page for the latest price.
To ensure the toy remains stable and the bag retains its shape, gather your internal support materials before wrapping. Acid-free tissue paper is the standard choice for cushioning and decoration, as it is soft, highly malleable, and will not transfer oils or dyes to the toy. For heavier or more fragile items, consider using crinkle-cut paper or clean bubble wrap to provide a firmer structural base. Having these materials ready allows you to build a secure foundation that protects the gift throughout its journey.
Step-by-Step Wrapping and Padding Techniques
The secret to a beautifully presented gift bag lies in the layering process. Start by creating a supportive base layer at the very bottom of the bag. Take two or three sheets of tissue paper, crumple them loosely into soft balls, and place them at the bottom. This base layer acts as a shock absorber, preventing the toy from hitting the hard bottom of the bag and ensuring the base of the bag does not sag or distort when lifted.

Next, prepare the toy itself. Wrapping the toy individually before placing it in the bag adds an extra layer of anticipation and protects its surfaces. If the toy comes in a bright, busy commercial box, wrapping it in a solid, coordinating color of tissue paper conceals the branding and preserves the surprise. For delicate plush toys or painted wooden items, a gentle wrap of tissue paper protects against friction scratches and dust. Secure the tissue paper with a small piece of low-tack, acid-free tape to keep it neat without damaging the toy’s original packaging.
Once the wrapped toy is ready, lower it gently into the center of the bag, resting it flat on your base layer. To prevent the toy from shifting or tipping over during transport, you must fill the empty spaces around the sides. Gently tuck folded sheets of tissue paper or handfuls of crinkle-cut paper into the gaps between the toy and the bag walls. This side-filling technique keeps the toy perfectly centered, ensuring the bag stands upright and maintains its clean, symmetrical lines.
In warm, humid climates, it is wise to verify that your tissue paper is colorfast before wrapping. High humidity can sometimes cause cheap dyes in colored tissue paper to bleed onto plush fabrics or painted wooden toys. A quick rub of a damp white cloth on a small corner of the tissue paper will easily verify its stability, ensuring your gift remains pristine and free from accidental stains.
Enhancing the Presentation with Finishing Touches
With the toy securely padded, you can focus on the visible elements at the top of the bag. Start with edge management to ensure a clean, structured appearance. Inspect the top rim of the paper bag; if it has become slightly bent or creased during the wrapping process, gently smooth it out. For an ultra-clean look, you can fold the top edges slightly inward or use a small piece of double-sided tape to secure the inner folds, creating a crisp, professional border.
Decorative additions around the handles instantly elevate the overall aesthetic. Tie a high-quality satin ribbon, grosgrain ribbon, or rustic jute twine around the base of one of the handles, finishing it with a neat bow. You can thread a personalized gift tag or a small decorative accent, such as a sprig of dried botanicals, onto the ribbon. If the gift is for a young child, ensure any small decorative elements, wire twist-ties, or pins are securely attached and easy for an adult to remove safely.
To complete the presentation, use the classic tissue paper fan technique to conceal the contents while adding beautiful visual layers. Lay a sheet of tissue paper flat on a clean surface, pinch it firmly in the exact center, and lift it upward. Give the paper a gentle downward tug with your other hand to create a neat, pointed cone shape. Insert the pointed end of the cone into the bag, allowing the flared, ruffled edges to bloom outward from the top. Repeat this process with three or four sheets, overlapping them slightly to create a full, voluminous crown that completely hides the toy.
Adapting Techniques for Oddly Shaped or Fragile Toys
Oddly shaped toys, such as toy trucks, action figures with protruding limbs, or sports equipment, present unique wrapping challenges. If a toy has an highly irregular shape that refuses to sit neatly, consider placing it inside a plain, sturdy cardboard box first. This simple step provides clean, flat surfaces that slide easily into the gift bag, preventing sharp plastic corners from puncturing the paper and ensuring the bag retains its elegant, uniform shape.
For toys with fragile or delicate parts, such as model airplanes or dolls with intricate hair accessories, localized reinforcement is essential. Wrap these sensitive areas with a small piece of bubble wrap or soft tissue paper, securing it gently with low-tack tape before placing the toy in the bag. You can also attach a small, stylish “Handle with Care” tag to the exterior handle of the bag, alerting the recipient to handle the package gently.
Heavy toys, such as solid wooden playsets or metal die-cast vehicles, require extra structural support to prevent the bag from tearing. Before purchasing a bag, verify the handle style; woven rope, cotton ribbon, or die-cut handles are generally much stronger than simple glued paper handles. To reinforce the base, cut a piece of thick, rigid corrugated cardboard to the exact dimensions of the bag’s bottom and slide it inside before adding your padding. This simple cardboard insert distributes the weight evenly across the entire base, preventing the paper from sagging or tearing.
Frequently Asked Questions (FAQ)
How do I stop a heavy toy from tearing the bottom of a paper gift bag?
To prevent a heavy toy from tearing through the bottom of a paper gift bag, the most effective method is to insert a rigid piece of corrugated cardboard. Cut the cardboard to match the exact dimensions of the bag’s bottom gusset and slide it flat into the base before placing any wrapping materials inside. This simple insert distributes the toy’s weight evenly across the entire surface area, preventing localized stress points from rupturing the paper. Additionally, when purchasing your gift bag, look for options that feature reinforced cardboard bases and sturdy woven rope handles rather than thin paper handles. Finally, always support the bottom of the bag with one hand when lifting or carrying the gift to ensure maximum safety.
Can I reuse a gift bag and still make it look presentable?
Yes, you can absolutely reuse a gift bag and still achieve a highly presentable, polished look. Start by carefully inspecting the bag for any deep creases, tears, or stains; if the structural integrity is compromised, it is best to recycle it. To refresh a slightly wrinkled paper bag, place a clean, dry cotton cloth over the creased area and gently run a low-heat iron over it without using any steam, as moisture can warp the paper fibers. If the original handles look worn or frayed, carefully snip them off and thread fresh satin ribbon, colorful twine, or cotton cord through the existing holes, securing them with neat knots on the inside. This simple hardware upgrade instantly revitalizes the bag, making it look brand new.

Community discussion
Share your experience or ask a question. Comments are reviewed before publication.